GUIDES
Make better 3D-printed signs, lights and gifts
Step-by-step guides from the people who build the Volucore tools: how to choose an LED strip, split a big sign into printable pieces, wire and mount it, print multicolor names and more. Every guide is written against how the tools really work.
3D printing problems & fixes
10 guidesReal problems beginners meet, shown in the slicer: prints that do not stick, stringing, warping, supports, bridges, models that do not fit, broken meshes and slow prints.
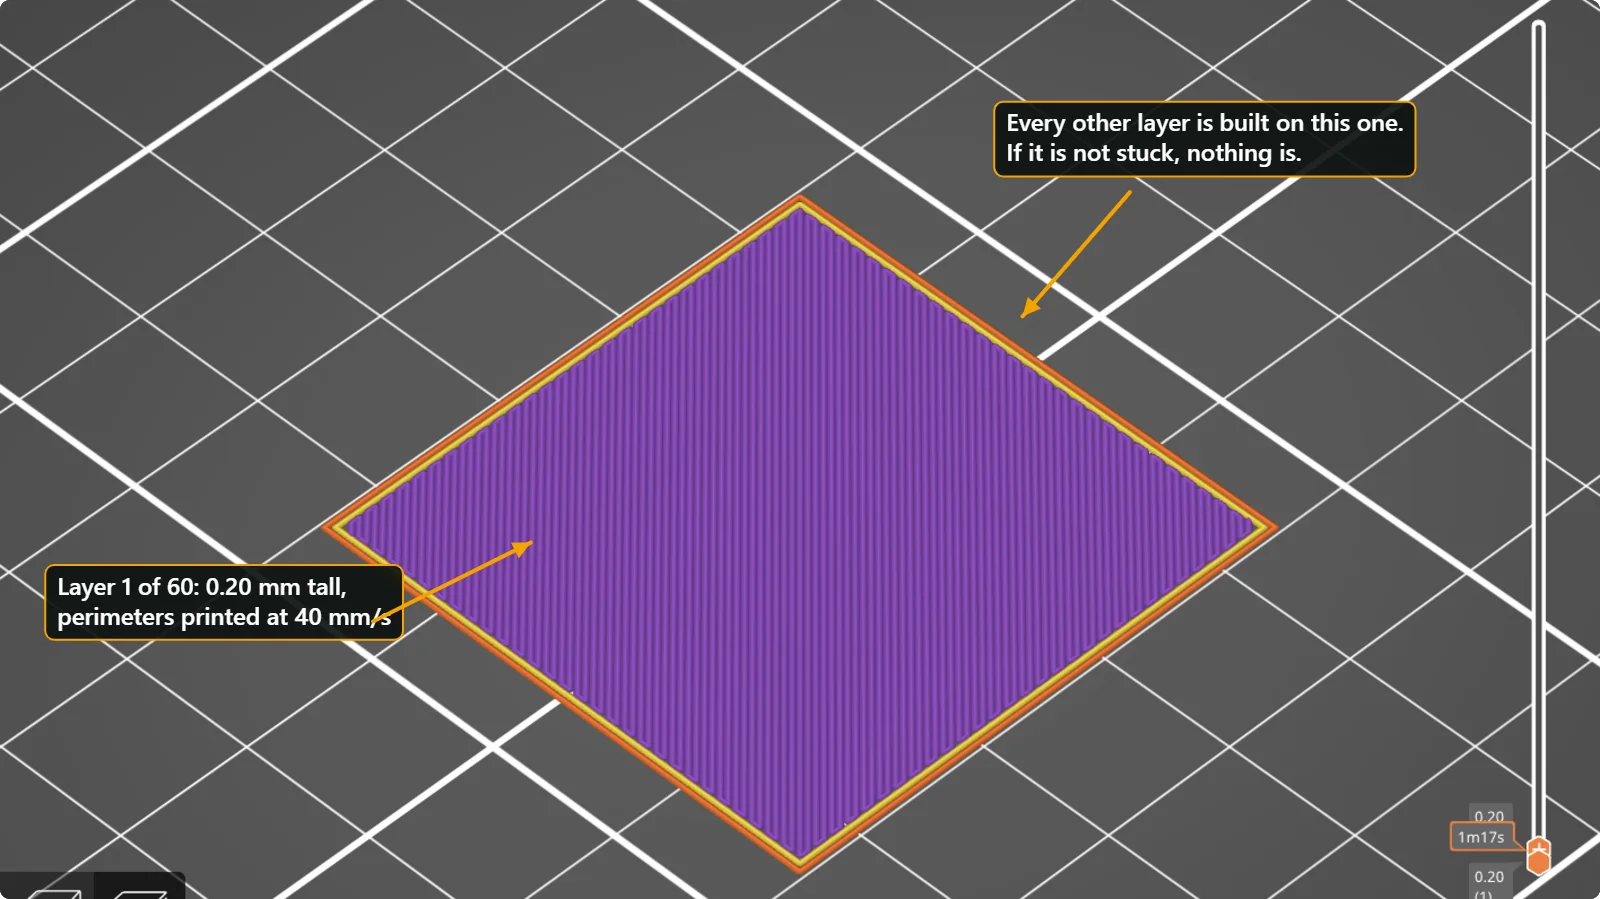 3D Print Not Sticking to the Bed? 7 Fixes for First-Layer AdhesionWhy a 3D print lifts, slides or never sticks to the build plate, and the order in which to check it: clean plate, first-layer height, bed temperature, brim, fan, speed and part orientation, with real slicer screenshots.
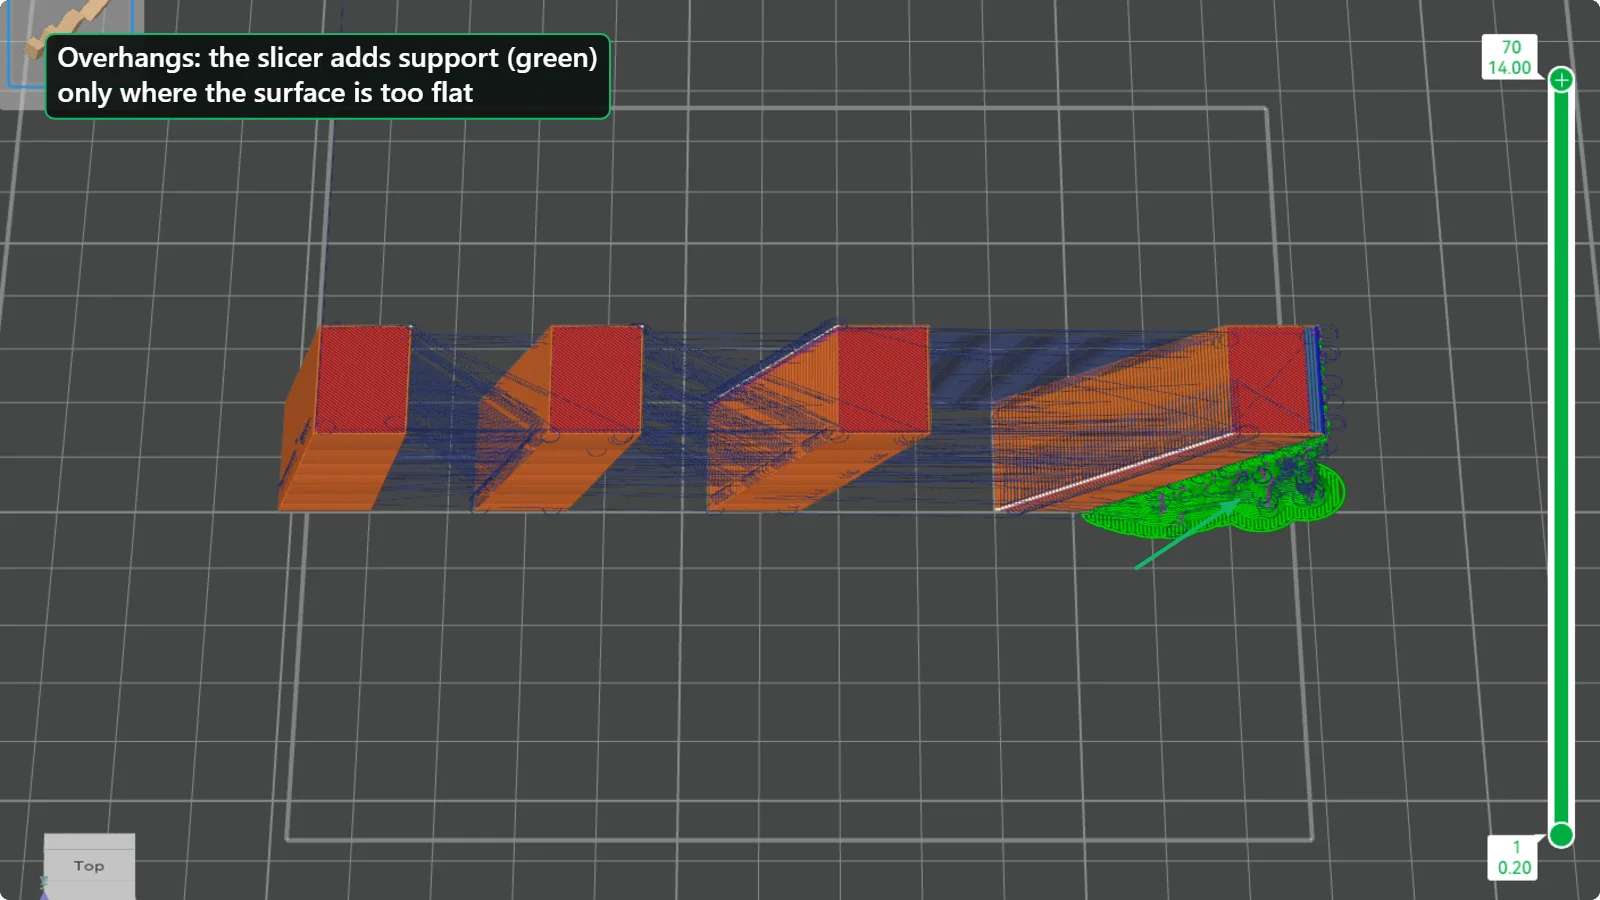 3D Printing Overhangs and Supports: When You Need ThemHow steep an overhang can be before it droops, what the support threshold angle really means, tree versus normal supports, and the settings in PrusaSlicer and Bambu Studio, tested on a four-angle model.
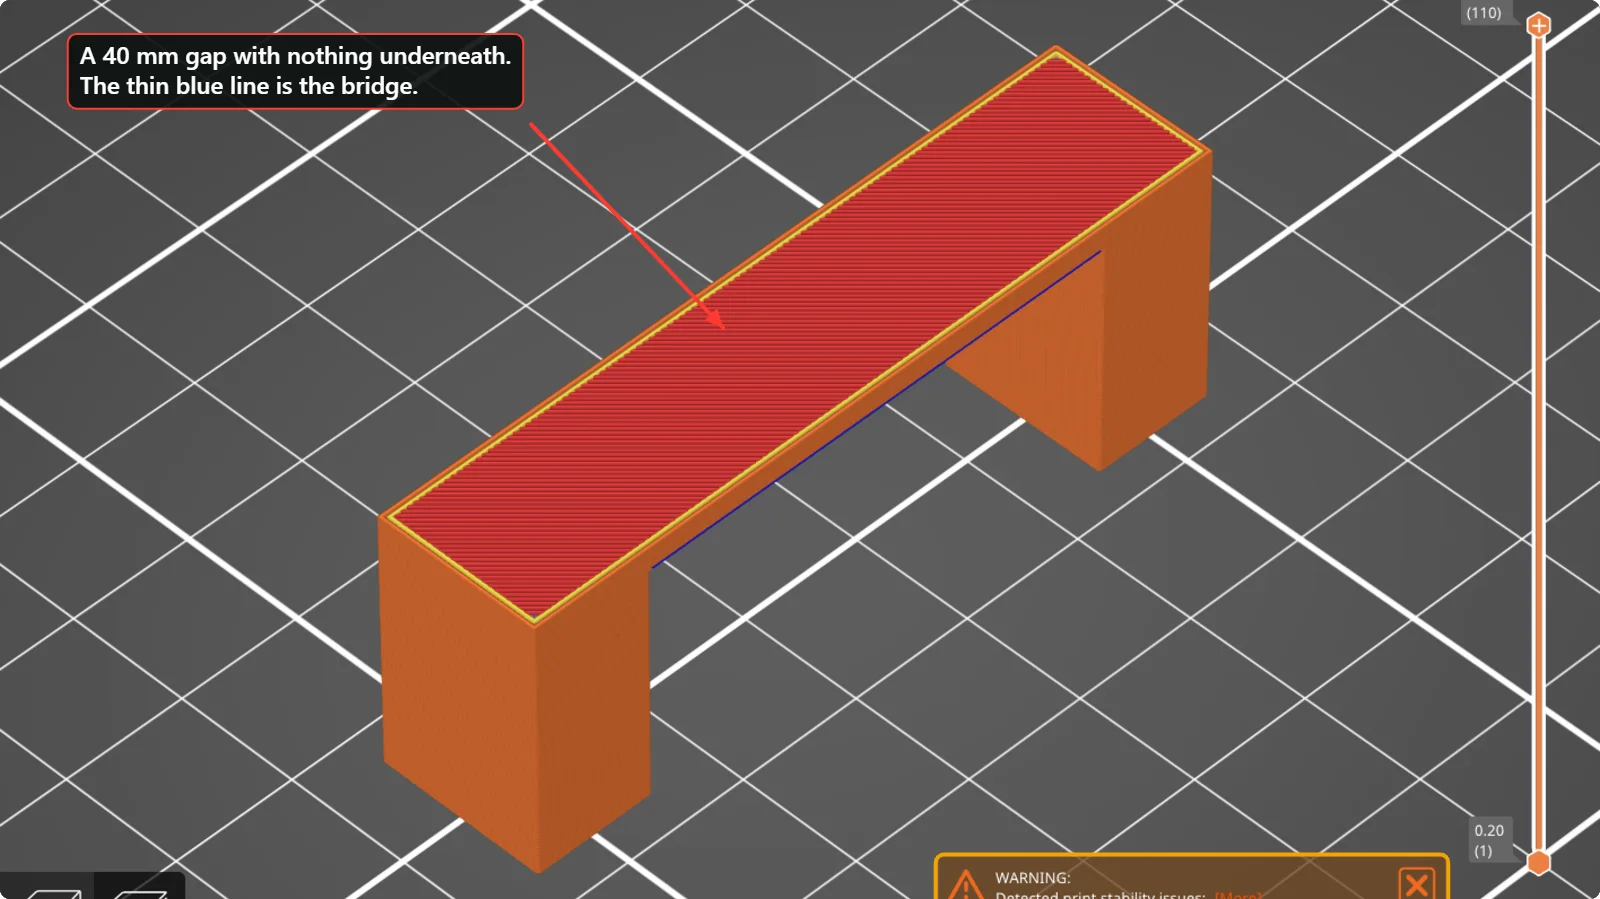 Bridging in 3D Printing: Why Bridges Sag and How to Fix ThemA bridge is plastic printed across a gap with nothing underneath. See how slicers mark bridges, what the warning “long bridging extrusions” means, and which speed, fan and design changes stop sagging.
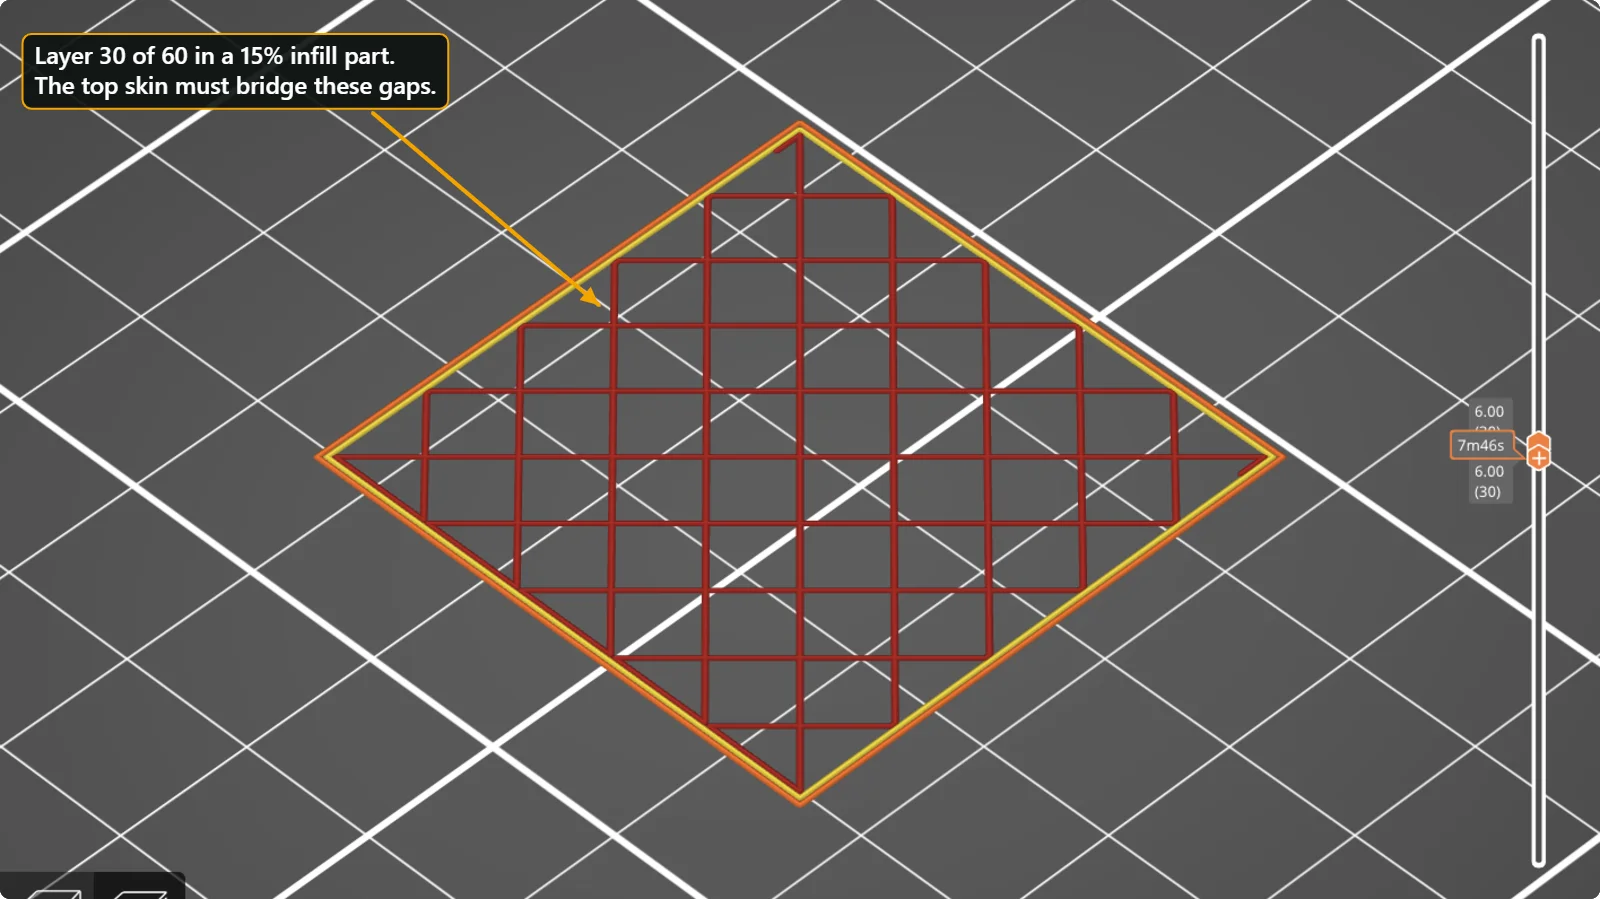 Holes and Gaps in the Top Layers of a 3D Print (Pillowing) and How to Fix ThemWhy the top surface of a print looks rough or has gaps over the infill, and which settings fix it: top solid layers, top shell thickness, infill density, cooling and flow. Real values from PrusaSlicer and Bambu Studio.
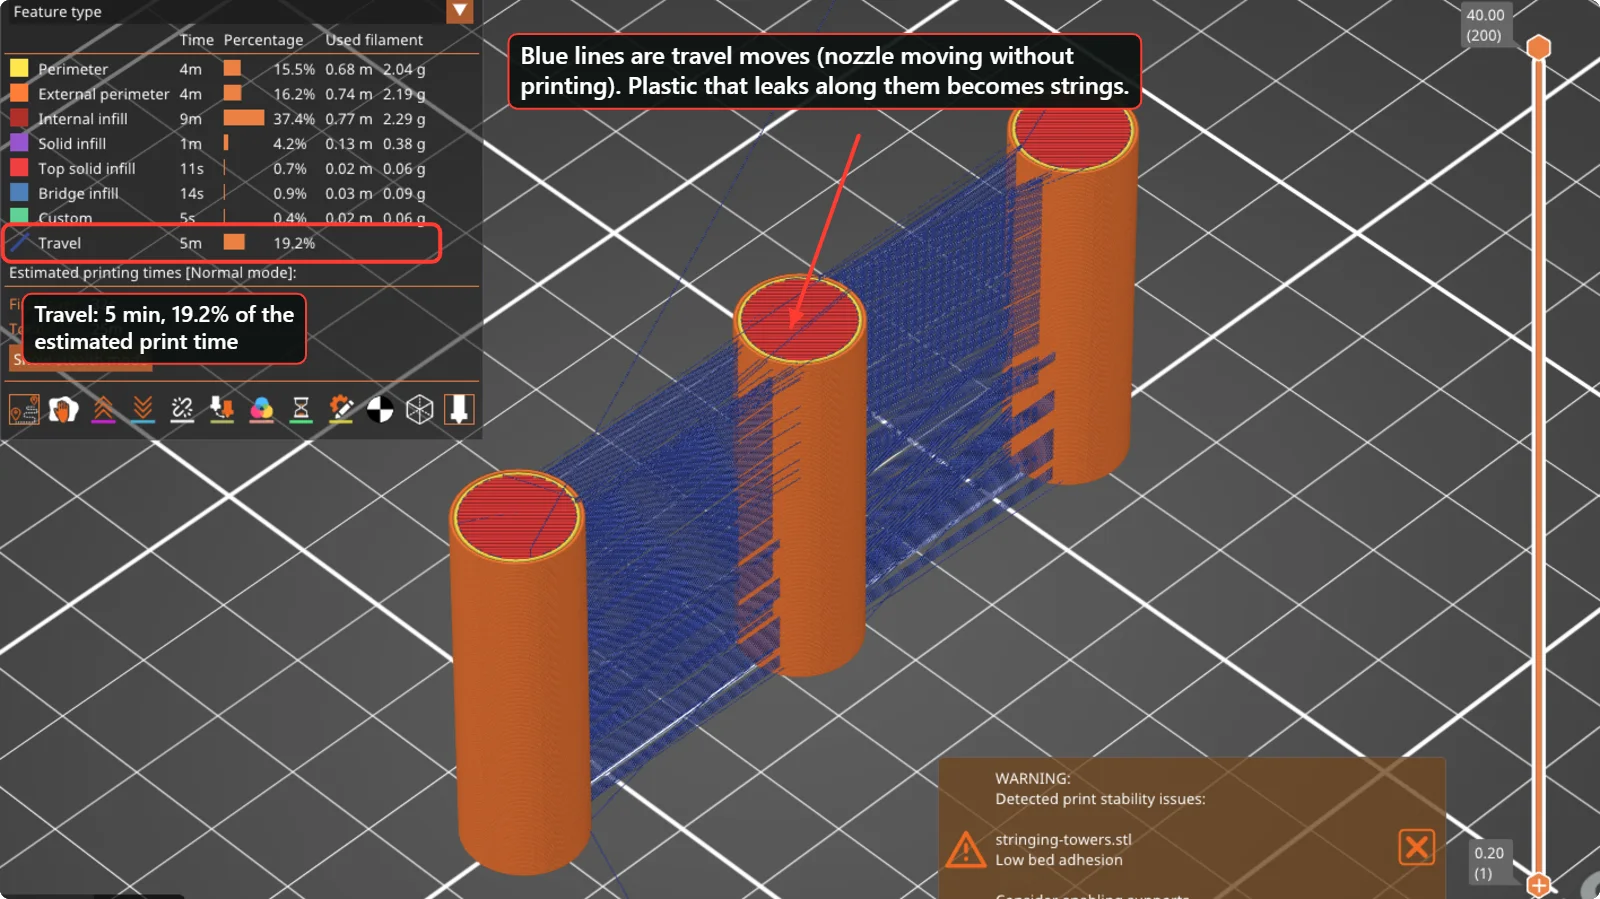 How to Fix Stringing and Oozing in 3D PrintsThin hairs between parts are caused by plastic leaking while the nozzle travels. Check wet filament, temperature, retraction and travel moves in this order, with real PrusaSlicer and Bambu Studio settings.
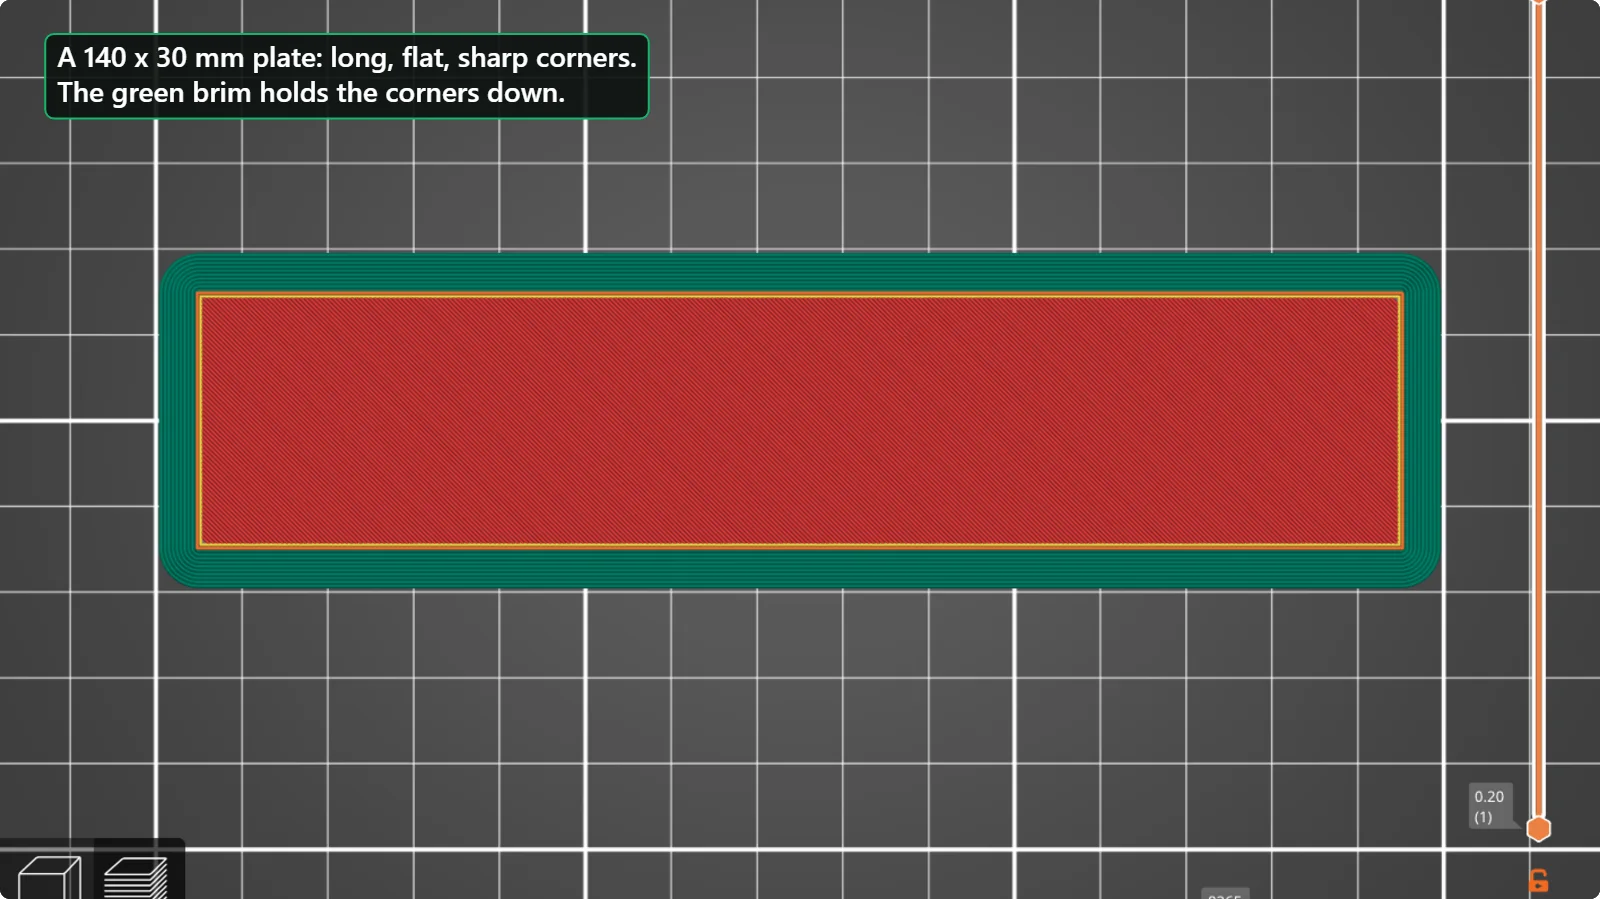 How to Stop Warping and Corner Lift in 3D PrintingWhy the corners of a flat or long print curl up from the bed, and what to change: brim, bed temperature, part-cooling fan, orientation, drafts and the shape of the model itself.
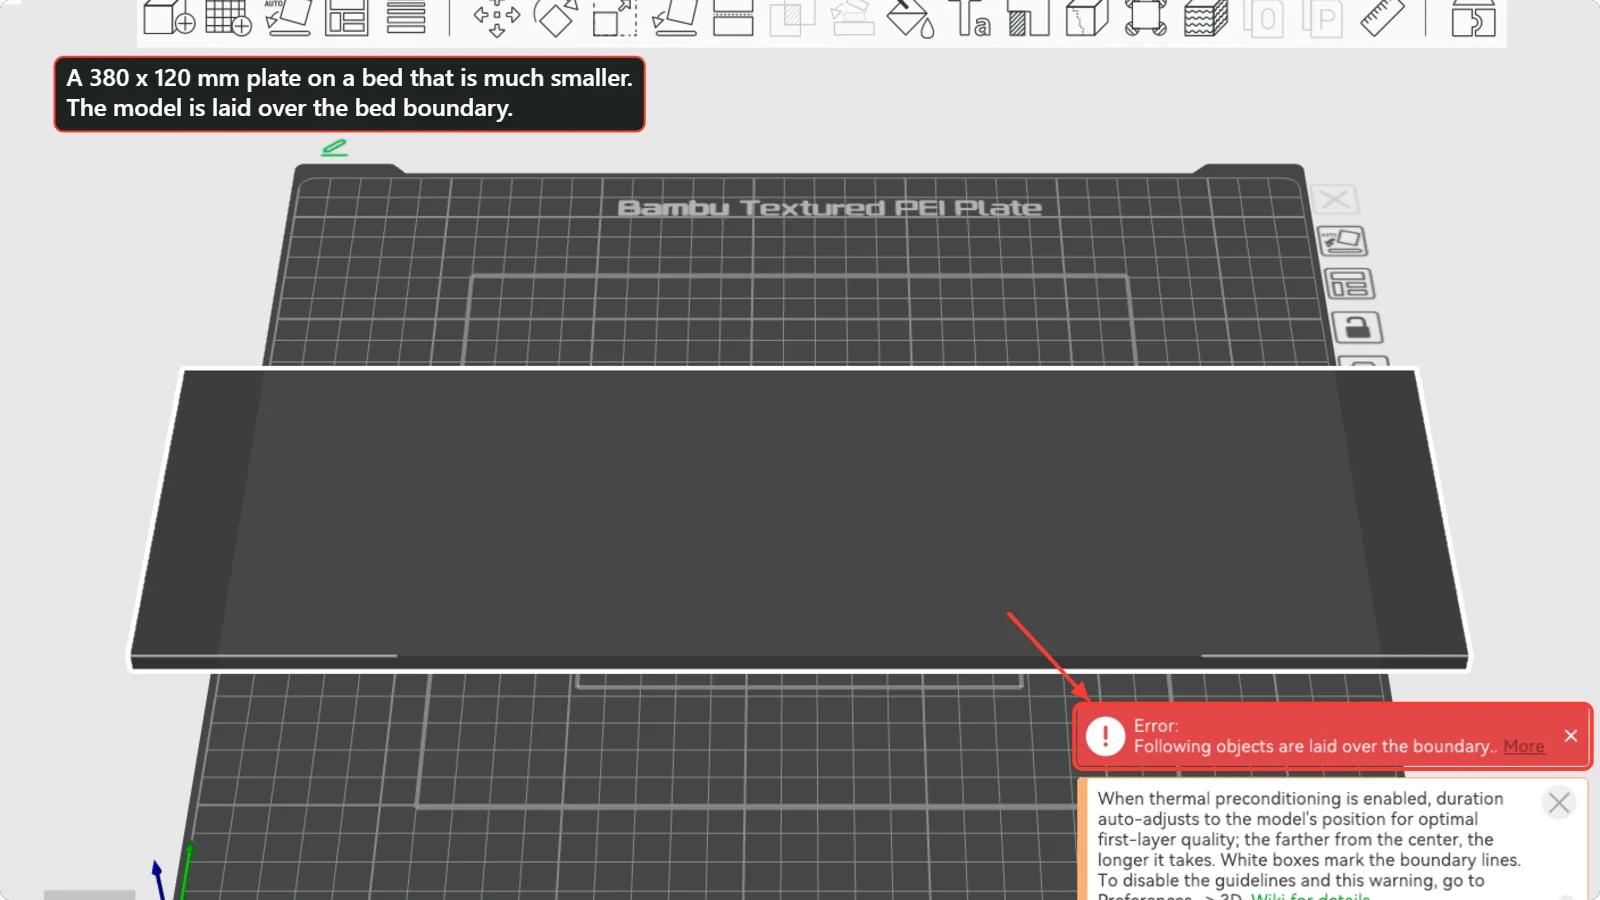 Model Too Big for Your 3D Printer Bed? Rotate, Scale or Cut ItWhat to do when the slicer says the model is laid over the bed boundary: rotate it, check the units, scale it, or cut it into pieces with the cut tool and join them again. Steps shown in Bambu Studio and PrusaSlicer.
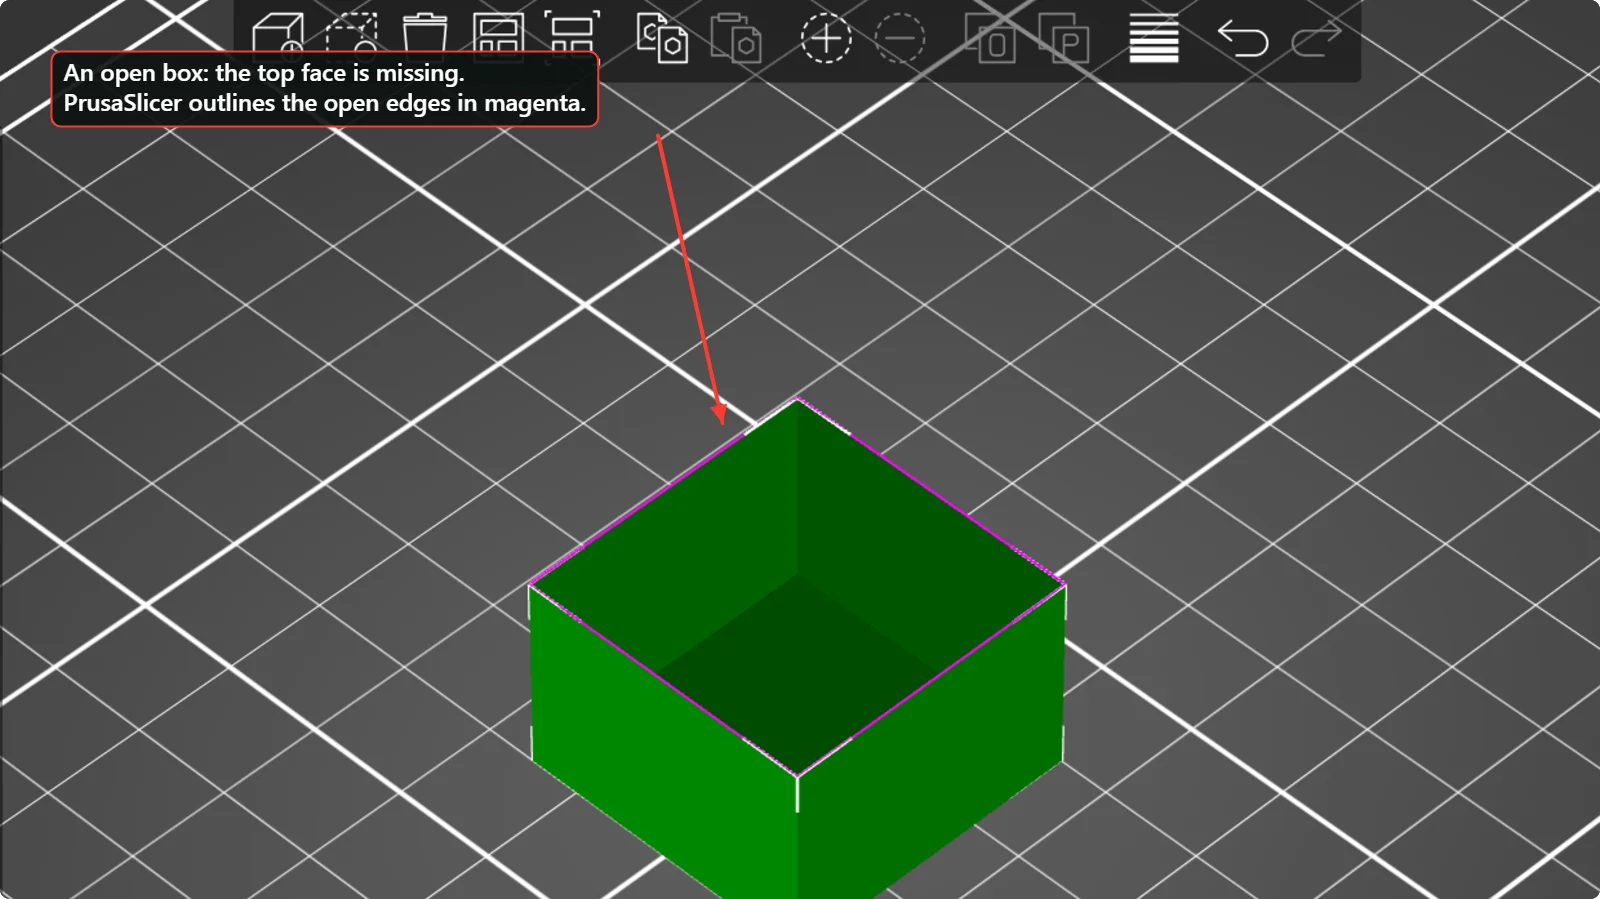 Open Edges and Broken Meshes: How to Fix 3D Model Errors Before SlicingWhat “open edges”, “non-manifold” and “errors detected” mean in a slicer, how to see them in PrusaSlicer and Bambu Studio, and how to repair a broken STL.
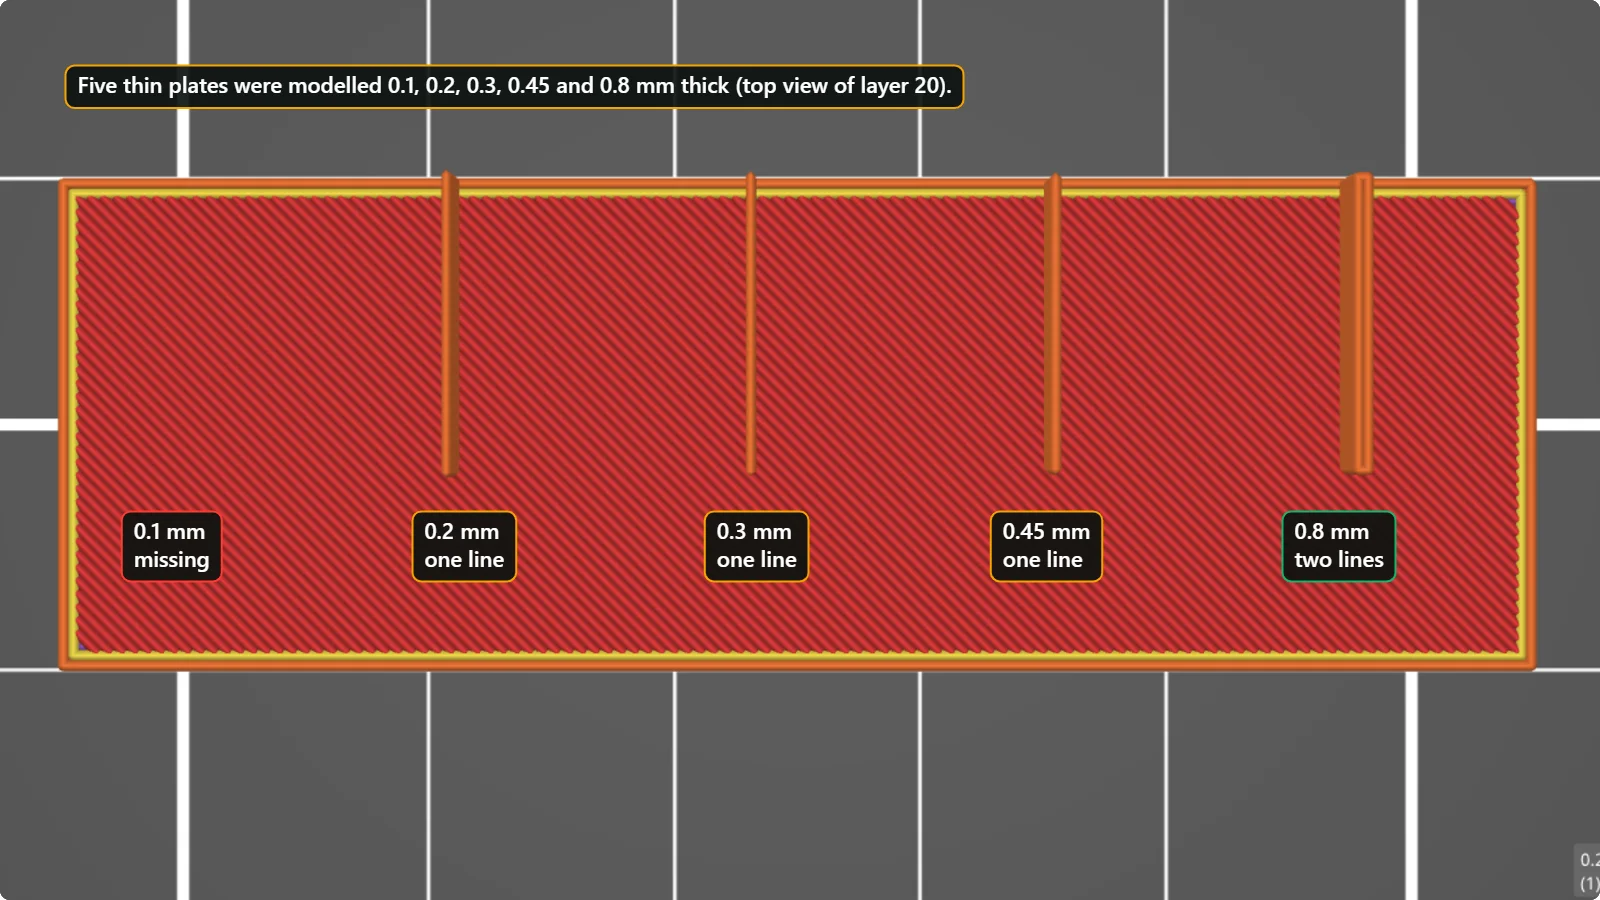 Thin Walls and Tiny Details Not Printing? Know Your Printer’s MinimumWhy a thin wall disappears or comes out thicker than you modelled, how the nozzle and line width set the minimum, and which wall thickness to design for. Shown on a test with five wall thicknesses.
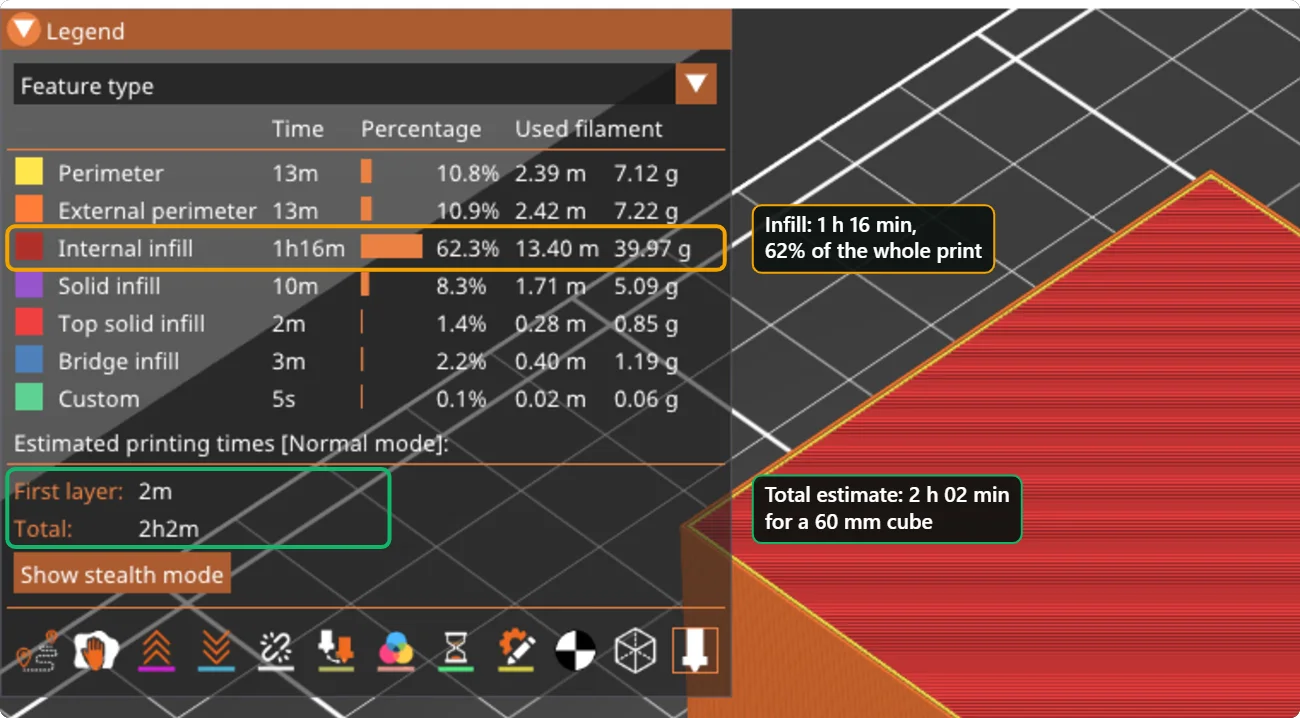 Why Is My 3D Print Taking So Long? Measured Effect of Infill, Walls and Layer HeightWe sliced the same 60 mm cube ten ways in PrusaSlicer and recorded the estimated print time and plastic use. See which settings change the time, and which ones barely matter.
Neon signs
8 guidesMake a glowing LED neon sign on your 3D printer: strips, fonts, splitting, wiring and mounting.
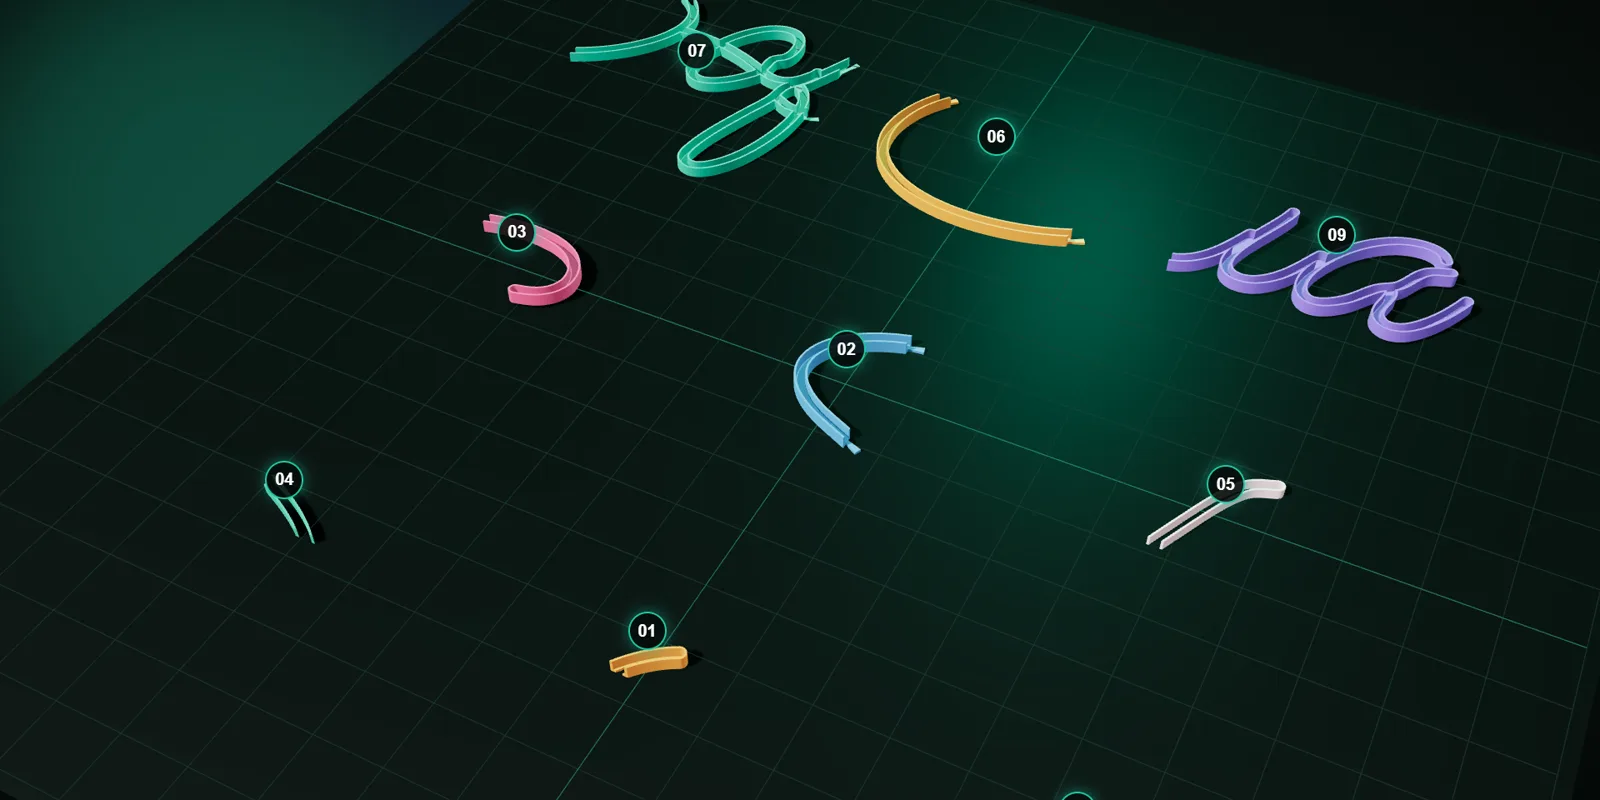 3D Print Settings for Neon Sign Channels: Material, Walls and FitStarting settings for printing LED neon sign channels: filament choice, layer height, walls, infill, orientation, brims and how to tune the fit of the strip and the dovetails.
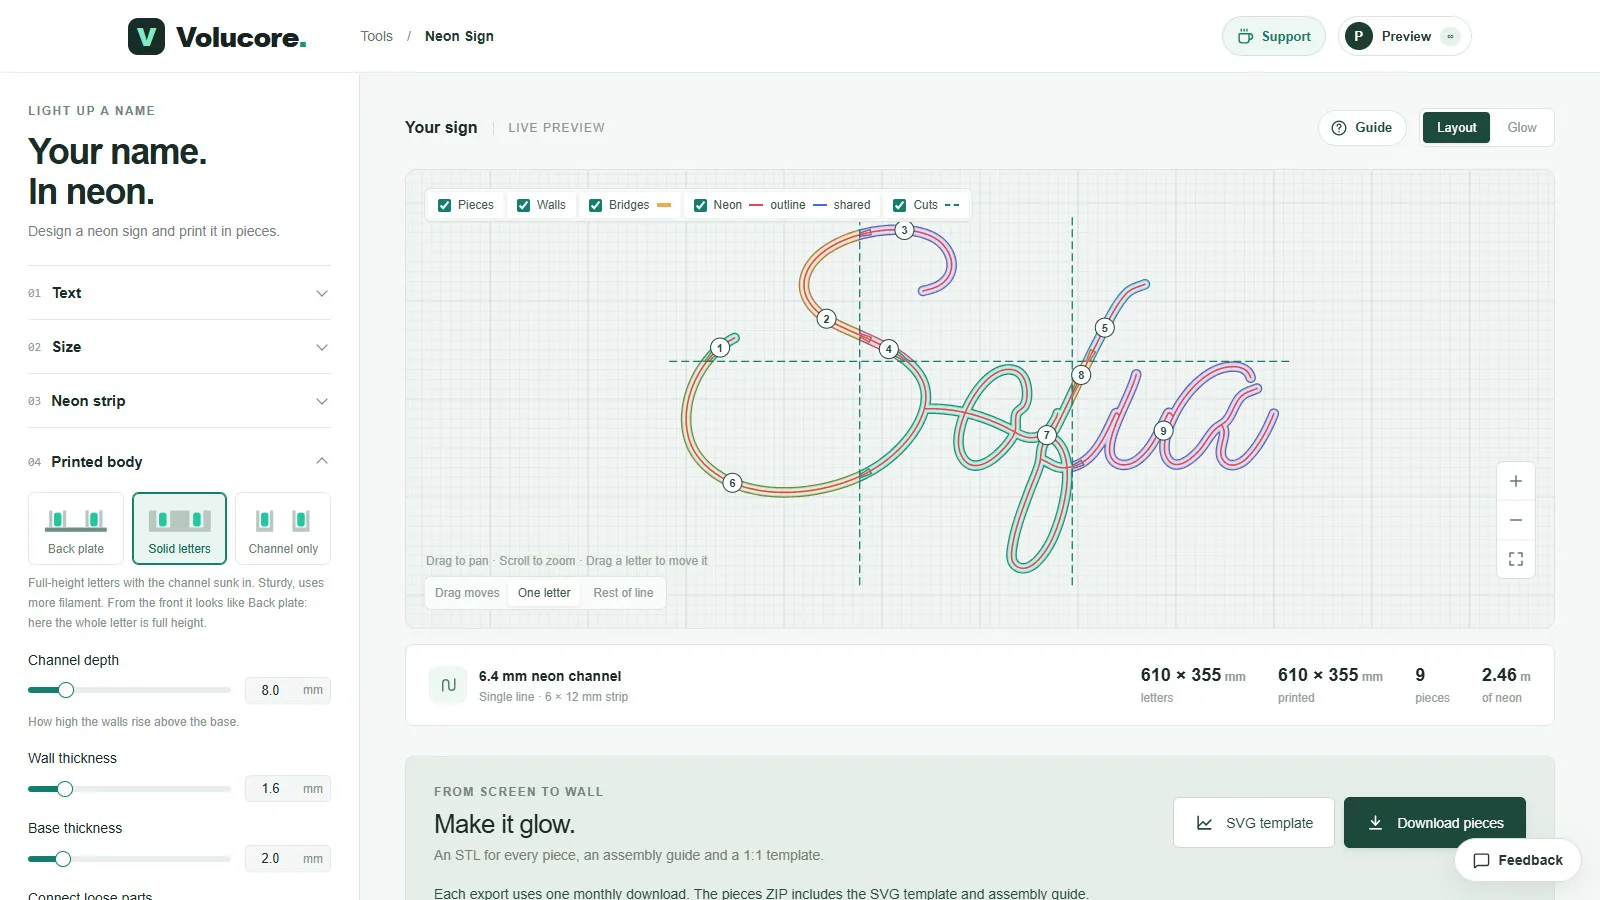 Back Plate, Solid Letters or Channel Only? Choosing the Body of a Neon SignCompare the three body styles of the Neon Sign tool, how they look when lit, how much filament they use, how to mount each one, and what channel depth, wall and bridges do.
 How to Make a 3D-Printed LED Neon Sign: The Complete GuideStep by step: choose an LED neon strip, design the sign, split it into printable pieces, print, assemble, wire and mount it. With real numbers from a 610 × 355 mm example.
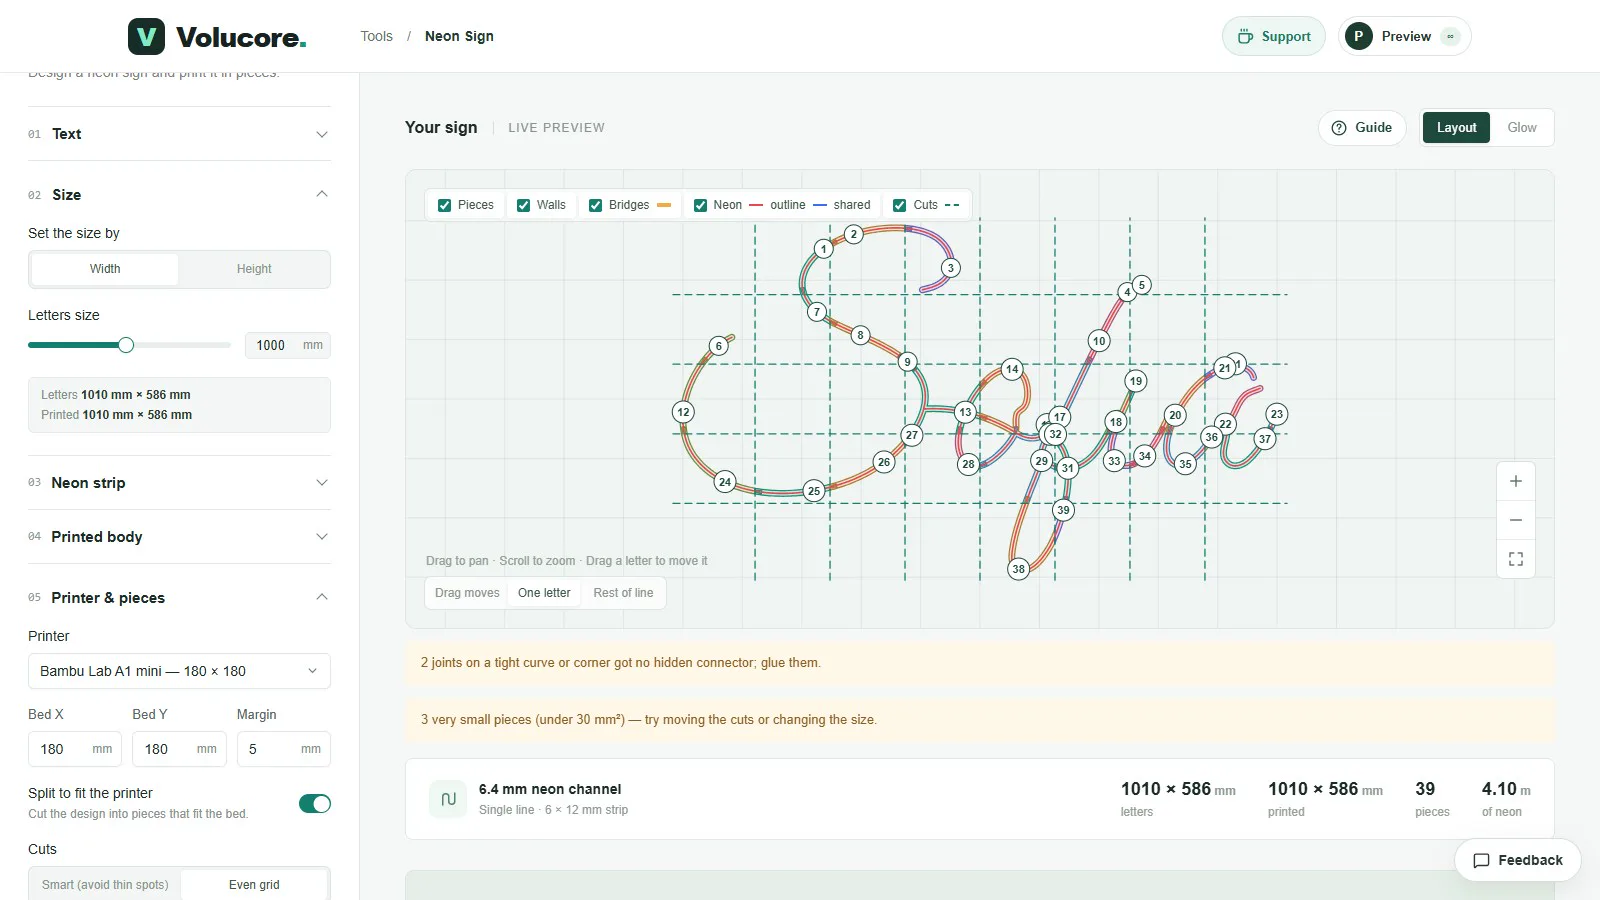 How to Split a Large Neon Sign into Printable PiecesHow the Neon Sign tool cuts a big sign into numbered pieces that fit your printer bed: bed size, margin, smart or even cuts, hidden dovetail connectors and what to do about warnings.
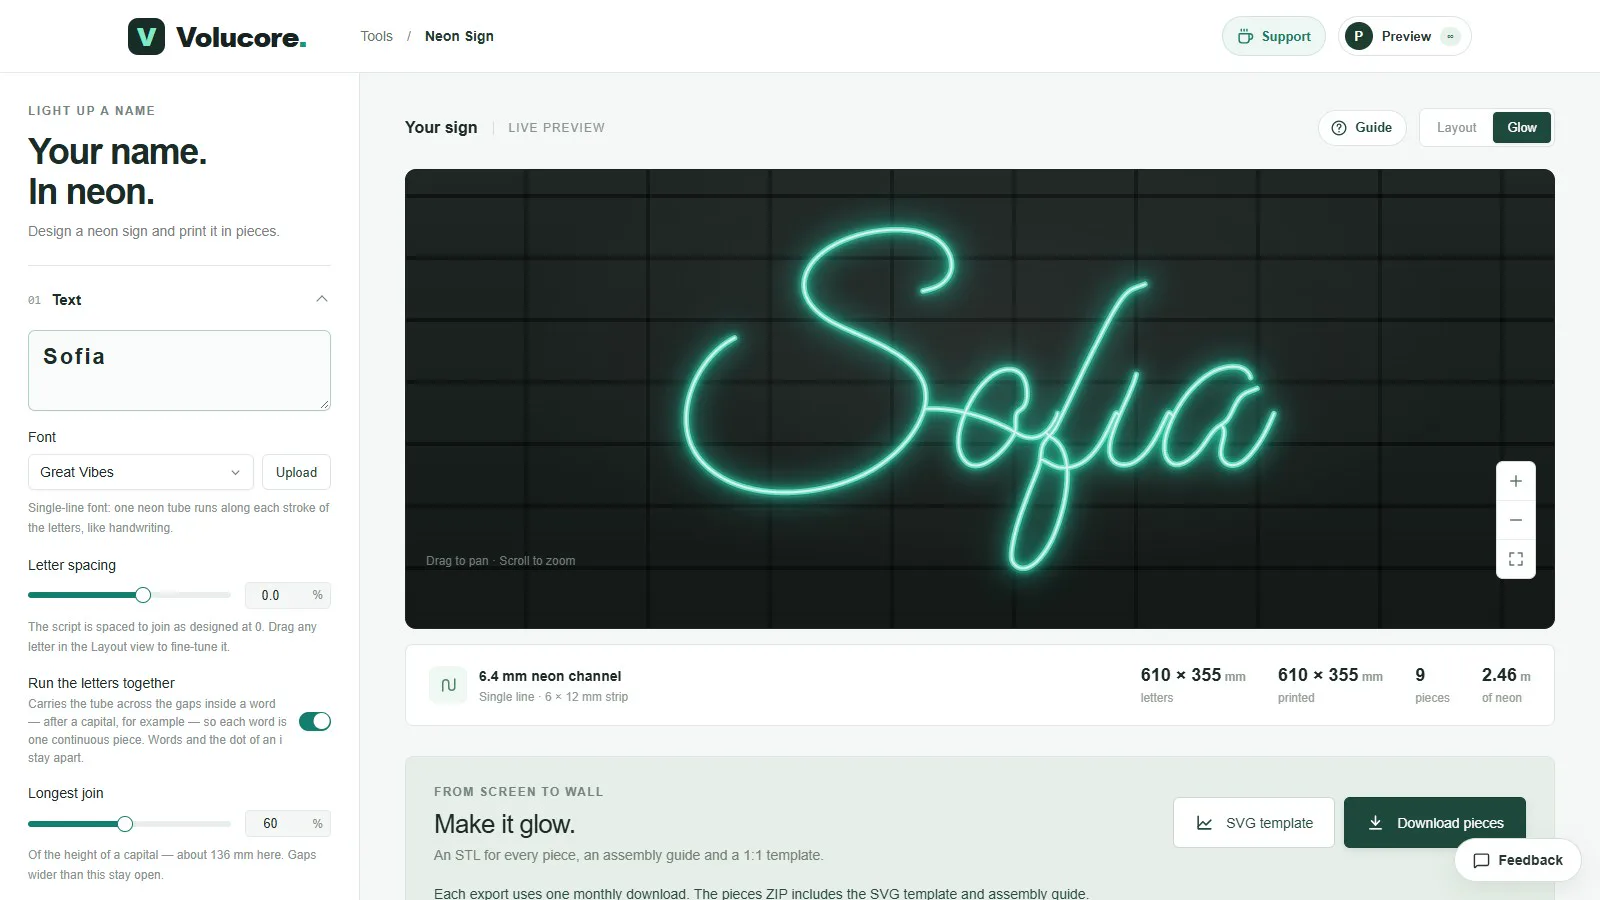 How to Wire and Power an LED Neon Sign (Power Supply, Cutting, Connections)Choose the right power supply for an LED neon strip, work out the wattage from the strip length, cut and seal the strip, connect it safely and test it before you finish the sign.
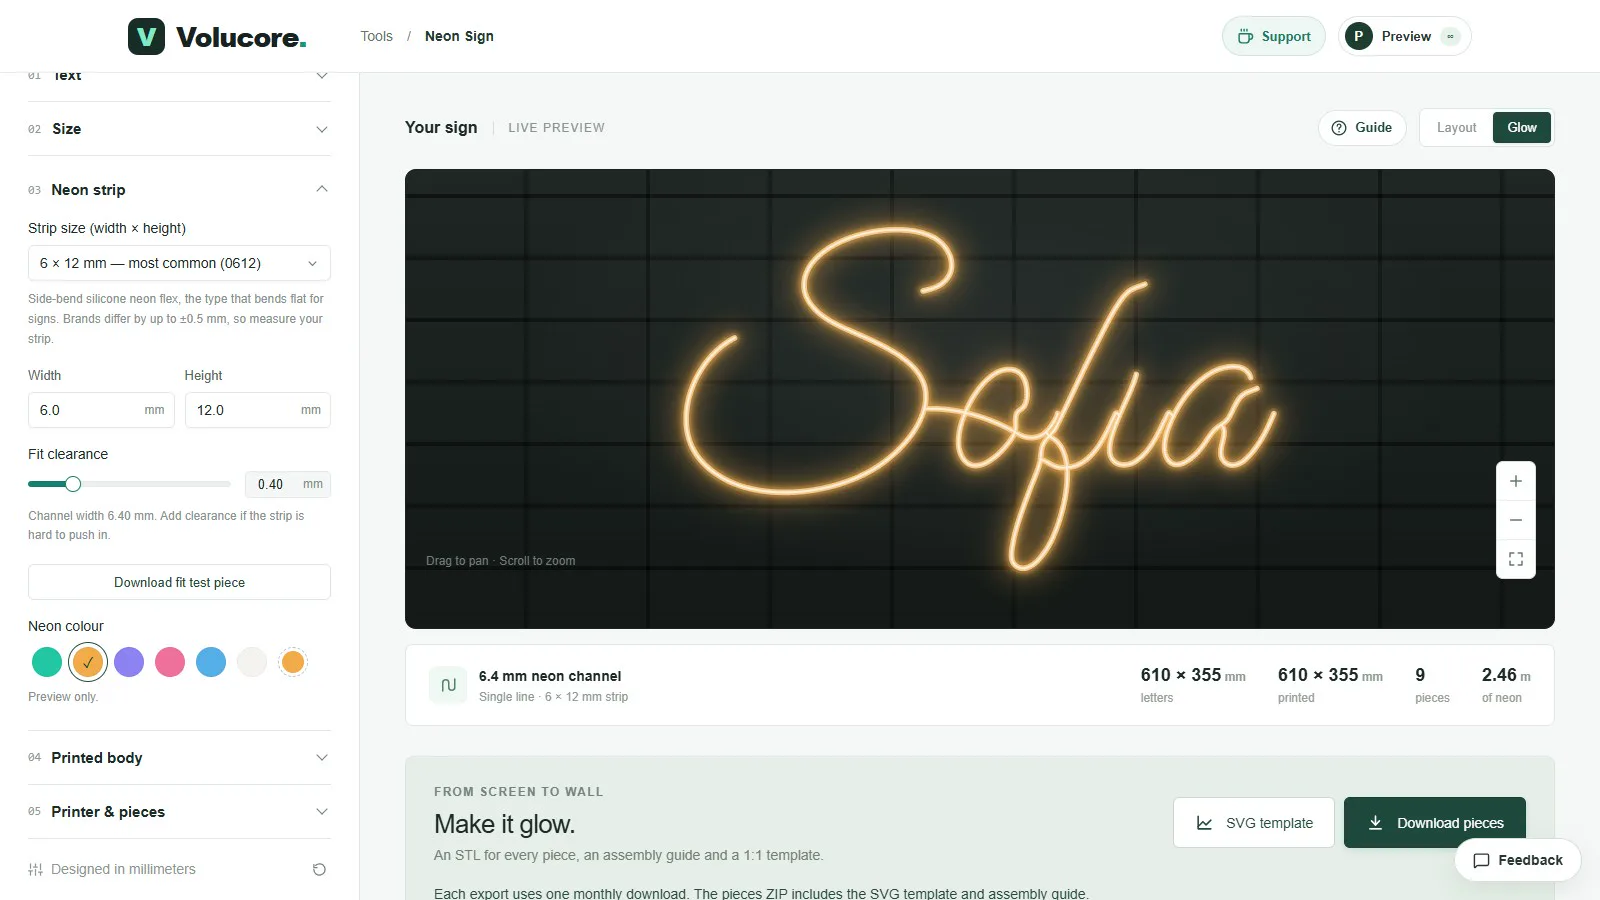 LED Neon Strip Sizes and Fit for 3D-Printed SignsHow to measure an LED neon strip, why 6 × 12 mm is the common size, how fit clearance works, and how to avoid a channel that is too tight or too loose.Mounting and Finishing a 3D-Printed Neon SignWays to mount a printed neon sign (clear acrylic, standoffs, tape, hanging), how to paint or sand the channel for a brighter glow, and how to hide the cable.
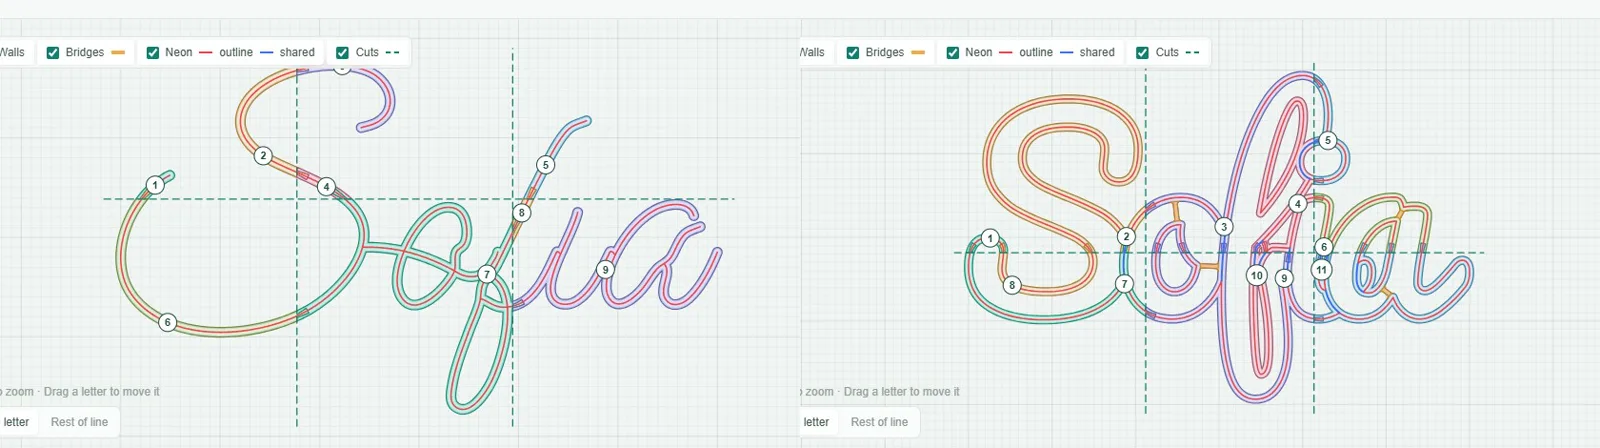 Single-Line vs Outline Fonts for Neon SignsHow a single-line script and an outline font are built differently for a 3D-printed LED neon sign, how much strip each uses, and which to choose for your name.
LED letters
3 guidesLight-up channel letters: lids, diffusion, LED strips and sizing.
 Choosing LED Strips for 3D-Printed Channel LettersCOB or SMD, 12 V or 24 V, how bright, how much power, how wide: how to choose an LED strip that fits and lights 3D-printed channel letters, and what the LED Letters tool estimates.Diffuser Lids and Even Glow for Light-Up LettersHow to avoid hot spots in 3D-printed light-up letters: lid colour and thickness, infill, depth, LED strip type and spacing, and the four lid styles of LED Letters.How to Make 3D-Printed LED Channel Letters (Light-Up Letters)Design and print light-up channel letters: walls, depth, lid style, LED strip fit, wire holes, logo upload, and the STL, DXF and SVG files you get.
Lamps
2 guidesPrinting lamp shades that look good and are safe to use.
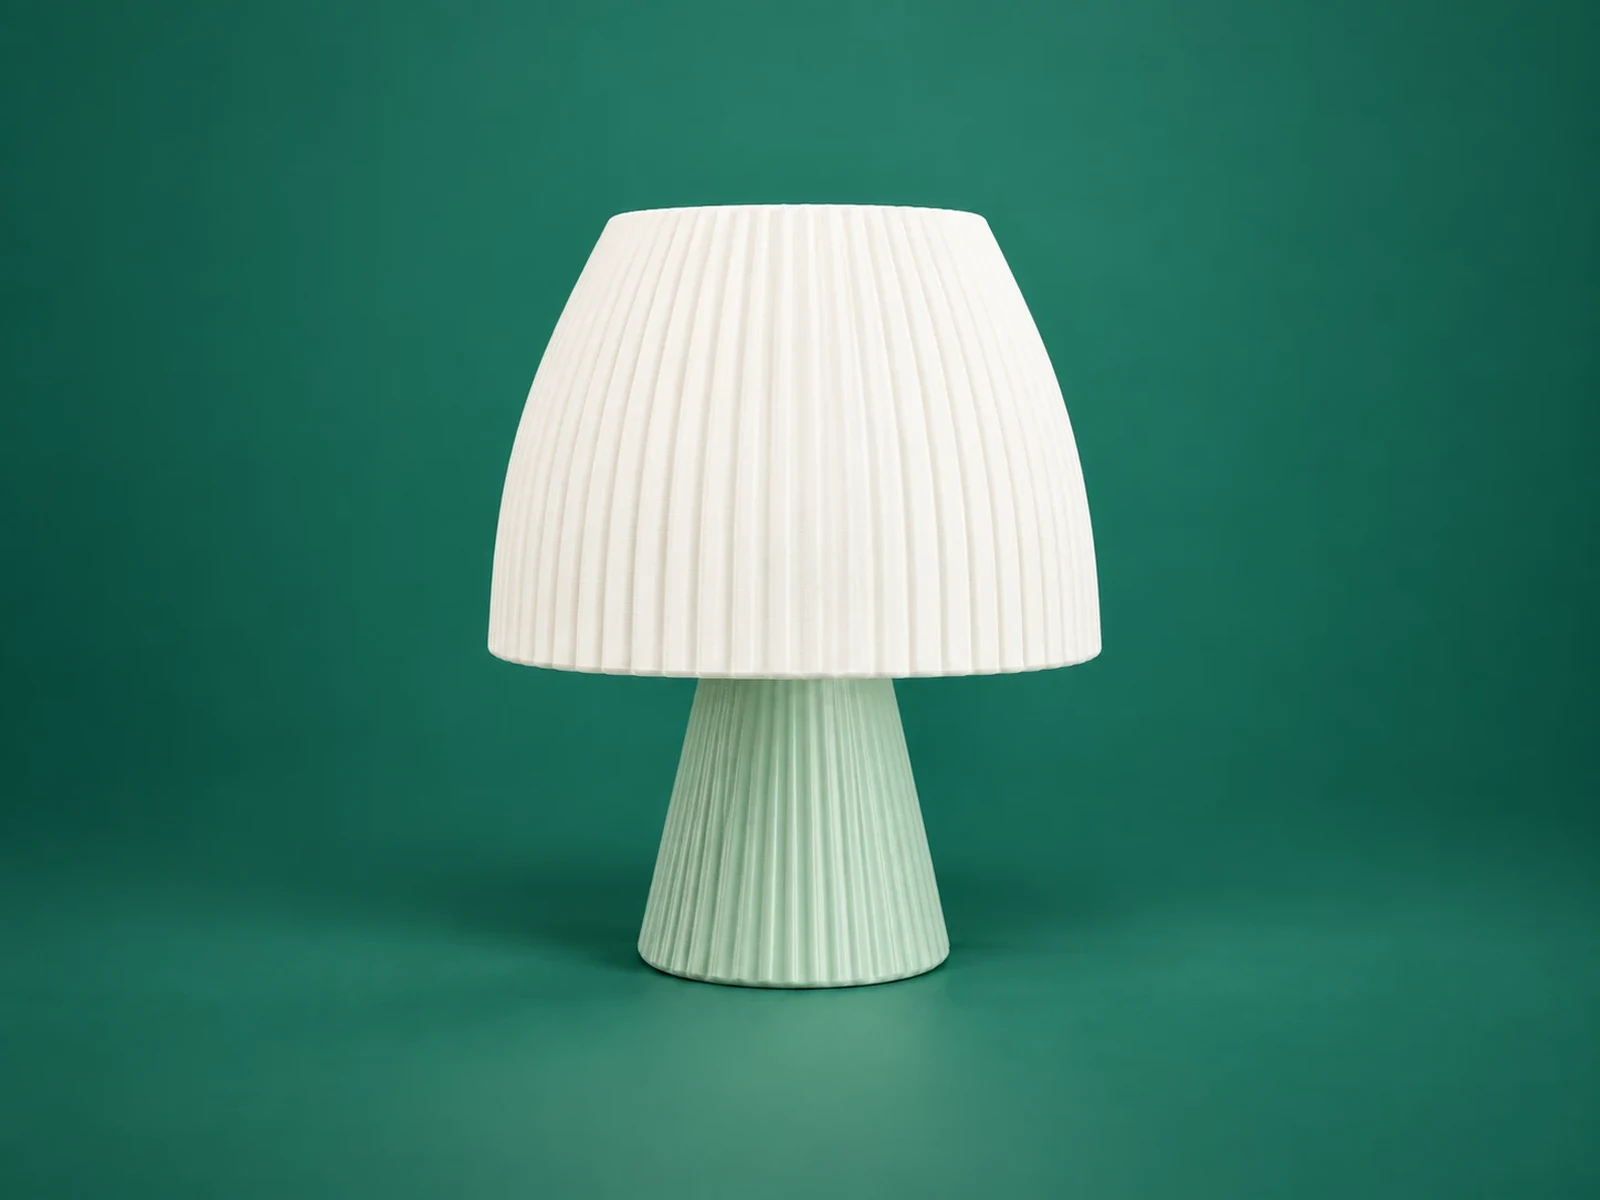 3D-Printed Lamp Safety: Bulbs, Lampholders, Heat and CablesWhat to check before you plug in a 3D-printed lamp: LED bulbs only, a certified lampholder, heat-resistant material, cable strain relief and who should do the wiring.How to Design a 3D-Printed Lamp Shade That Glows WellWall thickness, shape, lampholder opening and base: how to design a printable table lamp shade with Lamp Studio and what to print first.
Names, keychains & gifts
4 guidesMulticolor name signs, articulated keychains and bead charms.
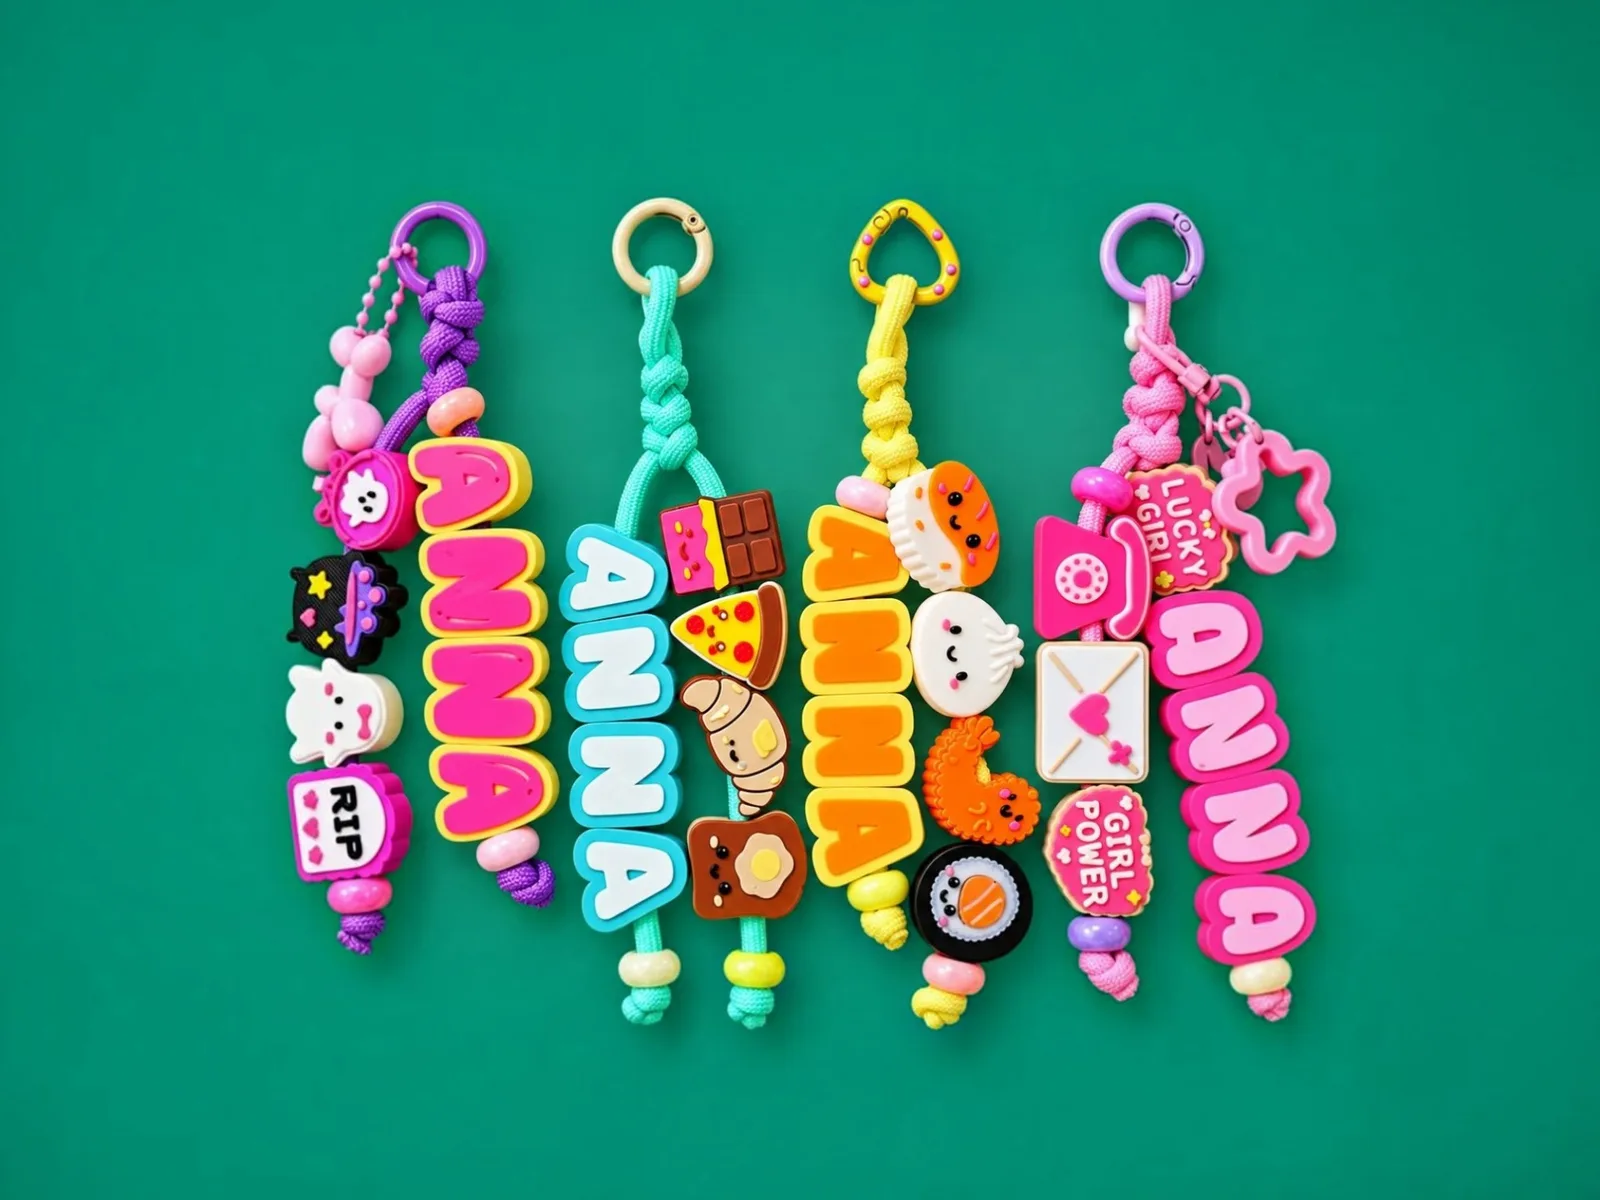 3D-Printed Name Beads and Charms: Cord Holes, Colours and PrintingMake letter beads and charms for bag charms, keychains and bracelets: choose the style, cord hole size, colours and charms, and print without supports.
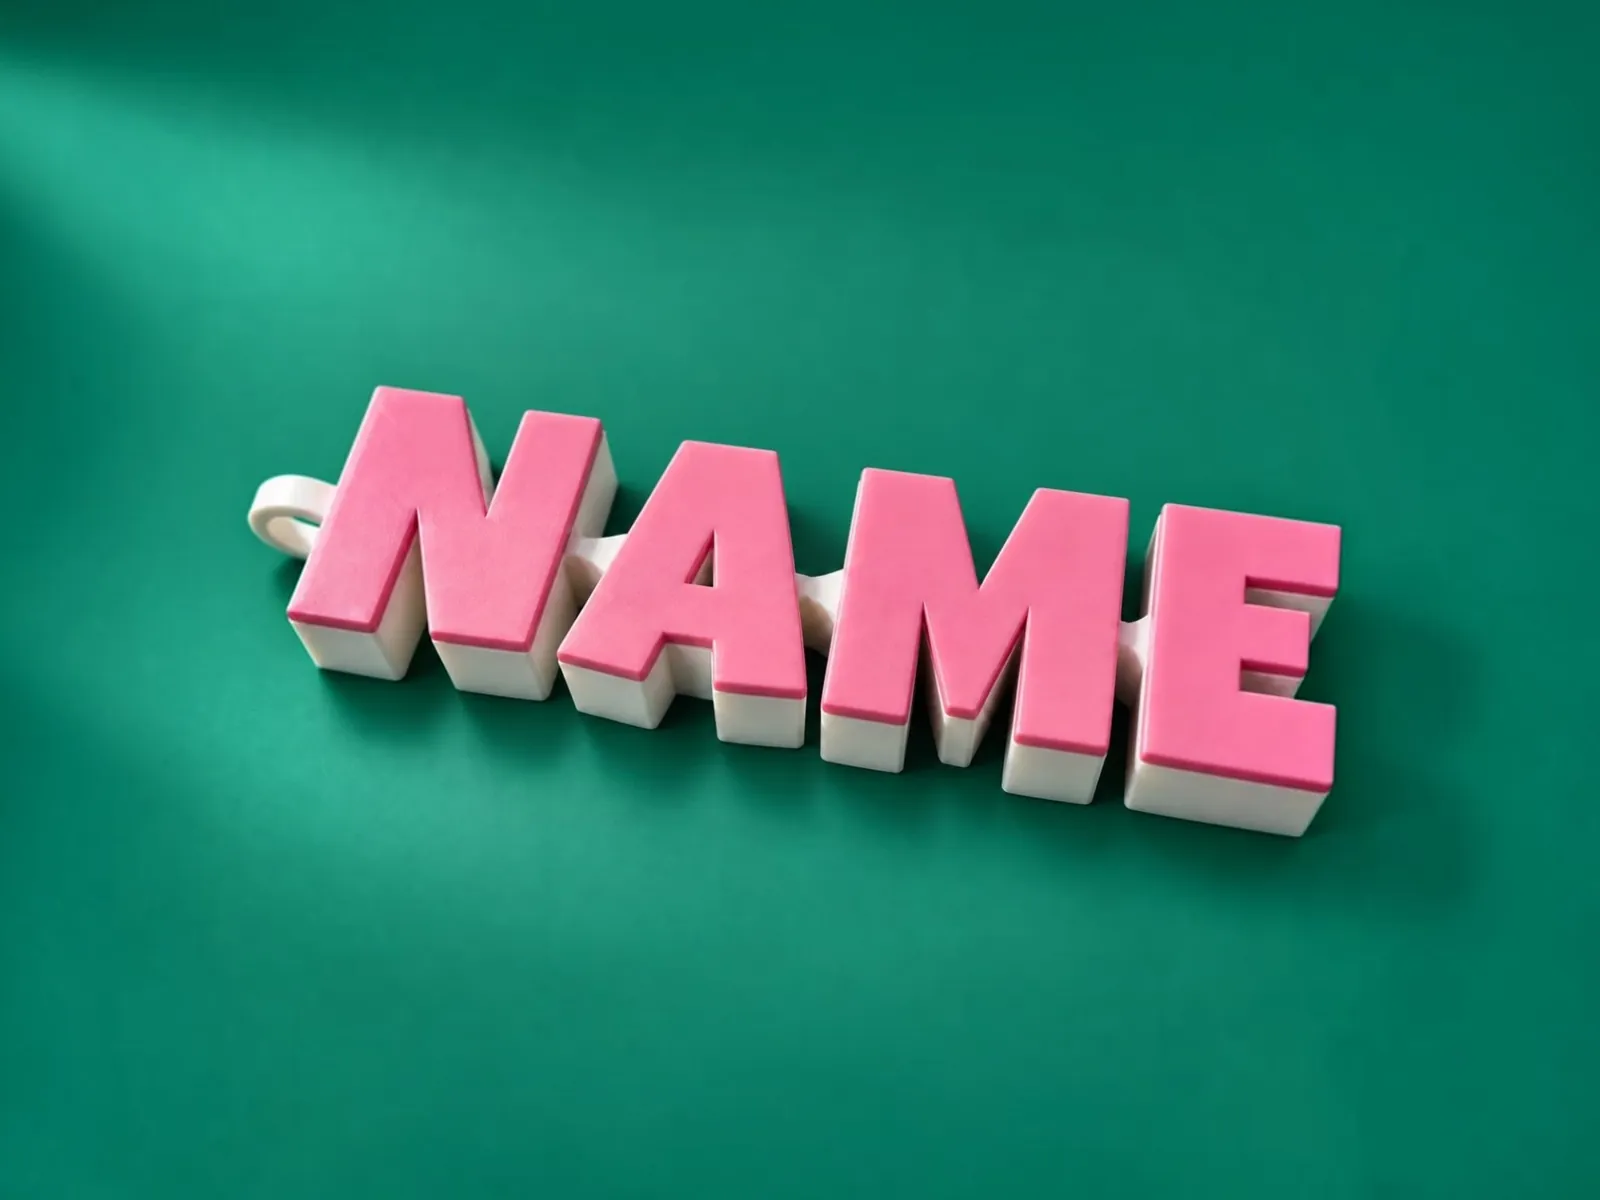 Articulated Name Keychains: How Print-in-Place Joints WorkHow a 3D-printed articulated keychain moves, how to set the letter height, thickness and joint clearance, and how to tune clearance and layer height for loose, working joints.
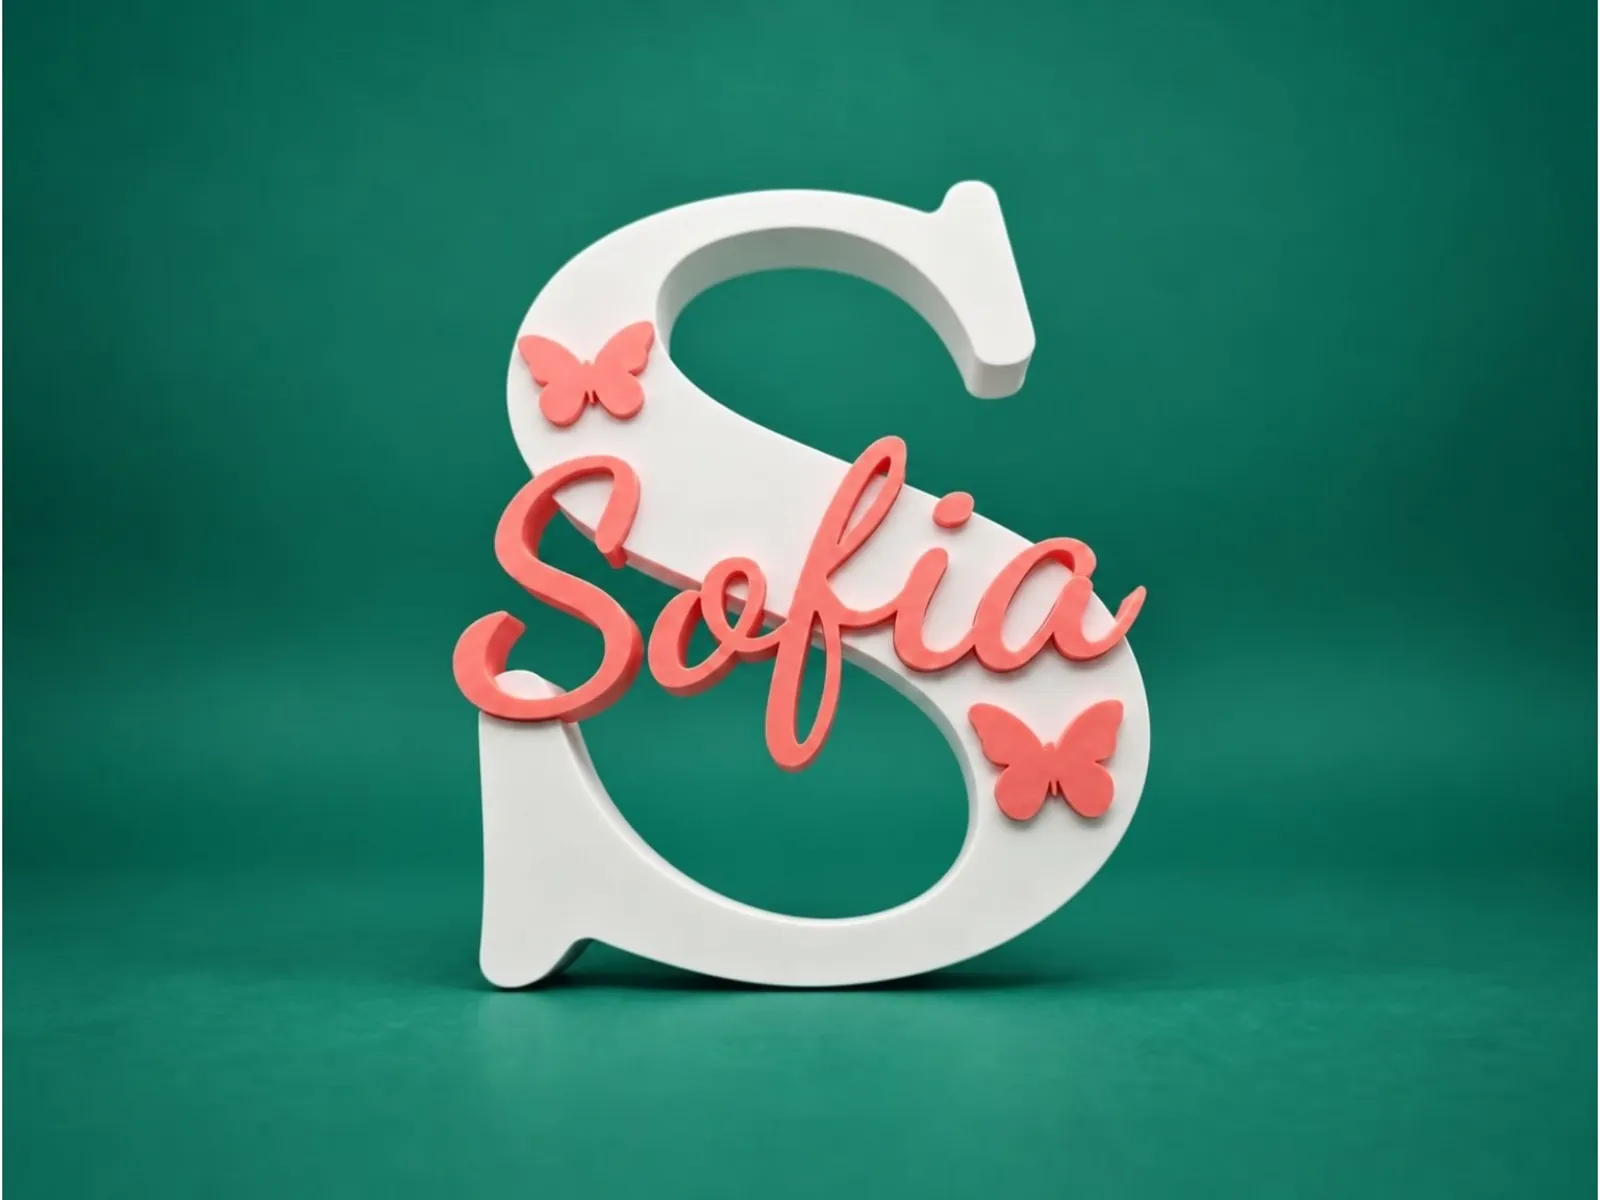 How to Make a Personalized 3D-Printed Name Sign (Letter, Heart or Any Shape)Put names and icons inside a big letter or a shape: choose fonts, set sizes and inlay depth, pick colours and print a multicolor name sign for a nursery, desk or gift.Multicolor 3MF Files: How to Print Names in Colour in Bambu Studio, OrcaSlicer, Cura and PrusaSlicerWhat a multicolor 3MF is, how each slicer reads it (Bambu Studio, OrcaSlicer, Creality Print, Cura, PrusaSlicer), how many filaments you need and what to do on a single-colour printer.
3D printing basics
3 guidesFile formats, terms and settings explained in plain language.
3D Printing Glossary: The Terms Used in Our GuidesPlain-language definitions of 3D printing terms: bed, perimeter, infill, layer height, slicer, bridging, supports, brim, clearance, STL, 3MF, dovetail, diffuser and more.Calibrate Your Printer for Tight Fits: Strips, Joints and LampholdersHow to measure and fix dimensional accuracy so printed slots, dovetails, joints and lampholder bores fit: calibration prints, flow, first layer, horizontal expansion and clearance.STL, 3MF, SVG, DXF: Which File Do You Need for 3D Printing?What each file format stores, what it is for, which of the Volucore tools export it, and how to choose between STL and 3MF for printing, and SVG and DXF for templates and laser cutting.