3D-Printed Name Beads and Charms: Cord Holes, Colours and Printing
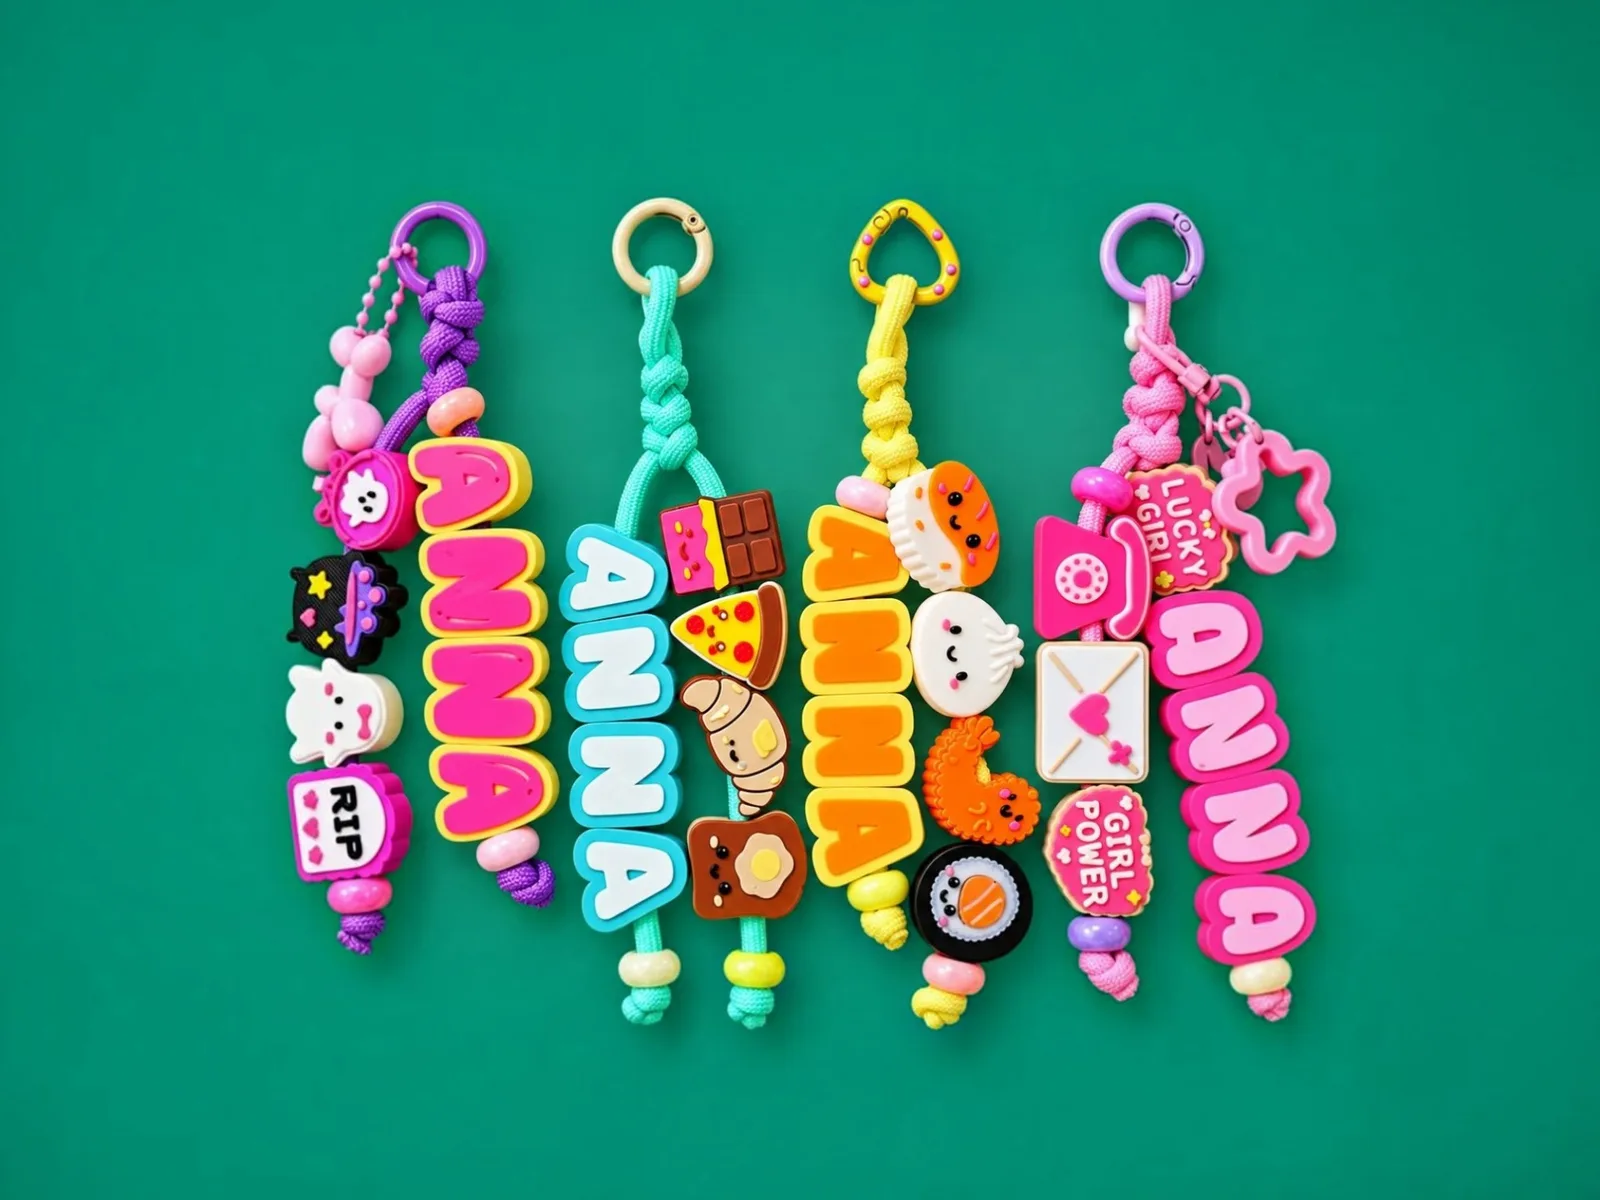
Letter beads, chunky and colourful, threaded on a cord, make a bag charm, a keychain or a bracelet that spells a name. Printing them is easy because the beads lie flat and need no supports, but the cord hole, the colours and the order of the letters need some thought. This guide covers the choices in Name Beads, from the first design to the finished strand.
The beads
Type a name and each letter becomes a chunky bead with a cord hole running through it. Choose one of 29 fonts or a hand-drawn sticker alphabet. Pick a glossy or outlined style, a colour set and colours for each letter. Set the bead thickness and the hole.
Planning the strand
- Letters in order, with a charm or a spacer bead between names or at both ends.
- Length: a bag charm is short (the name and a clasp); a bracelet must fit the wrist, with room for knots.
- Weight: chunky beads are heavy. A long name on a thin cord can pull; use a stronger cord.
Choosing the cord hole
The hole diameter is adjustable from 2 to 9 mm. Pick a hole a little larger than your cord. For a 4 mm paracord, 5 mm is a good start. Print one letter first and thread it before you print the whole name.
| Cord | Hole to try |
|---|---|
| Thin cord, about 1 to 2 mm | 2 to 3 mm |
| Paracord, about 4 mm | About 5 mm |
| Thick rope or leather, about 6 mm | 7 to 8 mm |
Charms
Add a strand of charms: hearts, stars, food, animals or your own SVG. A charm is printed like a bead with a hole, so it threads on the cord. An imported SVG needs filled shapes.
Printing without supports
Beads print flat, with the coloured face up. The cord hole runs sideways through each bead, which most printers bridge without supports. If your printer sags on the bridge, adjust your slicer’s bridging settings, such as bridge speed and fan speed, and print one bead as a test.
Colour and the number of filaments
Every bead is one object, and every colour is a part assigned to a filament. Download a multicolor 3MF for Bambu Studio and OrcaSlicer, or one STL per filament. Fit to 4 filaments merges the colours so a design fits a four-spool changer. See the 3MF guide.
Colour ideas
- Rainbow: a different colour for every letter.
- Two-tone: alternating letters, or a name in one colour with charms in another.
- Pastel set: soft colours for gifts.
- Team colours: use the colours of a club or school.
Threading and finishing
- Remove any stringing and check each hole with a needle or a drill bit.
- Thread the beads onto the cord in order and tie a knot at each end.
- Add a keyring or a clasp.
- For bracelets, measure the wrist and leave room for the knots.
Troubleshooting
| Problem | Fix |
|---|---|
| Cord will not go through | Increase the hole size, or clean the hole with a drill bit |
| Beads slide too freely | Reduce the hole, or tie a knot between beads |
| Sagging at the top of the hole | Tune bridging speed and cooling |
| Colours bleed or look dull | Check filament dryness and print slower for the colour faces |
Questions people ask
Which cord fits?
The hole diameter is adjustable from 2 to 9 mm. For 4 mm paracord, a 5 mm hole is a good start; print one letter first to check the fit.
Do the beads need supports?
No. The beads print flat, coloured face up, and the cord hole runs sideways through each bead, which most printers bridge without supports.
Can I use my own artwork or font?
Yes. Import an SVG with filled shapes as a charm, or upload a .ttf, .otf or .woff font. Your files are read in your browser.
Can I make a bracelet?
Yes. Choose a cord that stretches or can be knotted to size, measure the wrist, and leave room for the knots.
Keep reading
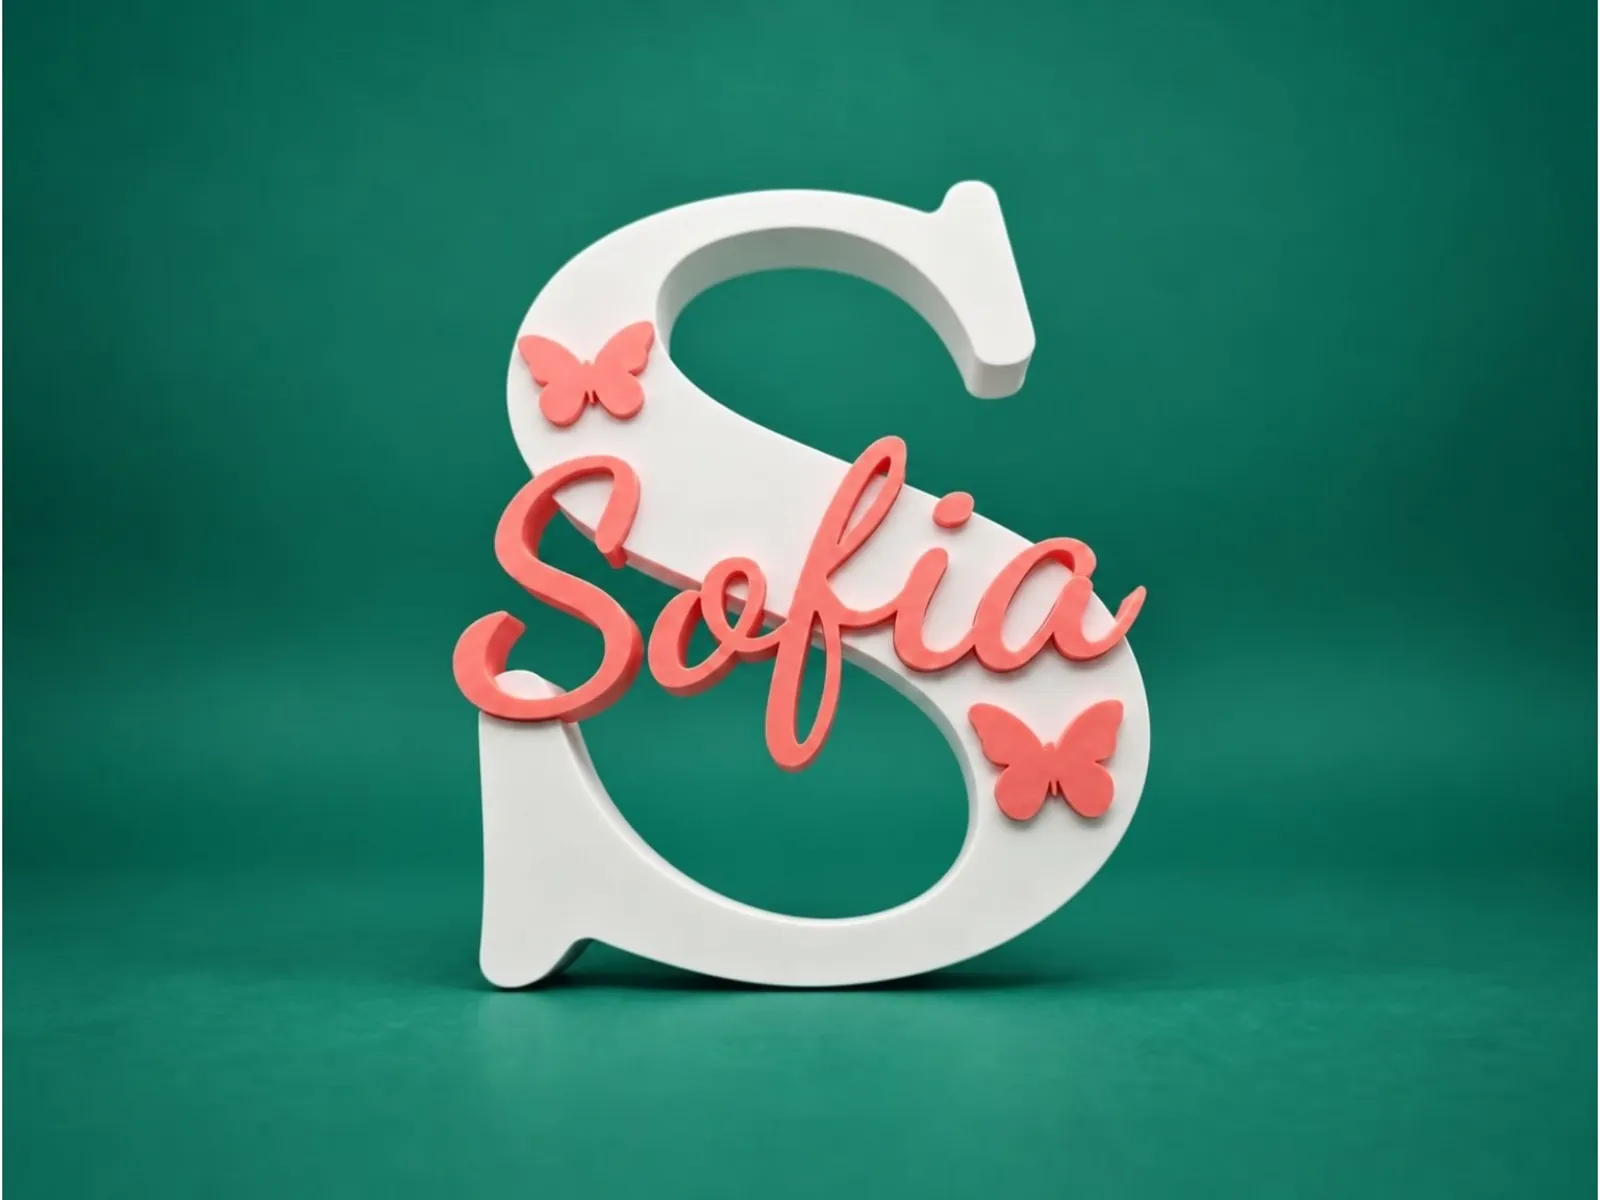 Multicolor 3MF Files: How to Print Names in Colour in Bambu Studio, OrcaSlicer, Cura and PrusaSlicerWhat a multicolor 3MF is, how each slicer reads it (Bambu Studio, OrcaSlicer, Creality Print, Cura, PrusaSlicer), how many filaments you need and what to do on a single-colour printer.
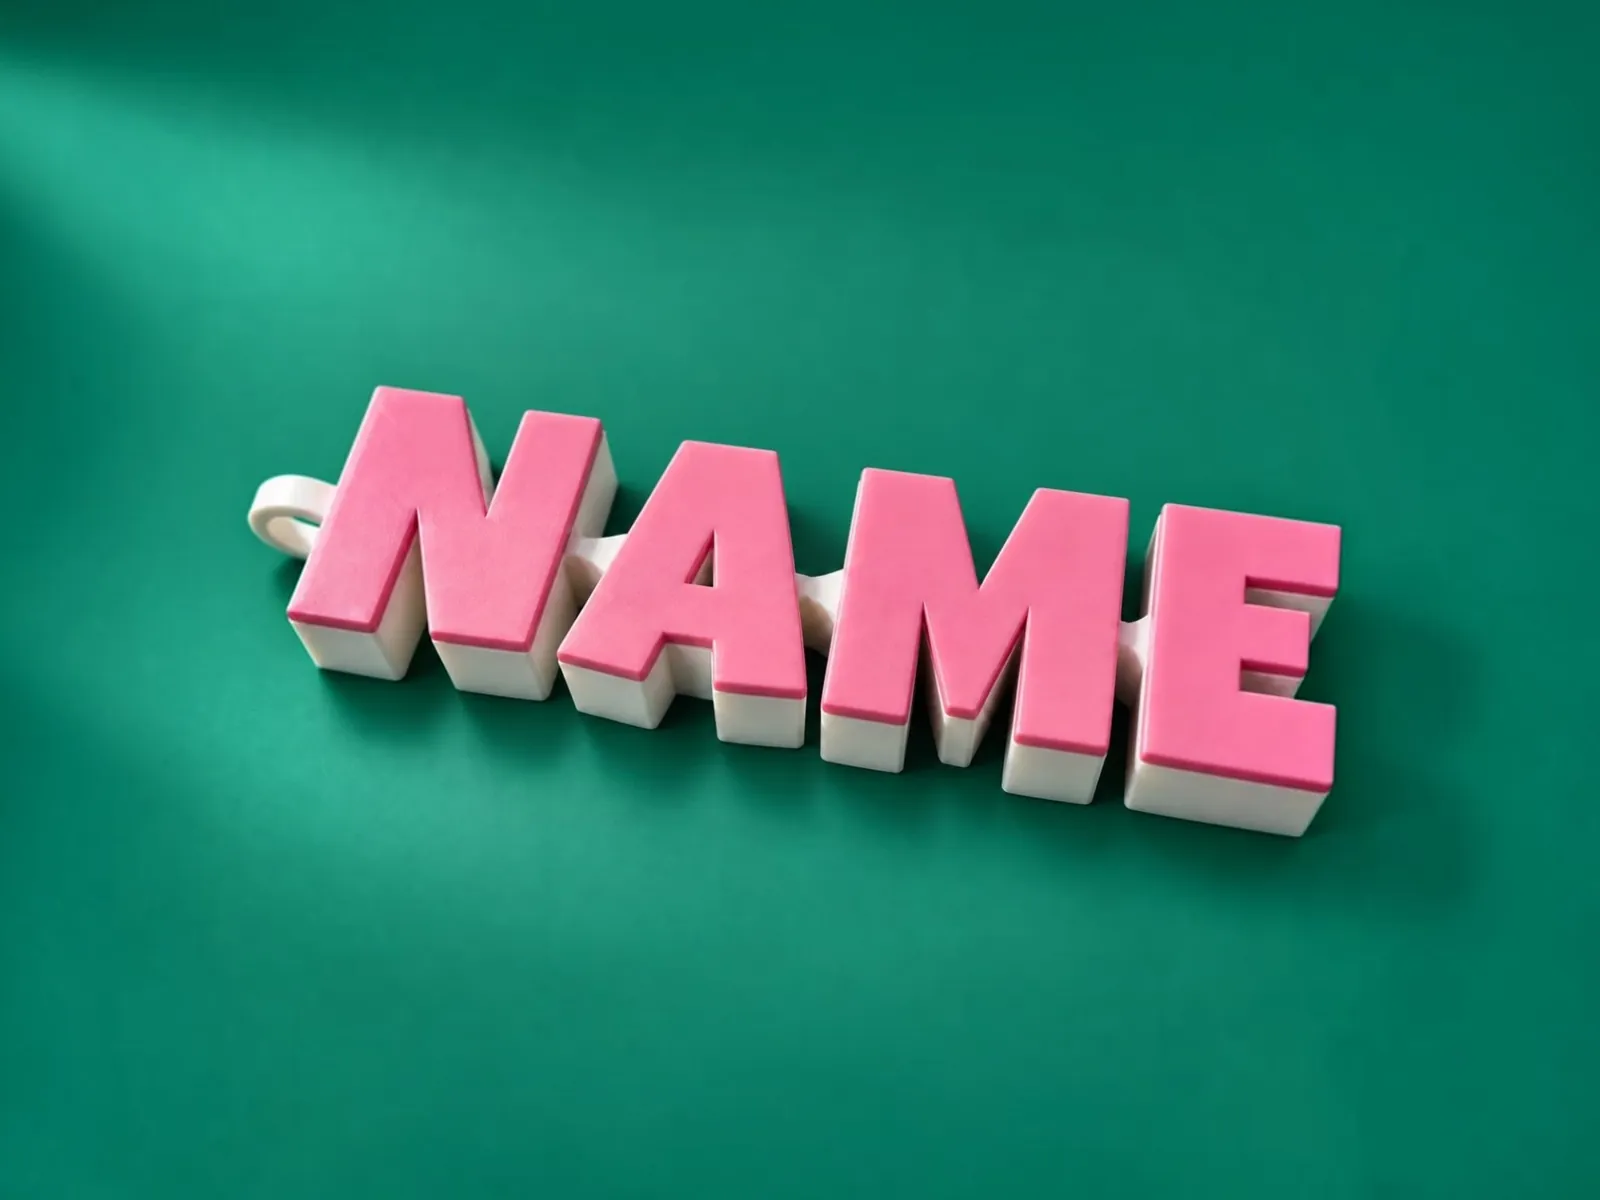 Articulated Name Keychains: How Print-in-Place Joints WorkHow a 3D-printed articulated keychain moves, how to set the letter height, thickness and joint clearance, and how to tune clearance and layer height for loose, working joints.How to Make a Personalized 3D-Printed Name Sign (Letter, Heart or Any Shape)Put names and icons inside a big letter or a shape: choose fonts, set sizes and inlay depth, pick colours and print a multicolor name sign for a nursery, desk or gift.
Written and checked by the Volucore team against the behaviour of our tools. Spotted a mistake or something out of date? Tell us and we will fix it.