3D Printing Overhangs and Supports: When You Need Them
An overhang is a part of a model that sticks out with nothing under it. A printer builds from the bottom up, so the plastic for an overhang is placed in the air. A little overhang is fine; too much droops, looks rough or fails. Supports are temporary structures that hold the plastic up. This guide shows when your slicer adds them and how to control them.
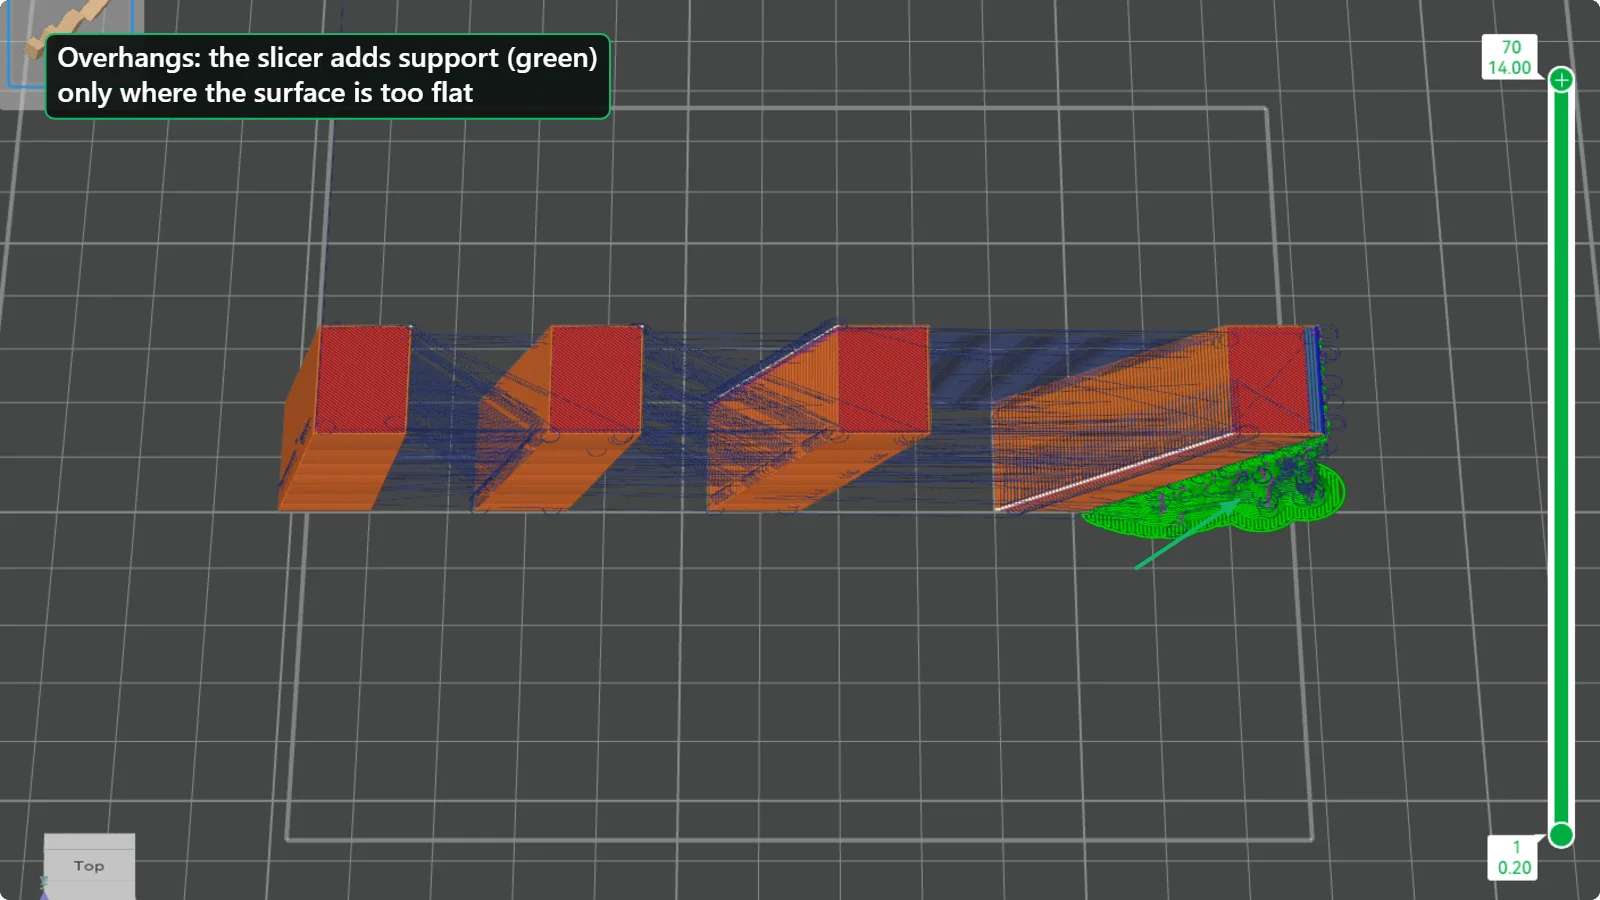
A simple test: four leaning blocks
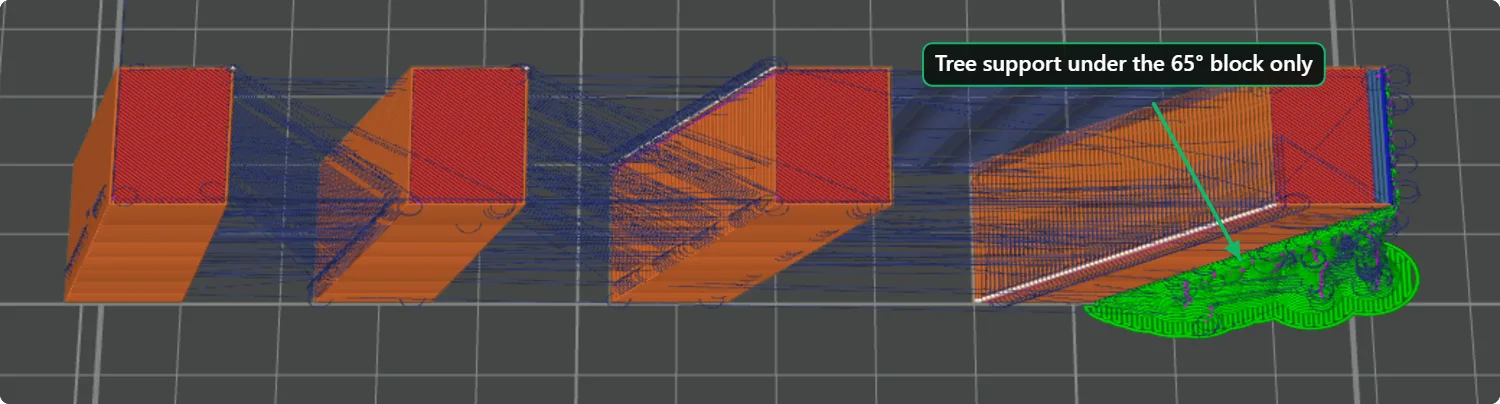
To see how a slicer decides, we modelled four blocks that lean outwards by 20, 35, 50 and 65 degrees from vertical, and sliced them with supports off and with supports on. With the default threshold, only the steepest block, the one leaning 65 degrees, received support. The 20, 35 and 50 degree blocks did not.
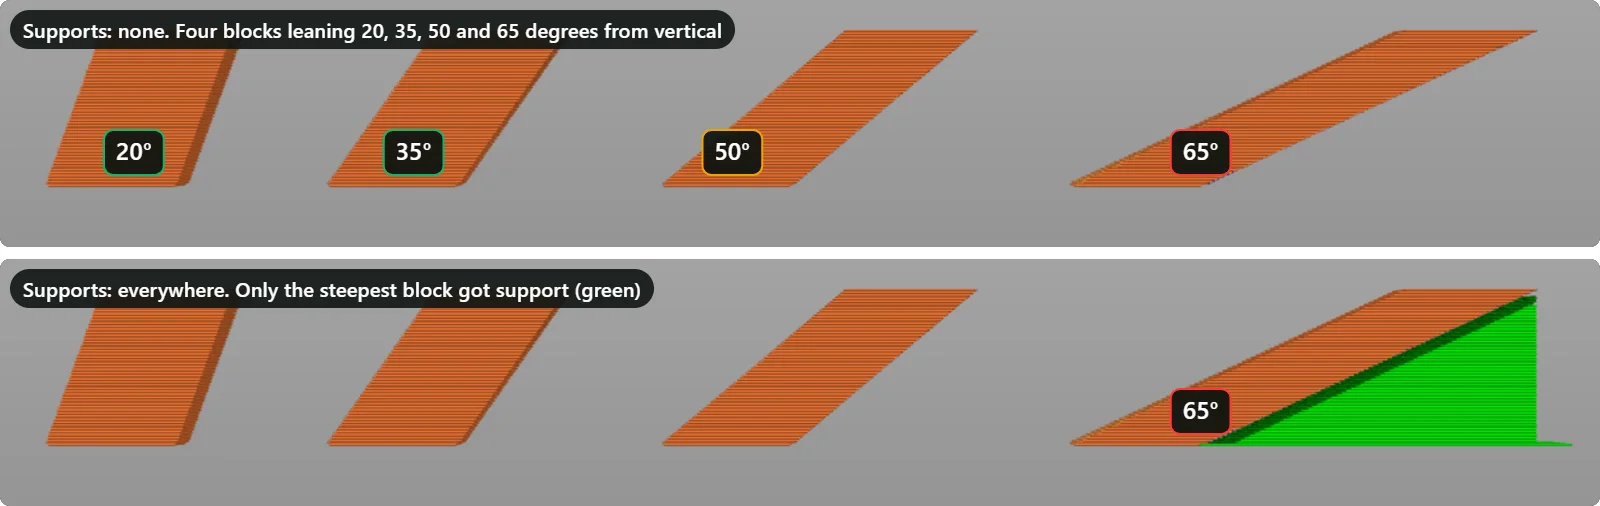
What the threshold angle means
The slicer compares the angle of each surface with a threshold. Surfaces that are flatter than the threshold get support. In PrusaSlicer the field is called “Overhang threshold” (35° in our profile), and the angle is measured from the horizontal bed, so a vertical wall is 90°. In Bambu Studio the same idea is called “Threshold angle” (30° in our profile). A block that leans 65° from vertical has a surface only 25° above flat, which is below both thresholds, so it is supported. A block leaning 50° has a surface at 40° and is not.
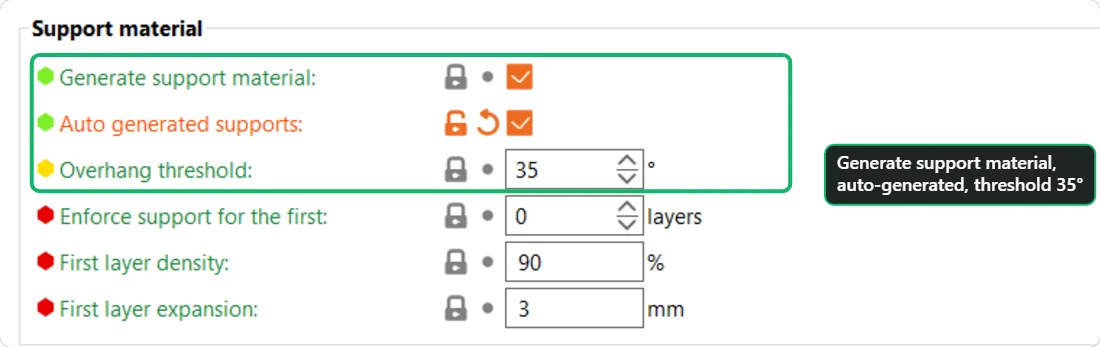
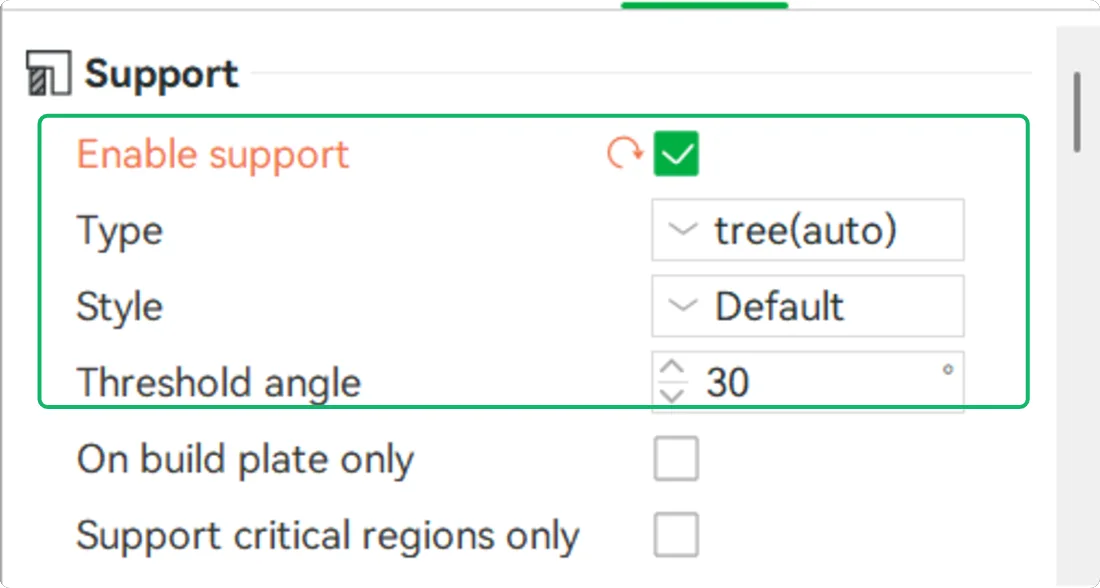
Tree supports or normal supports?
Bambu Studio offers “tree (auto)” as its default. A tree support grows branches from the plate (or from the model) to touch the overhang in a few points. It uses less plastic and usually leaves a cleaner surface, and it is easier to remove. Here it was generated only under the 65 degree block.
Normal supports (the “grid” and “snug” styles in PrusaSlicer) fill the whole space under the overhang. They are stiffer and hold large flat overhangs better, but they use more material and leave more marks. PrusaSlicer’s “Top contact Z distance” is 0.2 mm in the profile we used, a gap between the support and the model so that the support can be pulled off.
Ways to avoid supports
- Reorient the part. Rotate it so the large overhang faces upwards or becomes a gentle slope.
- Add a chamfer. If you design the model, replace a horizontal underside with a 45 degree chamfer.
- Split the model. Cut it where the overhang starts and print each half on its flat cut face.
- Use the cooling. Bambu PLA Basic turns on forced cooling for overhangs, with the fan at 100 % there, which is why moderate overhangs print cleanly.
Control where supports go
PrusaSlicer’s Supports list in the right-hand panel has four choices: None, Support on build plate only, For support enforcers only and Everywhere. “Enforcers only” is useful: you paint the exact places you want supports and the slicer adds nothing else. Bambu Studio has the same idea, called support painting, plus a “On build plate only” checkbox that stops supports from growing on the model.
Check the preview before you print
Slice the plate and look at the preview with the layer slider. In both PrusaSlicer and Bambu Studio the supports are drawn in green. Scrub to the layer just above where an overhang starts. If the area under it is empty and no green appears, nothing holds that plastic up. If the green fills a hollow you did not expect, change the orientation or the threshold and slice again.
Making supports easier to remove
- Leave a small gap between support and part. PrusaSlicer’s default is 0.2 mm in our profile. A smaller gap gives a smoother underside but the support is harder to break off.
- Print supports on the plate only (“On build plate only”) when the model has detail that a support would damage.
- Use pliers and a thin blade. Break the support off in pieces and then trim the marks; do not pull it off in one go.
- Design a hole as a teardrop. A round hole lying on its side has an overhang at the top. A teardrop shape, with a 45 degree point at the top, prints without any support.
Questions people ask
Do I need supports for every overhang?
No. Small and shallow overhangs print without them, and supports also leave marks. Add them only where the preview or a test shows the plastic would hang in the air.
Why does the underside look rough even with supports?
The surface that touches a support is always rougher. Reduce it with a smaller contact gap, or reorient the part so the important face is not the one on the supports.
What is the difference between an overhang and a bridge?
An overhang is plastic that sticks out on one side. A bridge is plastic stretched between two supported points. Bridges have their own guide.
Keep reading
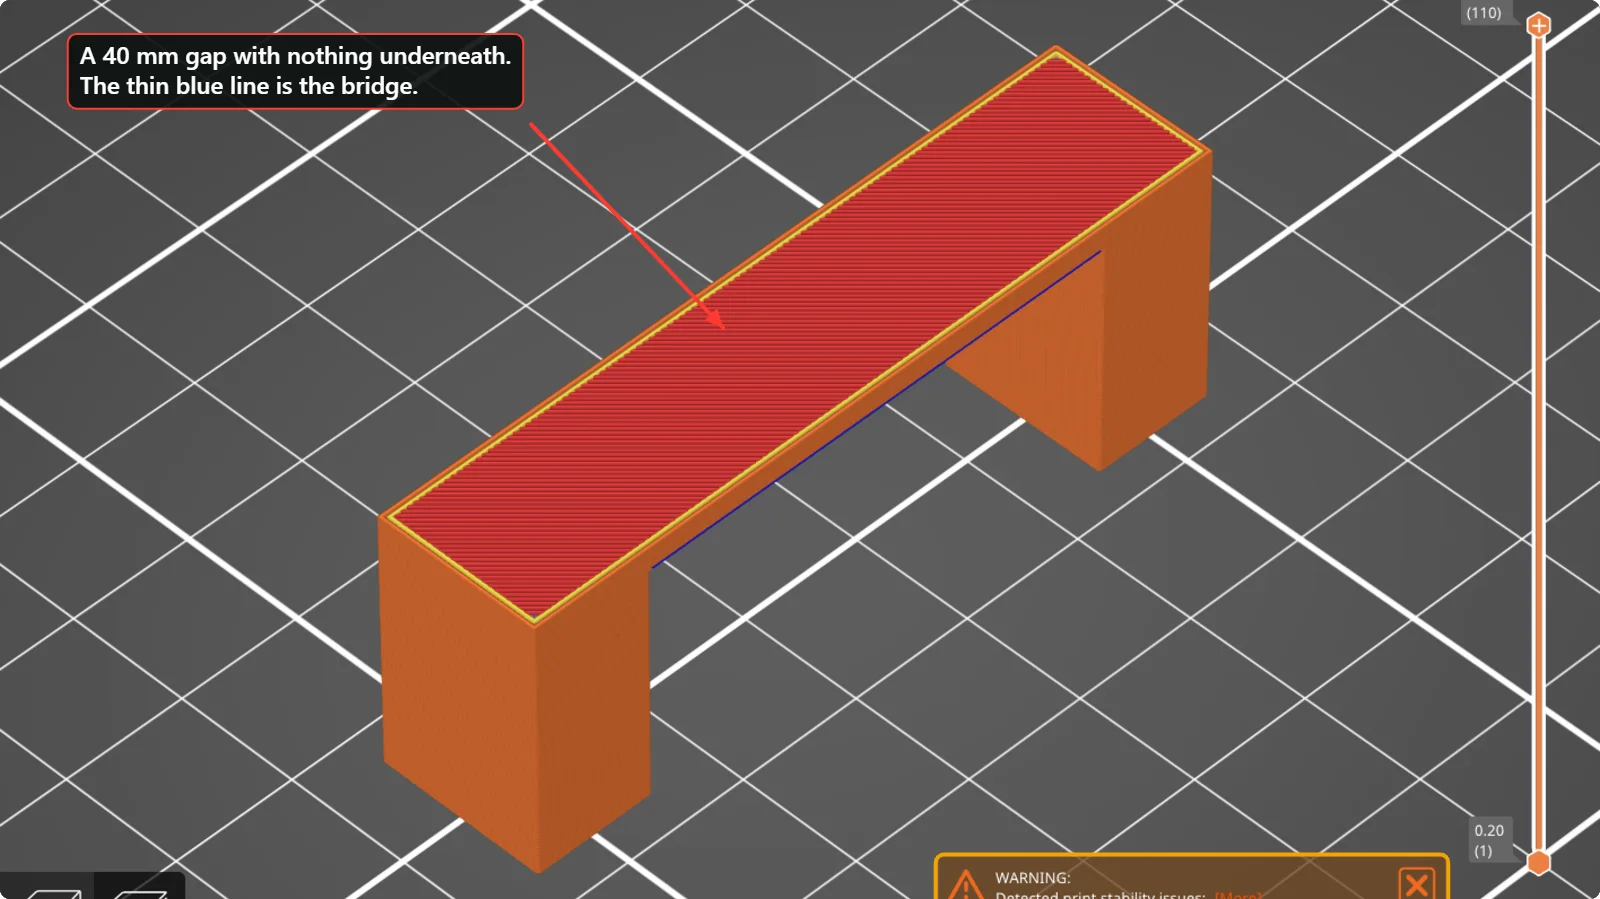 Bridging in 3D Printing: Why Bridges Sag and How to Fix ThemA bridge is plastic printed across a gap with nothing underneath. See how slicers mark bridges, what the warning “long bridging extrusions” means, and which speed, fan and design changes stop sagging.
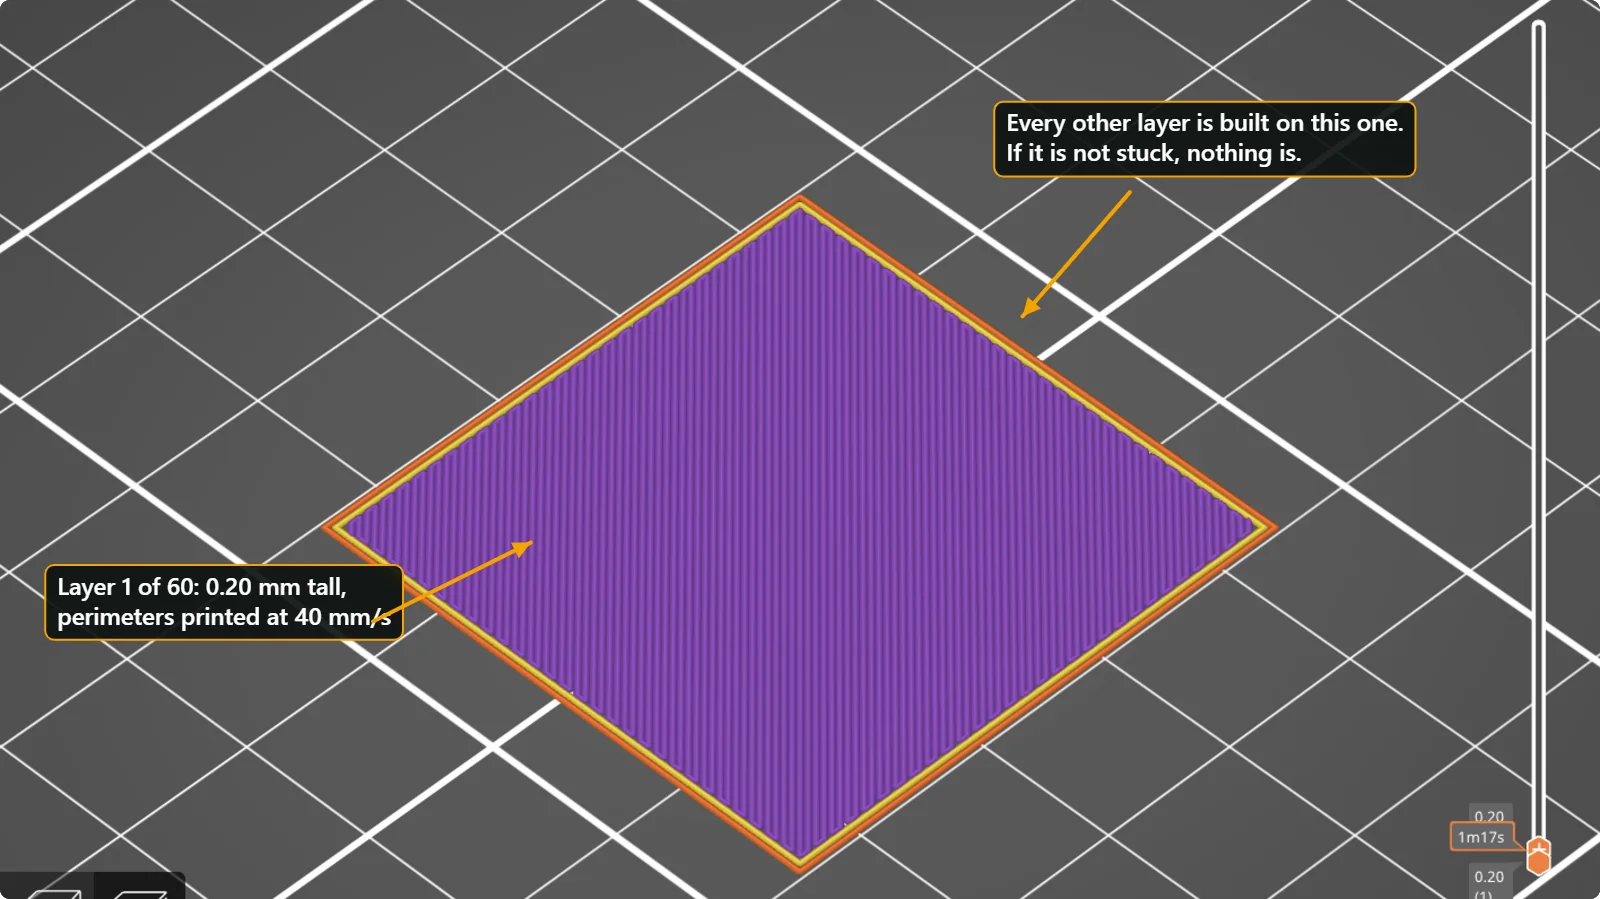 3D Print Not Sticking to the Bed? 7 Fixes for First-Layer AdhesionWhy a 3D print lifts, slides or never sticks to the build plate, and the order in which to check it: clean plate, first-layer height, bed temperature, brim, fan, speed and part orientation, with real slicer screenshots.
 3D Printing Glossary: The Terms Used in Our GuidesPlain-language definitions of 3D printing terms: bed, perimeter, infill, layer height, slicer, bridging, supports, brim, clearance, STL, 3MF, dovetail, diffuser and more.
Written and checked by the Volucore team against the behaviour of our tools. Spotted a mistake or something out of date? Tell us and we will fix it.