Calibrate Your Printer for Tight Fits: Strips, Joints and Lampholders
Many of the projects in our guides depend on parts that fit each other: an LED strip in a channel, dovetail connectors between pieces, the joints of a keychain, a lampholder in a base. A model can have the right dimensions and still print too tight or too loose, because printers are not perfect. A few simple tests tell you how your printer behaves, and a few settings fix it.
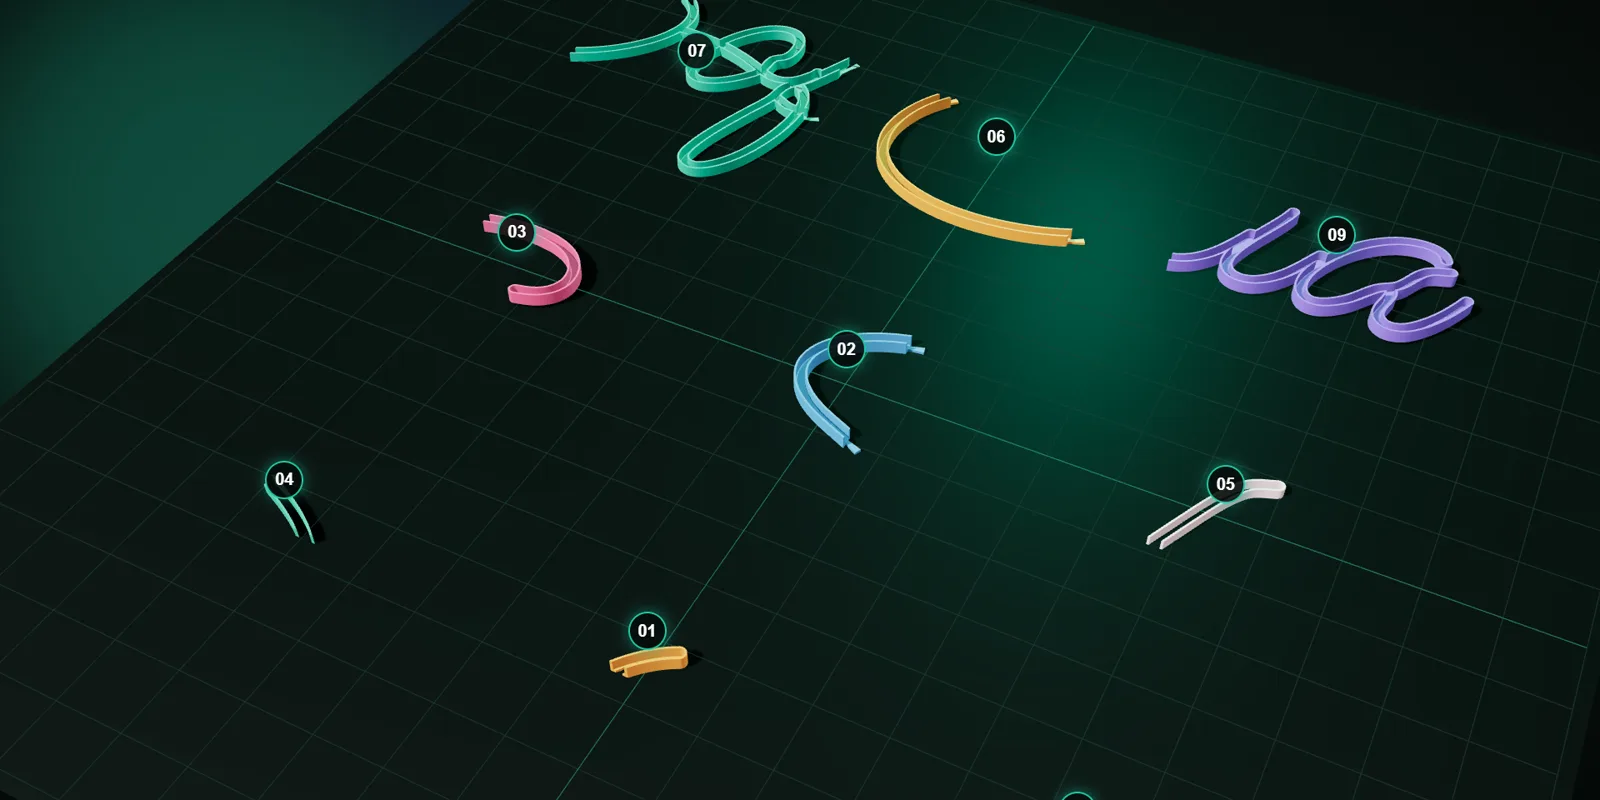
Why prints come out the wrong size
- Too much or too little plastic (flow) makes walls thicker or thinner.
- The first layer squashed gives an “elephant foot” that narrows slots.
- Shrinkage as the plastic cools makes parts slightly smaller, more in some filaments than others.
- Mechanical looseness in belts, rods or the nozzle changes positions.
- Damp filament makes the plastic bubble and extrude unevenly.
Step 1: print a test and measure
- Print a single-wall box or a small calibration cube, or the fit test piece from the tool.
- Measure with digital calipers: the outer size, and the width of a slot or the inside of a hole.
- Compare with the size in the model. If a 20 mm cube measures 20.2 mm, your prints are 1% large. If a 6.40 mm slot measures 6.1 mm, the slot is 0.3 mm too narrow.
Step 2: fix the flow
If walls are consistently too thick, lower the flow ratio (extrusion multiplier) in small steps, for example 2% at a time, and print again. If they are too thin, raise it. Calibrate it for each filament, because brands differ. Many slicers include a flow calibration print.
Step 3: fix the first layer
If slots are narrower near the bed, reduce the first-layer squish: raise the nozzle slightly, lower the first-layer flow, or use the slicer’s elephant foot compensation, which shrinks the first layer’s outline by a small amount.
Step 4: horizontal expansion
Some slicers have an XY size or horizontal expansion setting. A small negative value makes outer walls smaller and holes larger; a positive value does the opposite. Use it to correct a consistent error after the flow is right, by half the difference you measured.
Step 5: dry the filament and check the temperature
Filament absorbs moisture from the air. Damp filament pops and hisses at the nozzle, strings, and prints rough, which also spoils fits. Dry spools in a filament dryer or a low-temperature oven designed for it, and store them in a sealed box with desiccant. Print at the temperature the filament maker recommends; too hot makes parts ooze and swell.
Step 6: set the clearance in the tool
Our tools give you clearance settings: the fit clearance in the Neon Sign tool (default 0.40 mm for the strip), the connector clearance (0.15 mm per side), the joint clearance of the Keychain and the diametral allowance of Lamp Studio (0.6 mm). Rather than fighting the printer, you can change those numbers, a tenth of a millimetre at a time, and use a small test print each time.
| Fit | Typical clearance to start from |
|---|---|
| LED strip in a channel | 0.4 mm in total across the width (default) |
| Dovetail connector | 0.15 mm per side (default) |
| Print-in-place joint | Start with the tool default and add 0.05 mm if fused |
| Lampholder bore | 0.6 mm diametral allowance (default); print a test ring |
Keep a record
Once your printer is calibrated for a filament, note the flow, the clearance that worked and the filament brand. Another filament, or another day with a damp spool, can shift the result. A short test print is always cheaper than reprinting a sign.
| Filament | Flow ratio | Clearance that worked | Notes |
|---|---|---|---|
| White PLA (example) | 0.98 | Strip 0.40 mm, connectors 0.15 mm | Dry; 215 °C |
| Black PETG (example) | 0.96 | Strip 0.50 mm, connectors 0.20 mm | Slower first layer |
Quick troubleshooting
| Symptom | Most likely fix |
|---|---|
| Everything is slightly too big | Lower the flow ratio, or use a small negative horizontal expansion. |
| Slots are narrow only near the bed | Elephant foot compensation or less first-layer squish. |
| Sizes change from day to day | Dry the filament and check for loose belts or a loose nozzle. |
| Holes are always too small | Use a small positive horizontal expansion for holes, or increase the clearance in the tool. |
Questions people ask
My slots are too narrow only near the bed.
That is elephant foot. Reduce the first-layer squish or use elephant foot compensation in your slicer.
Should I fix the printer or the clearance?
Fix flow and the first layer first, so your prints are close to the model. Then use the clearance setting for the last tenth of a millimetre.
Do I need calipers?
Digital calipers are inexpensive and are the single most useful tool for fit problems. A ruler is not accurate enough.
Keep reading
3D Print Settings for Neon Sign Channels: Material, Walls and FitStarting settings for printing LED neon sign channels: filament choice, layer height, walls, infill, orientation, brims and how to tune the fit of the strip and the dovetails. Articulated Name Keychains: How Print-in-Place Joints WorkHow a 3D-printed articulated keychain moves, how to set the letter height, thickness and joint clearance, and how to tune clearance and layer height for loose, working joints.
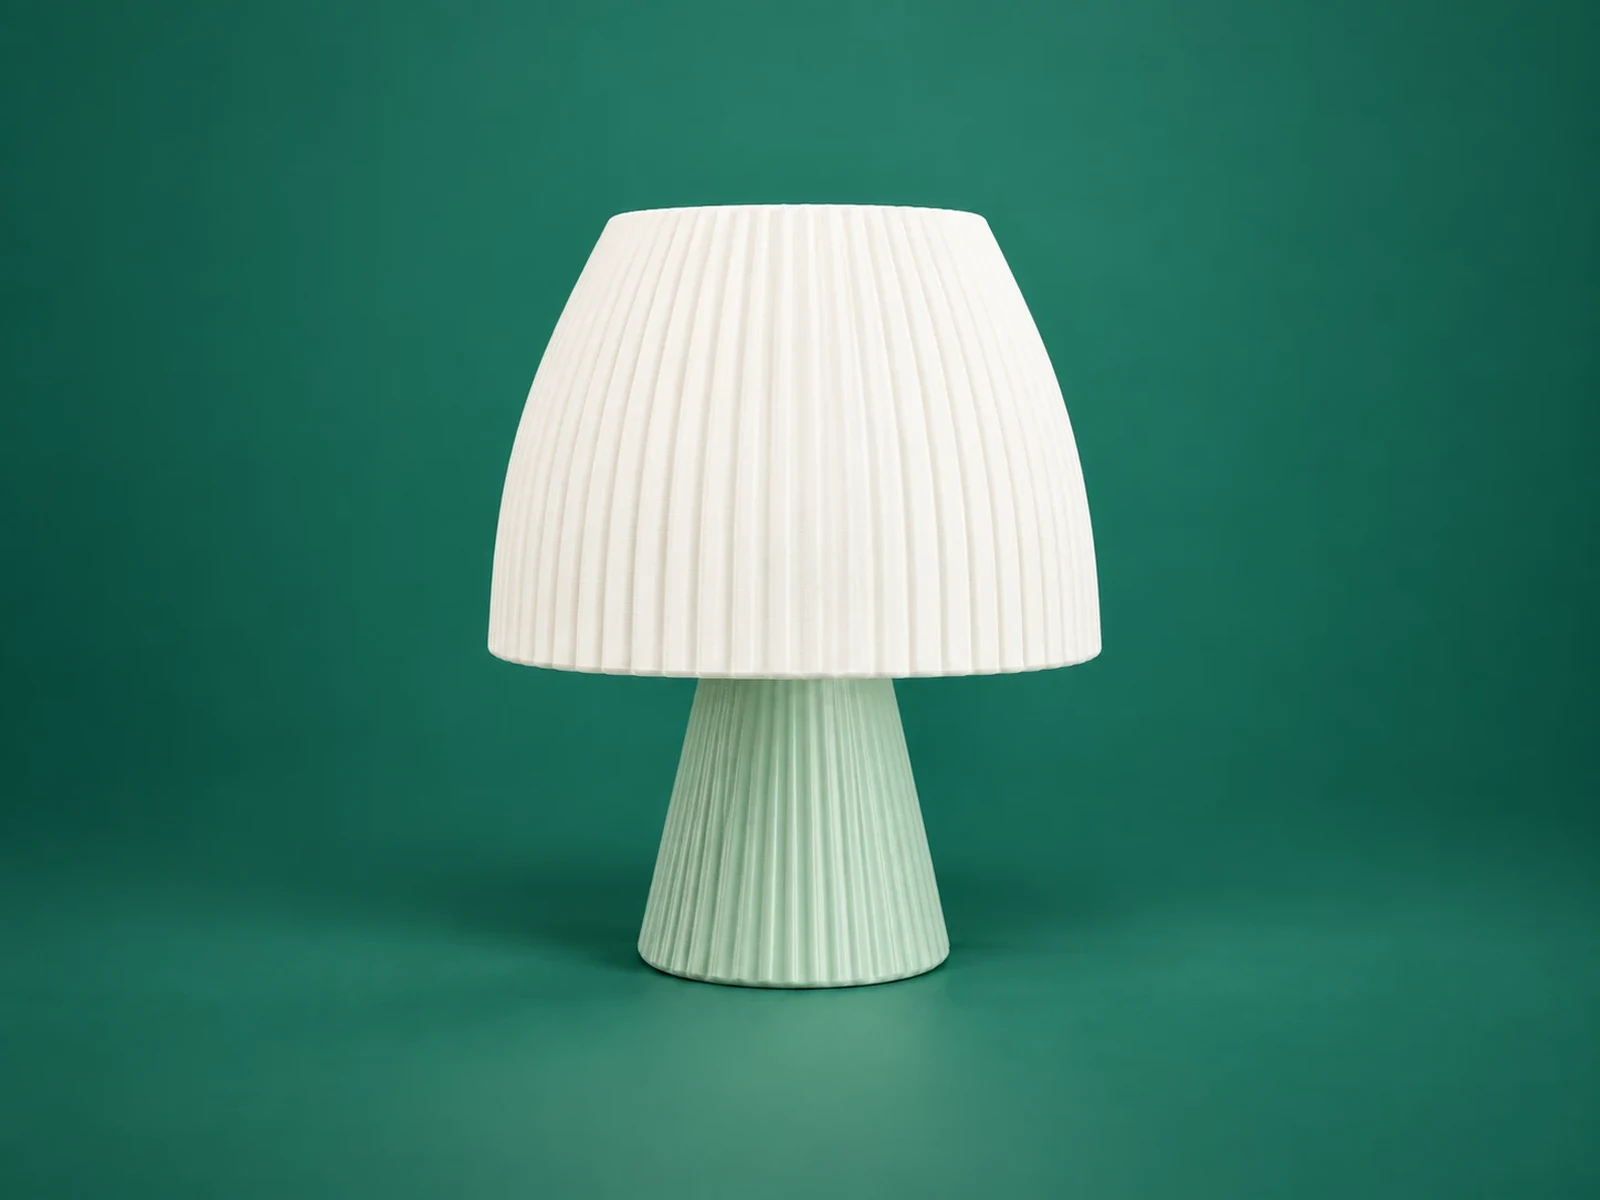 How to Design a 3D-Printed Lamp Shade That Glows WellWall thickness, shape, lampholder opening and base: how to design a printable table lamp shade with Lamp Studio and what to print first.
Written and checked by the Volucore team against the behaviour of our tools. Spotted a mistake or something out of date? Tell us and we will fix it.