How to Split a Large Neon Sign into Printable Pieces
A sign one metre wide will never fit on a 256 mm printer bed, and it does not have to. The sign is cut into numbered pieces, each sized to print flat on your bed, and joined again with hidden connectors. Getting the cuts right decides how strong the sign is and how much it shows the seams. This guide explains the settings and how to read what the tool tells you.
Start with your printer
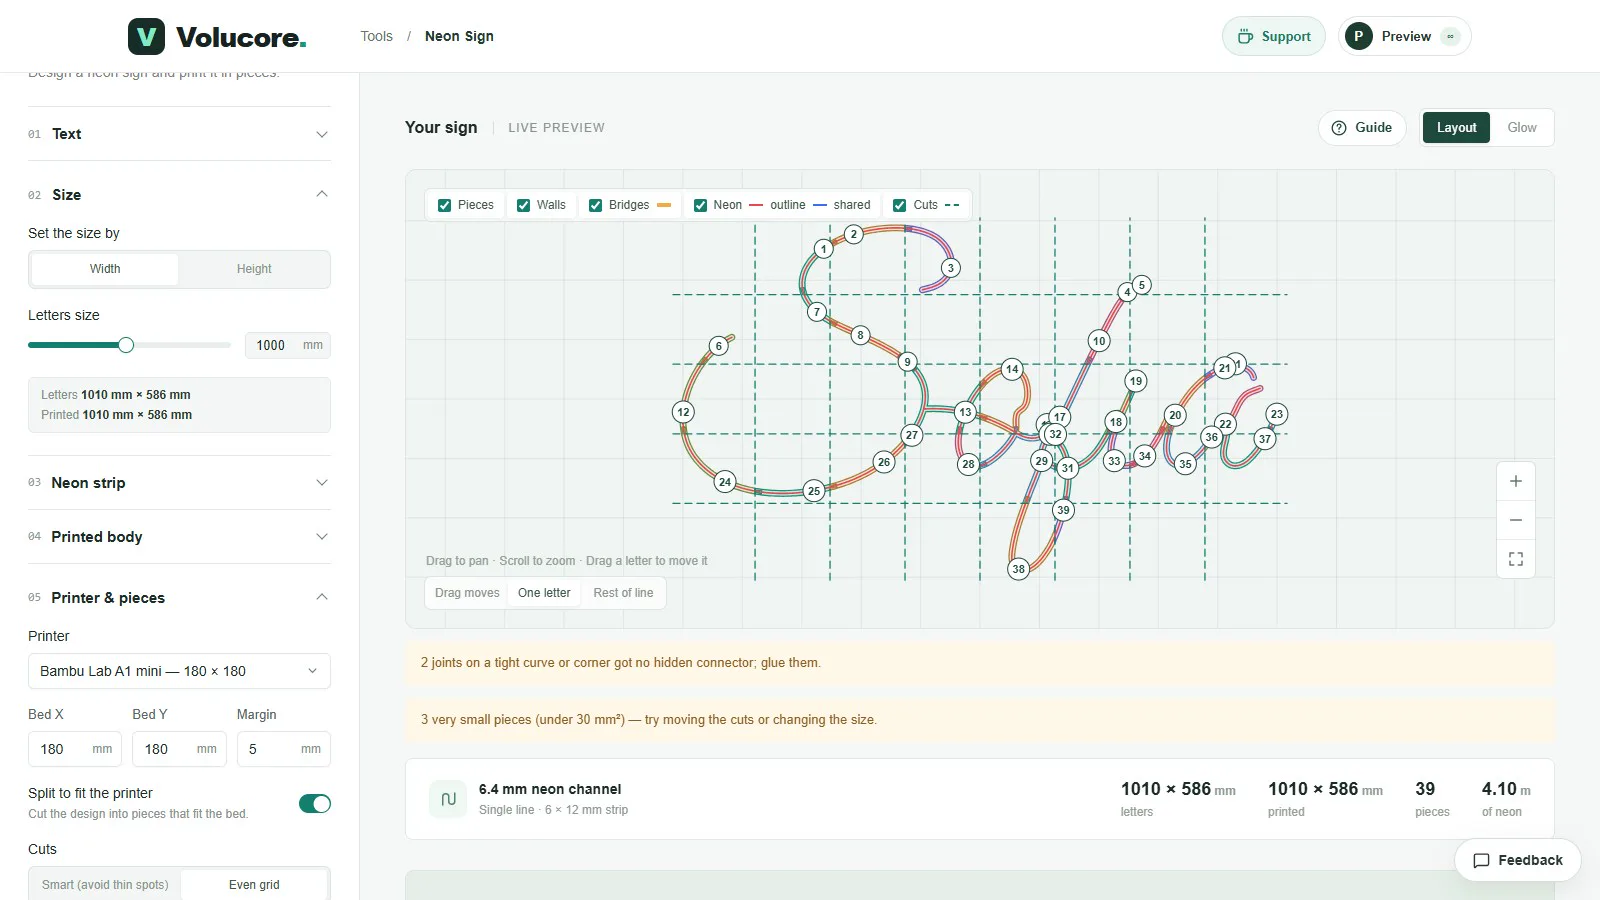
In the Printer & pieces panel, choose your printer from the list or enter the Bed X and Bed Y sizes in millimetres. Presets include the Bambu Lab A1, P1S and X1C family (256 × 256 mm) and the A1 mini (180 × 180 mm). The tool then cuts the design so that every piece fits inside the bed minus the margin. The default margin is 5 mm, which keeps the print away from the edge of the plate.
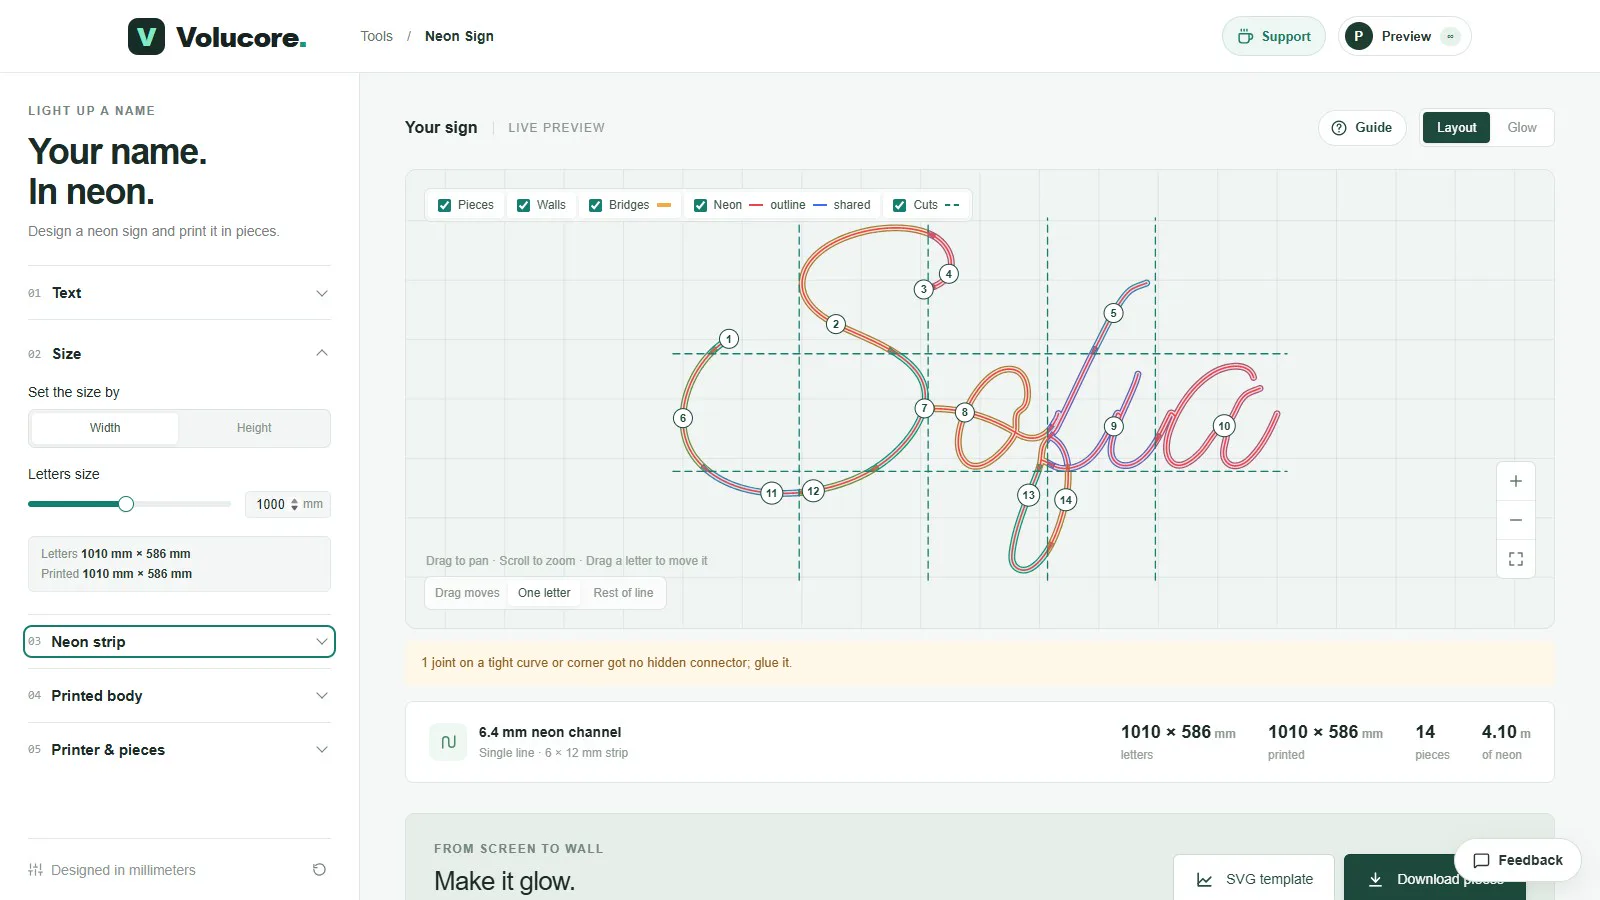
The same sign can need very different numbers of pieces. As an example, a script sign 1,010 mm wide splits into 14 pieces on a 256 mm bed, and the same design on a 180 mm bed needs far more. The tool shows the count under the preview, so try your bed first and then compare.
Smart cuts or an even grid
Under Cuts you choose how the sign is cut:
- Smart (avoid thin spots) places cuts to avoid slicing through thin parts of the lettering, so joints land where the channel is sturdy.
- Even grid cuts on a regular grid at the bed size. It is predictable, but it can cut through thin strokes and thin letter tips, and it can leave more pieces.
Try both. On the 1,010 mm example above printed on a 180 mm bed, Smart cuts gave 33 pieces and an even grid gave 39. Compare the piece count and the warnings, and choose the one that gives sturdier pieces. Smart is the right first choice for script signs.
Hidden connectors
With Hidden connectors on, every joint gets a dovetail key in the floor of the neon groove. The key is a small shaped tab that locks into a matching slot in the next piece, which lines the pieces up and stops them sliding. Its width is worked out from your strip and clearance: for the default 6 × 12 mm strip it is about 5.2 mm. The strip hides it from the front and the wall hides it from the back, so the joint is invisible when the sign is lit.
Under Connector fit you can change the clearance per side (0.15 mm by default). If dovetails are too tight to push together on your printer, increase the clearance a little; if they are loose, reduce it. If the neon groove is too narrow for hidden connectors at your strip size, the tool says so, and you can glue the joints instead.
Reading the warnings
| Message | What it means | What to do |
|---|---|---|
| “N joints on a tight curve or corner got no hidden connector; glue them.” | At a sharp bend there is no room for a dovetail. | Plan to glue those joints, or move the cuts or change the size so the joint falls on a straighter part. |
| “N very small pieces (under 30 mm²).” | A cut left a tiny scrap of channel. | Switch cuts between Smart and Even grid, nudge the size slightly, or drag a letter so the cut moves. |
Small pieces are the one thing worth fixing before you print. They are fiddly to glue and weak. Changing the size by a few millimetres often removes them.
Piece numbers and the assembly guide
Every piece is numbered in the layout and in the assembly guide in the download. Turn on Engrave piece numbers and the number is cut into the underside of the piece, so it never shows from the front but is there when you are laying pieces out. The engraving depth is 0.6 mm by default.
Order of printing and assembly
- Print the biggest pieces first, so any failure shows up early and you can adjust.
- Test-fit two neighbouring pieces before printing the rest, because the dovetail fit depends on your printer.
- Lay everything out following the assembly guide, then join from one end, gluing each joint and letting it set.
- Fit the strip only when the glue is dry.
Questions people ask
Can a sign be bigger than my printer?
Yes. That is what splitting is for. The sign is cut into pieces that each fit the bed, and joined again with connectors and glue.
How many pieces is too many?
There is no fixed limit, but more pieces mean more joints to glue. If the count is high, consider a smaller sign, a single-line font or a larger-bed printer.
Do the pieces need supports?
No. Each piece is designed to print flat with its base on the bed.
Keep reading
 How to Make a 3D-Printed LED Neon Sign: The Complete GuideStep by step: choose an LED neon strip, design the sign, split it into printable pieces, print, assemble, wire and mount it. With real numbers from a 610 × 355 mm example.
 3D Print Settings for Neon Sign Channels: Material, Walls and FitStarting settings for printing LED neon sign channels: filament choice, layer height, walls, infill, orientation, brims and how to tune the fit of the strip and the dovetails.
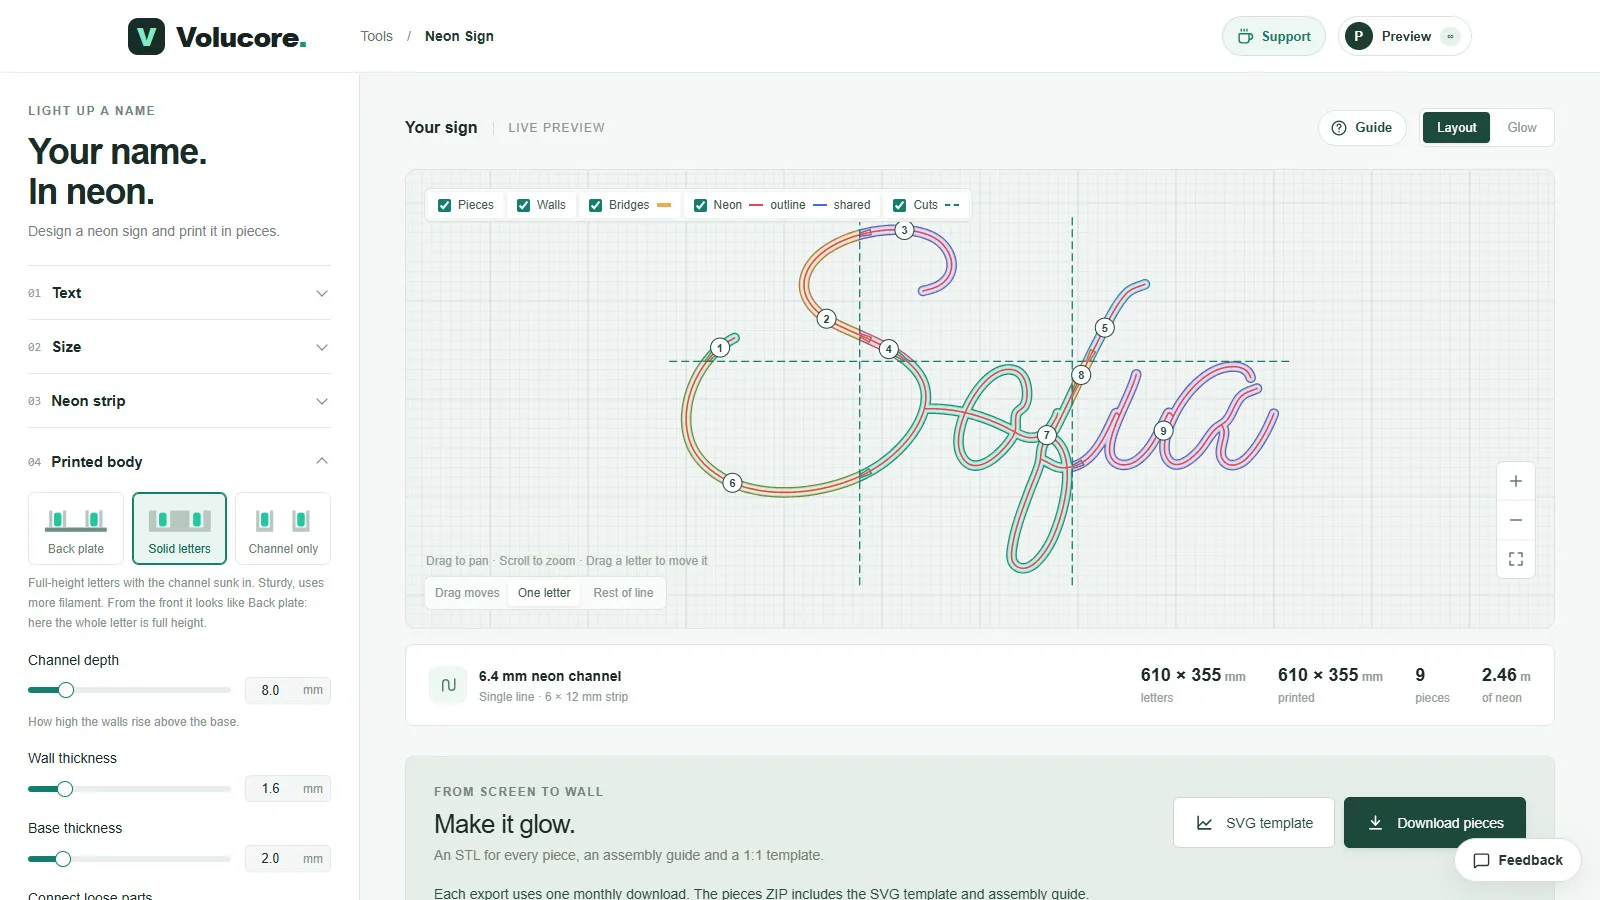 Back Plate, Solid Letters or Channel Only? Choosing the Body of a Neon SignCompare the three body styles of the Neon Sign tool, how they look when lit, how much filament they use, how to mount each one, and what channel depth, wall and bridges do.
Written and checked by the Volucore team against the behaviour of our tools. Spotted a mistake or something out of date? Tell us and we will fix it.