Holes and Gaps in the Top Layers of a 3D Print (Pillowing) and How to Fix Them
You print a box, and its lid looks full of small holes, or lumpy, with the infill pattern showing through. This is often called pillowing. The cause is easy to see in the layer preview: under the top surface there is not a solid floor but a sparse grid, and the top layers have to cross the gaps in it.
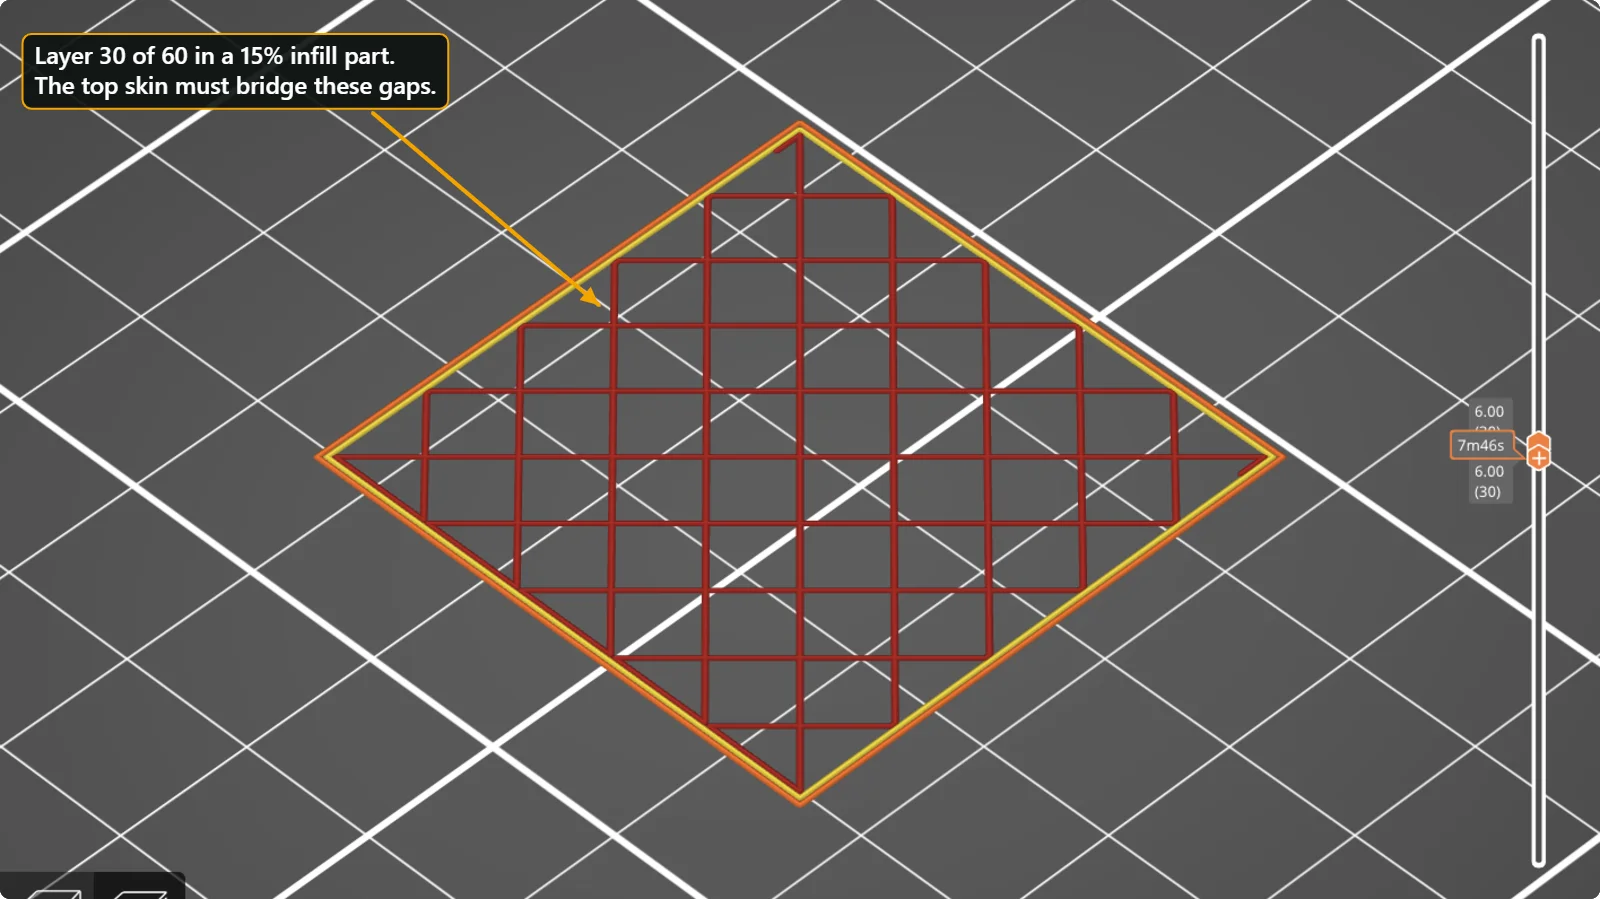
What is under the top layer
To save plastic and time, a slicer fills the inside of a part with a sparse pattern. The picture above shows layer 30 of a 60 mm cube with the default 15 % grid infill. The lines are far apart. When the printer arrives at the top of the part it has to print flat layers across these gaps, like a bridge over a net.
The settings that decide how good the top is
Top solid layers
The slicer prints several solid layers above the infill to make a floor for the visible top surface. In PrusaSlicer’s MK4S profile there are 5 top solid layers and 3 bottom layers, and the profile also states a minimum shell thickness of 0.7 mm on the top and 0.5 mm on the bottom. Five layers at 0.20 mm make 1 mm, and that is more than the minimum.
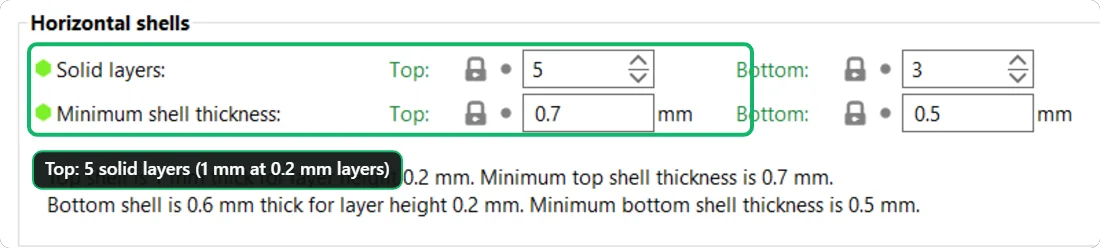
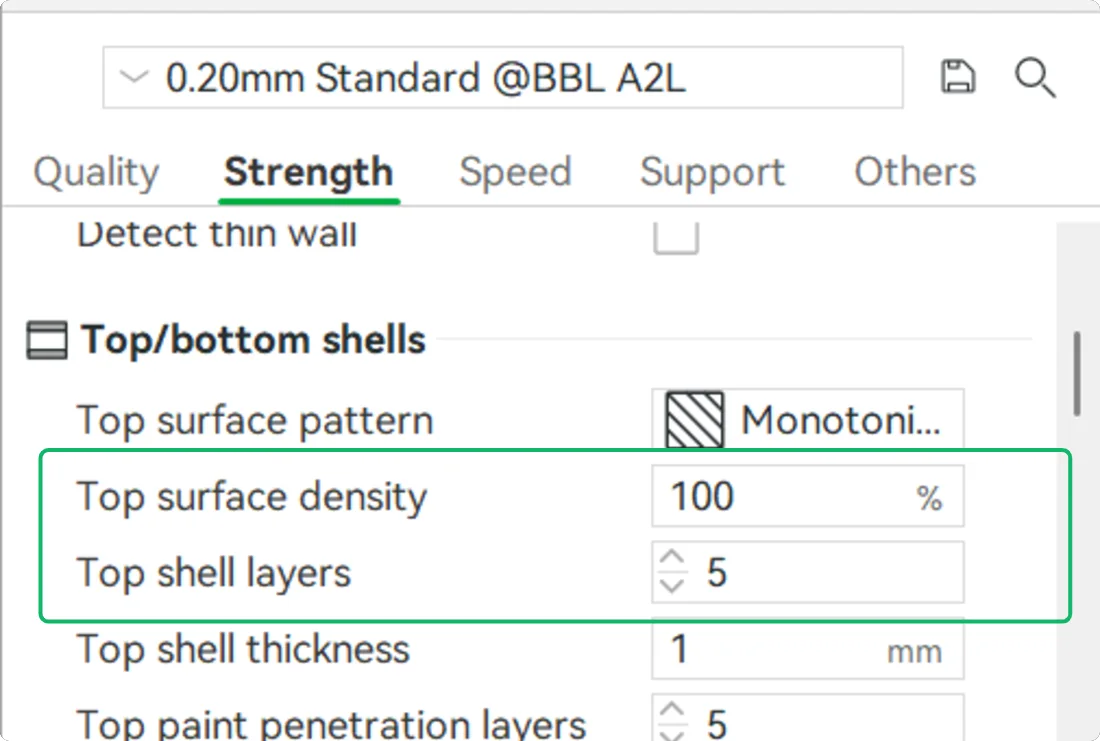
If the top has holes, increase the number of top layers by one or two. Thin layers need more of them; with a 0.1 mm layer height, 5 layers are only 0.5 mm.
Infill density
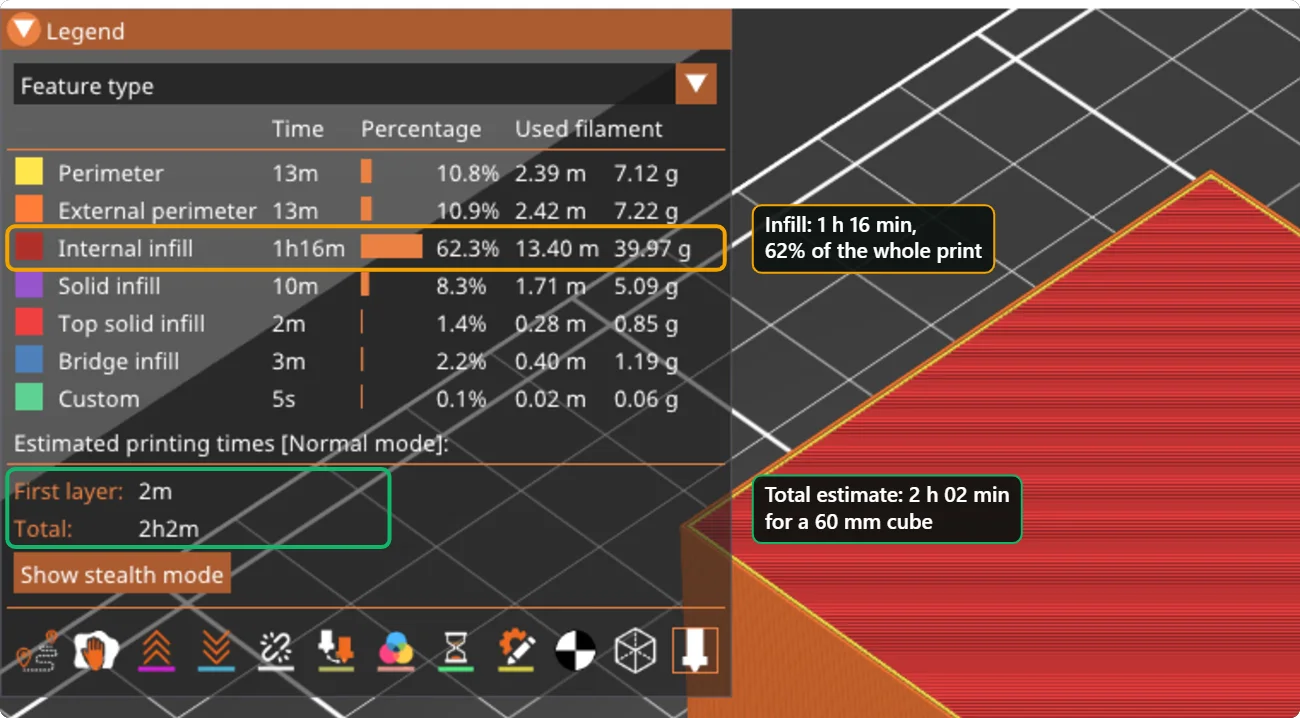
A very sparse infill leaves a wide gap for the top layers to cross. Raising the infill from 5 % to 15 % shrinks the gaps; a pattern such as gyroid or cubic gives the top more points of support than lines. Be aware that infill is expensive: see the guide on print time for the measured cost.
Cooling
The first top layers lie across the gaps in the air, just like a bridge. They need strong cooling to freeze before they sag. Check that the fan is on and not reduced by a slow-down setting.
Flow and temperature
Too much plastic makes the top rough and lumpy, with ridges. If the pattern in the top surface is uneven, lower the flow ratio by 2 to 3 % and compare. Too hot a nozzle also makes the top layers sag.
Top surface pattern and ironing
Both slicers print the top with a monotonic pattern, so that neighbouring lines go the same way and the surface looks even. If you want an even smoother top, “ironing” makes an extra slow pass that smooths the surface, at the cost of time.
Checklist
- Look at the layer preview of the top. Is there a gap in the last solid layer?
- Increase top layers by 1 or 2, so that the top shell is at least 1 mm.
- Raise the infill density a little, or change the infill pattern.
- Check that the fan is on for the top layers.
- Lower the flow ratio a little if the top looks lumpy.
Where to find these settings
| Setting | PrusaSlicer | Bambu Studio and OrcaSlicer |
|---|---|---|
| Top and bottom layers | Print Settings > Layers and perimeters > Horizontal shells | Strength tab > Top/bottom shells |
| Infill density and pattern | Print Settings > Infill | Strength tab > Sparse infill |
| Fan and cooling | Filaments > Cooling | Filament settings > Cooling |
| Flow ratio | Filaments > Filament > Extrusion multiplier | Filament settings > Filament > Flow ratio |
| Ironing | Print Settings > Infill > Ironing | Quality tab > Ironing |
Questions people ask
What is pillowing?
The slang term for a lumpy, pillow-like top surface, with gaps or bumps over the infill. It happens when the top layers do not have enough solid layers or cooling below them.
How many top layers do I need?
Enough to reach a thickness of 0.7 to 1 mm. At 0.2 mm layers that is four or five layers.
Does 100 % infill fix it?
It fixes the gaps but makes the print much slower and heavier. More top layers and a little more infill are usually enough.
Keep reading
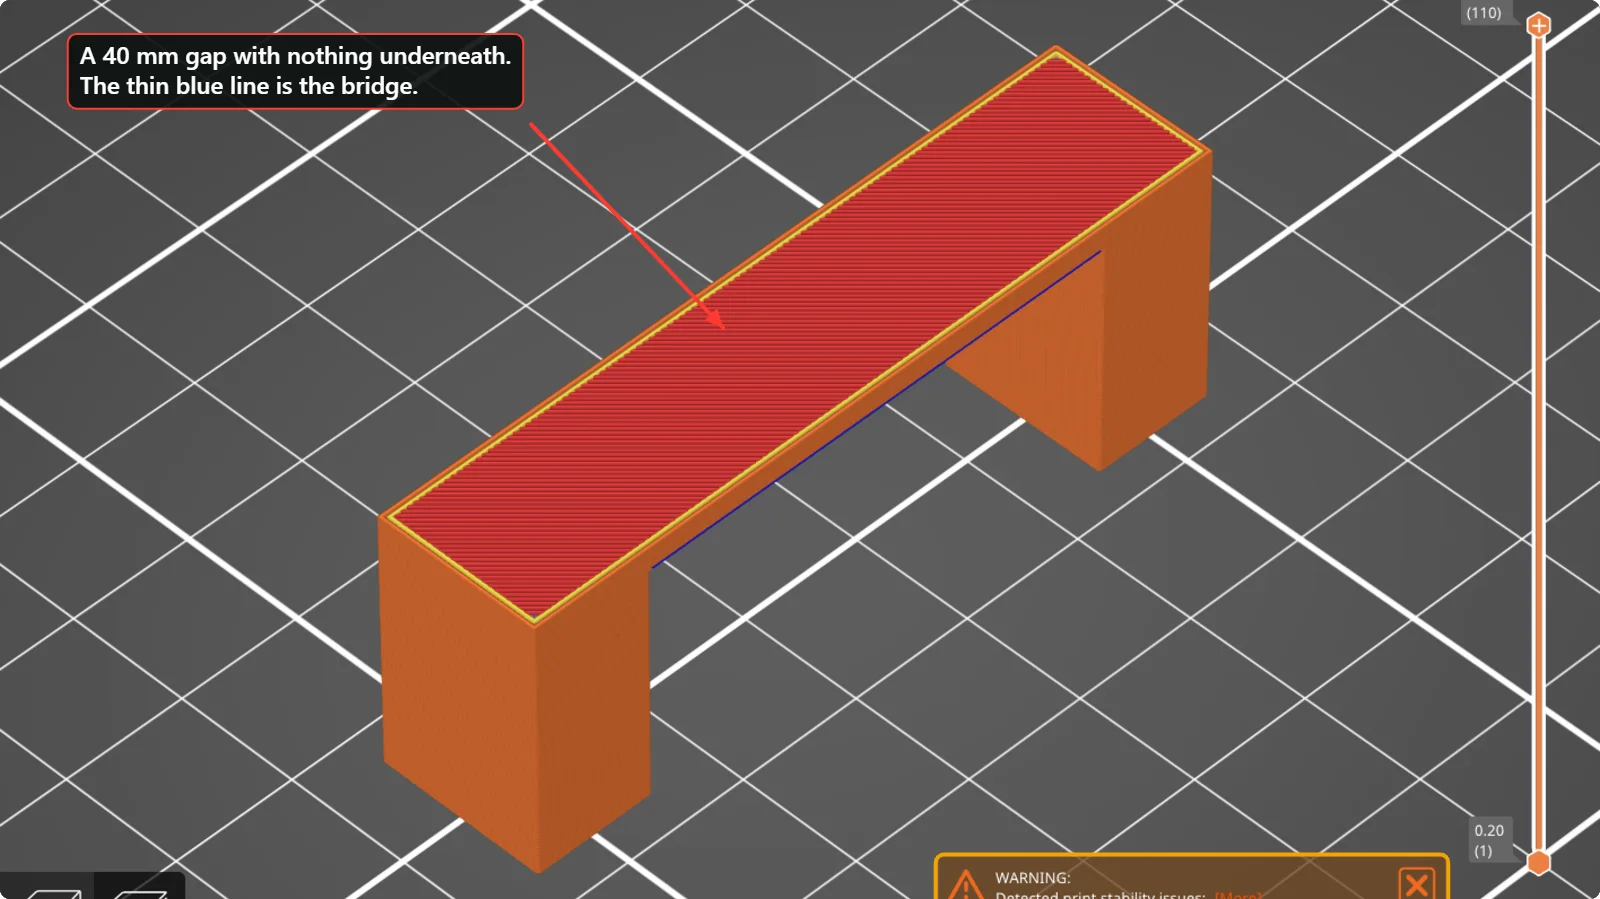 Bridging in 3D Printing: Why Bridges Sag and How to Fix ThemA bridge is plastic printed across a gap with nothing underneath. See how slicers mark bridges, what the warning “long bridging extrusions” means, and which speed, fan and design changes stop sagging.
 Why Is My 3D Print Taking So Long? Measured Effect of Infill, Walls and Layer HeightWe sliced the same 60 mm cube ten ways in PrusaSlicer and recorded the estimated print time and plastic use. See which settings change the time, and which ones barely matter.
 3D Printing Glossary: The Terms Used in Our GuidesPlain-language definitions of 3D printing terms: bed, perimeter, infill, layer height, slicer, bridging, supports, brim, clearance, STL, 3MF, dovetail, diffuser and more.
Written and checked by the Volucore team against the behaviour of our tools. Spotted a mistake or something out of date? Tell us and we will fix it.