How to Design a 3D-Printed Lamp Shade That Glows Well
A printed lamp shade works because plastic diffuses light: a thin wall glows, and the shape throws patterns on the wall. It is also a project with real constraints, such as a lampholder that has to fit, a wall that must be thick enough to print and thin enough to glow, and a base that is stable. This guide explains the choices in Lamp Studio and how to get a lamp that works the first time.
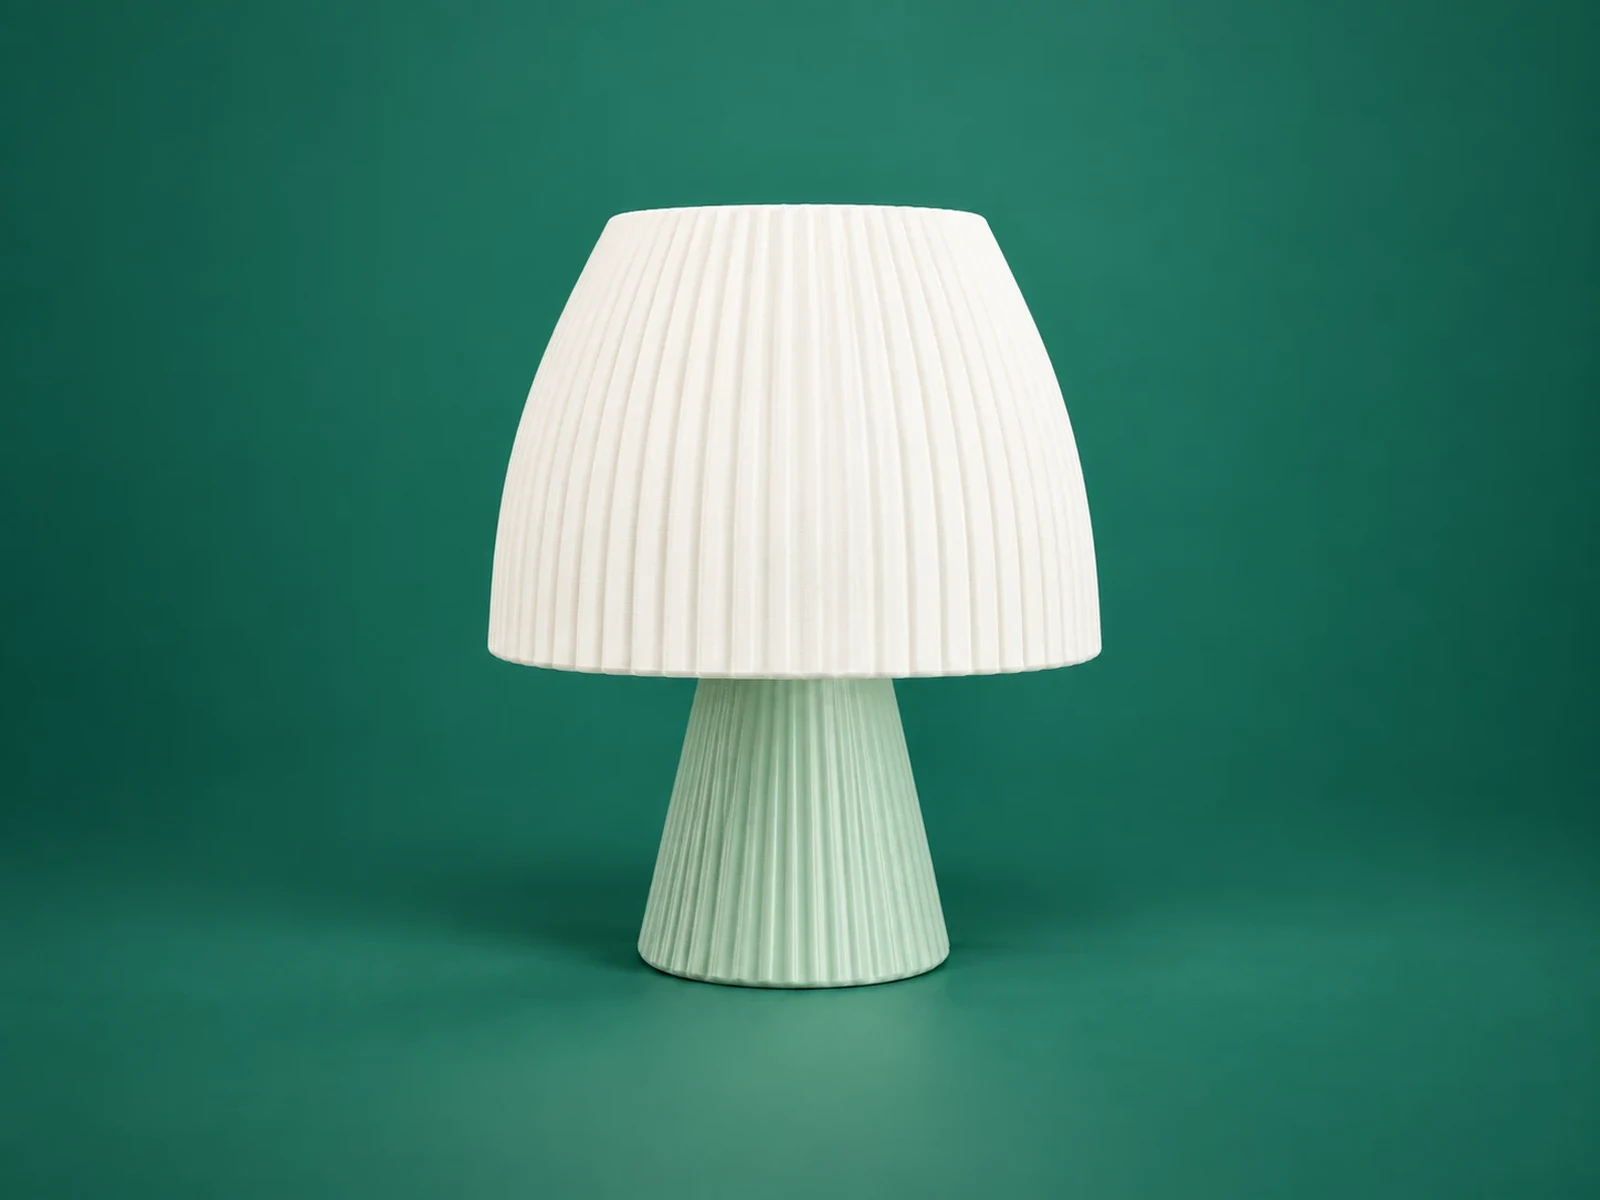
Parts of the lamp
- The shade is the printed shell around the bulb.
- The base holds the lampholder and carries the cable. It is printed separately.
- The lampholder and cable are bought parts: an E14 or E27 holder with a switch or cord, and an LED bulb.
Lamp Studio gives you two separate, watertight parts to print, the shade and the base, and keeps the lampholder opening, the mounting plates and the cable arch correct while you change the shape.
Pick a shape
The library has 58 shapes, such as pleated, fluted, twisted, ribbed and rounded forms. Start from one you like, or press Surprise me, then change the height, the width, the radial wall, the fluting and the twist. The base can be tapered, cylindrical or rounded. Look at the cutaway and the exploded view to check how the shade and base fit together.
How shape affects the light and the print
| Feature | Effect on the glow | Effect on the print |
|---|---|---|
| Pleats and flutes | Light pools in the folds, giving a soft pattern of light and shade | Many thin folds are fragile; the studio checks the wall |
| Twist | A spiral of light and a more dynamic shape | Sloped walls need good cooling; check the cutaway |
| Wide, short shade | Light spreads sideways | Stable and easy to print |
| Tall, narrow shade | A tall column of light | Needs a stable base and a careful first layer |
| Rounded base | Gentle, organic look | Make sure the base is wide enough to stay upright |
Choose the lampholder: E14 or E27
Choose E14 (a small screw cap, common on small lamps and in Europe) or E27 (a standard screw cap). Lamp Studio sets the matching bore on both the shade and the base, with an adjustable diametral allowance of 0.6 mm by default. Measure the holder you actually bought, because makers differ, and print a short test ring before the final print.
Also check the bulb: its width and length. A large globe bulb needs a wide shade; a small candle bulb fits narrower shapes. Hold the bulb against the cutaway on screen and make sure there is a gap all round, because the plastic should not touch the bulb.
Wall thickness
The radial wall is 1 mm by default. At that thickness the lamp is translucent in PETG or PLA: it glows, and the light looks soft. A thicker wall is stronger and less see-through; a thinner one is brighter but fragile. The studio estimates the wall thickness along the surface (the “normal”), not just across, and refuses to export a design that becomes too thin to print, which prevents the most common failure of pleated and twisted designs.
Material for a glowing shade
- Natural or white PLA/PETG gives a soft, diffuse glow.
- Colours tint the light: pastel filaments glow warm, dark filaments barely glow.
- Use heat-resistant plastics for lamps with bulbs that get warm, and always choose an LED bulb.
What you download
The complete lamp gives you a ZIP with the shade STL, the base STL, your design settings as JSON and a printing note. You can also download the shade or the base on its own.
First print: a test ring
- Print a short ring with your holder bore to check the fit.
- Adjust the allowance if the holder is tight or loose.
- Print the base next, then the shade.
- Assemble dry, with no power, to check that everything lines up.
Assembly
- Fit the lampholder into the base and fix it as its instructions say.
- Run the cable through the base’s cable arch with a knot or a strain-relief clamp.
- Place the shade on the base. The mounting plates align it.
- Fit an LED bulb of a suitable size and test the lamp with the shade in place.
Troubleshooting
| Problem | Fix |
|---|---|
| The holder will not fit the bore | Increase the diametral allowance or print the test ring again with the measured holder. |
| The shade is too bright, with a hot spot over the bulb | Use a frosted LED bulb, or a thicker wall, or a lower-wattage bulb. |
| The shade looks dark | Use a thinner wall, a lighter colour or a brighter LED bulb. |
| The lamp tips over | Widen or weigh the base. |
| Layer lines show a pattern | Use finer layers or a slower print; the pattern is part of the look of pleated lamps. |
Questions people ask
Which lampholder does it fit?
Choose E14 or E27 and the studio sets the matching bore on the shade and base. Measure your own holder and print a short test ring first.
How thick should the wall be?
1 mm of radial wall is the default and prints translucent in PETG or PLA. The studio refuses to export a design that is too thin to print.
What do I get when I download?
A ZIP with the shade STL, the base STL, your design settings as JSON and a printing note. Each part can be downloaded on its own too.
Can I print the shade in vase mode?
Vase (spiral) mode prints a single thin wall, which is thinner than the wall the studio designed, and it cannot follow shapes with pleats and folds well. Print the shade with normal settings so the wall comes out as designed.
Keep reading
3D-Printed Lamp Safety: Bulbs, Lampholders, Heat and CablesWhat to check before you plug in a 3D-printed lamp: LED bulbs only, a certified lampholder, heat-resistant material, cable strain relief and who should do the wiring. Calibrate Your Printer for Tight Fits: Strips, Joints and LampholdersHow to measure and fix dimensional accuracy so printed slots, dovetails, joints and lampholder bores fit: calibration prints, flow, first layer, horizontal expansion and clearance.STL, 3MF, SVG, DXF: Which File Do You Need for 3D Printing?What each file format stores, what it is for, which of the Volucore tools export it, and how to choose between STL and 3MF for printing, and SVG and DXF for templates and laser cutting.
Written and checked by the Volucore team against the behaviour of our tools. Spotted a mistake or something out of date? Tell us and we will fix it.