How to Wire and Power an LED Neon Sign (Power Supply, Cutting, Connections)
The printed part of a neon sign is only half the project. The other half is a power supply, a few connections and a strip that has been cut in the right place. None of it is difficult, but a wrong supply can make the sign dim, flicker or run hot. This guide covers the low-voltage side: sizing the supply, cutting and sealing the strip, making the connections and testing before you glue anything.
Know your strip’s voltage and wattage
LED neon strip is sold for 12 V or 24 V DC. The voltage is printed on the strip or in the listing, and your supply must match it exactly: a 12 V strip on a 24 V supply is destroyed, and a 24 V strip on 12 V barely lights. The listing also gives the power in watts per metre. Typical neon strips draw somewhere in the range of 6 to 12 W per metre, but this varies a lot between makers, so read yours.
Work out the total power
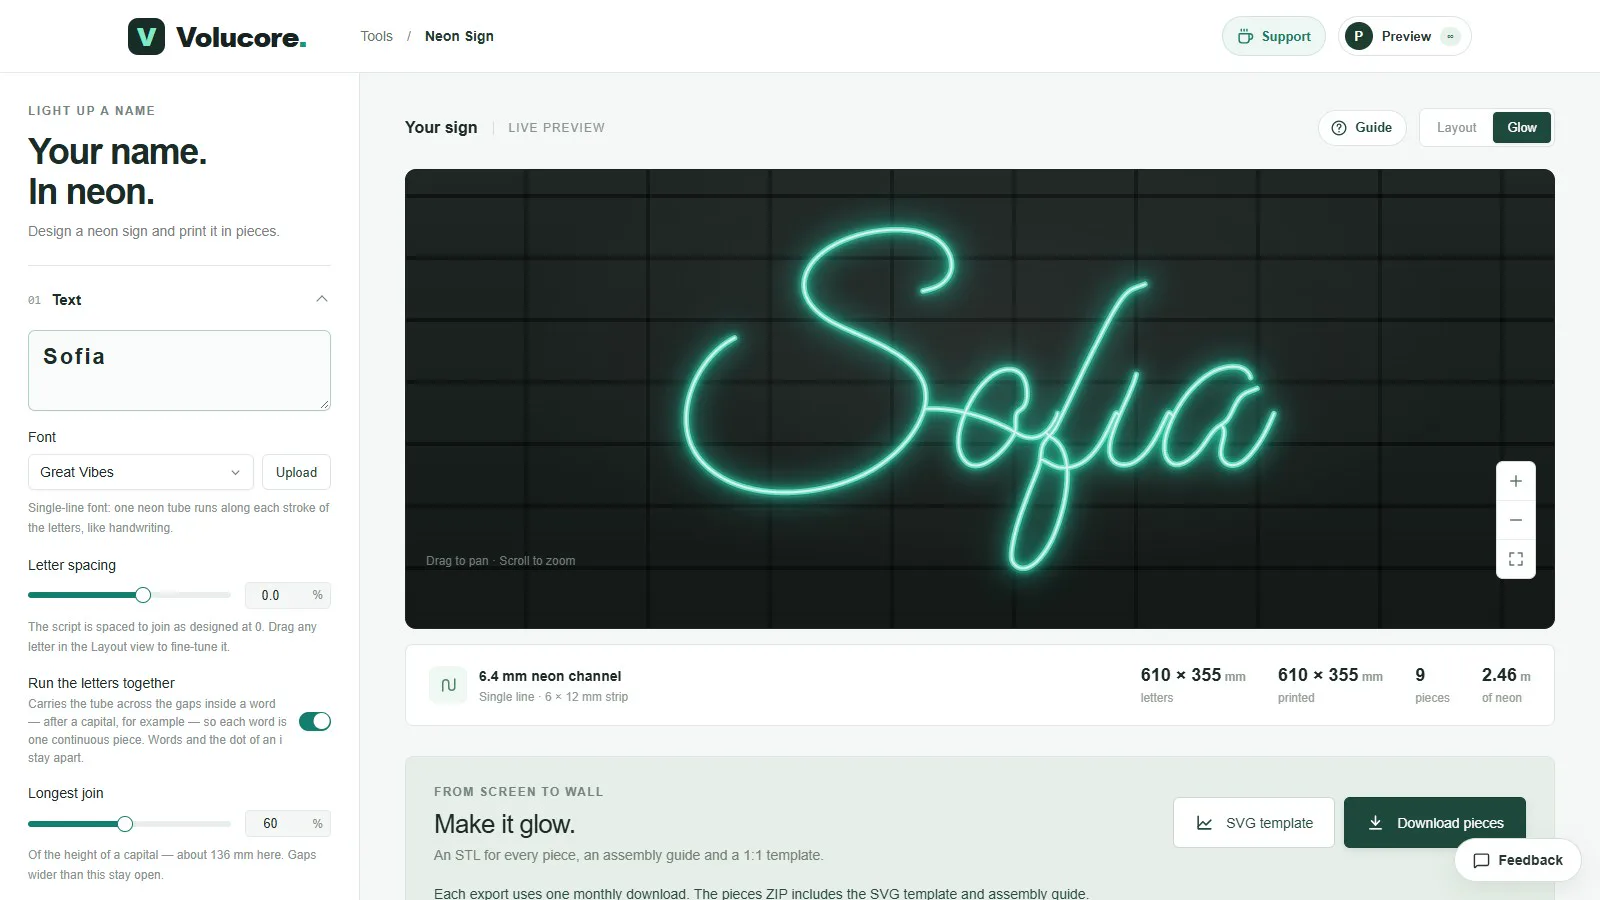
The Neon Sign tool shows the length of neon your design needs, in metres, under the preview. Multiply it by your strip’s watts per metre, then add a margin of about 20 per cent so the supply is not running at its limit.
| Step | Example |
|---|---|
| Length of neon from the tool | 2.46 m (a 610 × 355 mm script sign) |
| Strip rating | 8 W per metre (from the listing) |
| Load | 2.46 × 8 = 19.7 W |
| With 20% headroom | 19.7 × 1.2 = 23.6 W |
| Supply to buy | A 12 V supply rated 30 W or more (the next common size up) |
Buying a supply with a bit too much power is fine; too little is not. A supply running at its limit gets hot and can shut down or flicker.
Choose the supply
- Constant voltage. Neon strips need a constant-voltage LED power supply (a driver), not a constant-current one.
- Matching voltage and at least the wattage you calculated.
- Certified. Look for a recognised safety mark for your country, and avoid unmarked bargain units.
- Plug-in adaptor or enclosed driver. A plug-in DC adaptor (a “wall wart” with a barrel connector) is the simplest and safest choice for a bedroom sign. A metal-cased driver is for permanent installs and mains wiring.
- Ventilation. Do not pack the supply into the sign or behind a sealed panel. It must be able to shed its heat.
Cut the strip only where it is marked
Neon strip can be cut only at the cut marks, usually printed on the strip at regular intervals. The distance between marks depends on the strip, commonly a few centimetres. Cut straight across the mark with sharp scissors or a knife. Plan lengths so that each run of the sign ends at a cut mark; the tool tells you the total length, and you can buy extra to allow for the pieces you cut off.
Seal every cut end that is not connected. Use the silicone end cap supplied with the strip, or a small amount of clear silicone sealant, so that the end is protected and looks finished. An exposed copper end can short against the others when strips lie next to each other in the channel.
Make the connections
- Find polarity. A single-colour strip has two conductors, positive and negative, marked + and − at the cut end. Match them to the + and − of the supply.
- Join with a connector or solder. Solderless connectors made for your strip’s width are quick and work well for a first sign. Soldering plus heat-shrink tubing is more permanent and neater. Use thin, flexible wire for the lead and tin the ends first.
- Keep every joint insulated. Cover soldered joints with heat-shrink and tuck the wire into the channel or behind the sign; a bare joint can touch another conductor.
- Add a lead to the supply. Use wire thick enough for the current. For a short lead and a few watts, ordinary 2-core wire rated for the load is fine; for long runs and higher power, use thicker wire.
- Test before assembling the sign. Lay the strip on a table, connect it to the supply and check that every section lights evenly. Do this before you glue anything.
Long runs and voltage drop
On a long strip the voltage falls along its length, so the far end can be dimmer or a different colour than the end near the supply. Strip makers give a maximum run, often a few metres for 12 V strip. If your sign needs more than that, feed the strip from both ends or from several points, using thicker wire between them. A 24 V strip tolerates longer runs than a 12 V strip of the same power.
Dimming, switching and colour
- A small PWM dimmer between the supply and the strip sets the brightness and often has a switch.
- A colour-changing (RGB) strip needs its own controller and has four conductors; its power supply must match both voltage and total wattage.
- To switch the sign off without unplugging it, use a smart plug on the mains side, or a dimmer or inline switch rated for the load on the low-voltage side.
Where the cable leaves the sign
Plan the exit before you finish the sign. Most people run the lead out of the lower edge of the last letter, down behind the sign and out through a hole in the backing, or along the underside of the base. Leave a loop of slack and fix the cable with small clips so it cannot pull on the strip. Keep the supply where you can reach it.
Checklist before switching on
- Voltage on the supply matches the strip.
- Wattage is at least 20% above the calculated load.
- Polarity is correct at every joint.
- Every cut end is sealed and every joint insulated.
- Wires are not trapped under a piece or pulled tight.
- The supply is not covered and can cool.
Questions people ask
Can I power the sign from USB?
Only if the strip is made for 5 V USB. Most neon strip for signs is 12 V or 24 V and needs a supply of that voltage.
Why is my strip dimmer at one end?
Voltage drop along a long run. Feed the strip from both ends or use thicker wire; a 24 V strip suffers less.
Can I cut the strip anywhere to fit the sign?
No. Cut only at the marks printed on the strip, and seal the cut ends. Plan the runs so each ends at a mark.
Keep reading
 How to Make a 3D-Printed LED Neon Sign: The Complete GuideStep by step: choose an LED neon strip, design the sign, split it into printable pieces, print, assemble, wire and mount it. With real numbers from a 610 × 355 mm example.
 LED Neon Strip Sizes and Fit for 3D-Printed SignsHow to measure an LED neon strip, why 6 × 12 mm is the common size, how fit clearance works, and how to avoid a channel that is too tight or too loose.Mounting and Finishing a 3D-Printed Neon SignWays to mount a printed neon sign (clear acrylic, standoffs, tape, hanging), how to paint or sand the channel for a brighter glow, and how to hide the cable.
Written and checked by the Volucore team against the behaviour of our tools. Spotted a mistake or something out of date? Tell us and we will fix it.