Mounting and Finishing a 3D-Printed Neon Sign
A glued-up, wired sign is not finished until it can hang straight on a wall and the print itself looks as good as the light. Mounting and finishing take an hour or two and make the difference between a prototype and something you are happy to look at every day. These are the options that work, with their trade-offs.
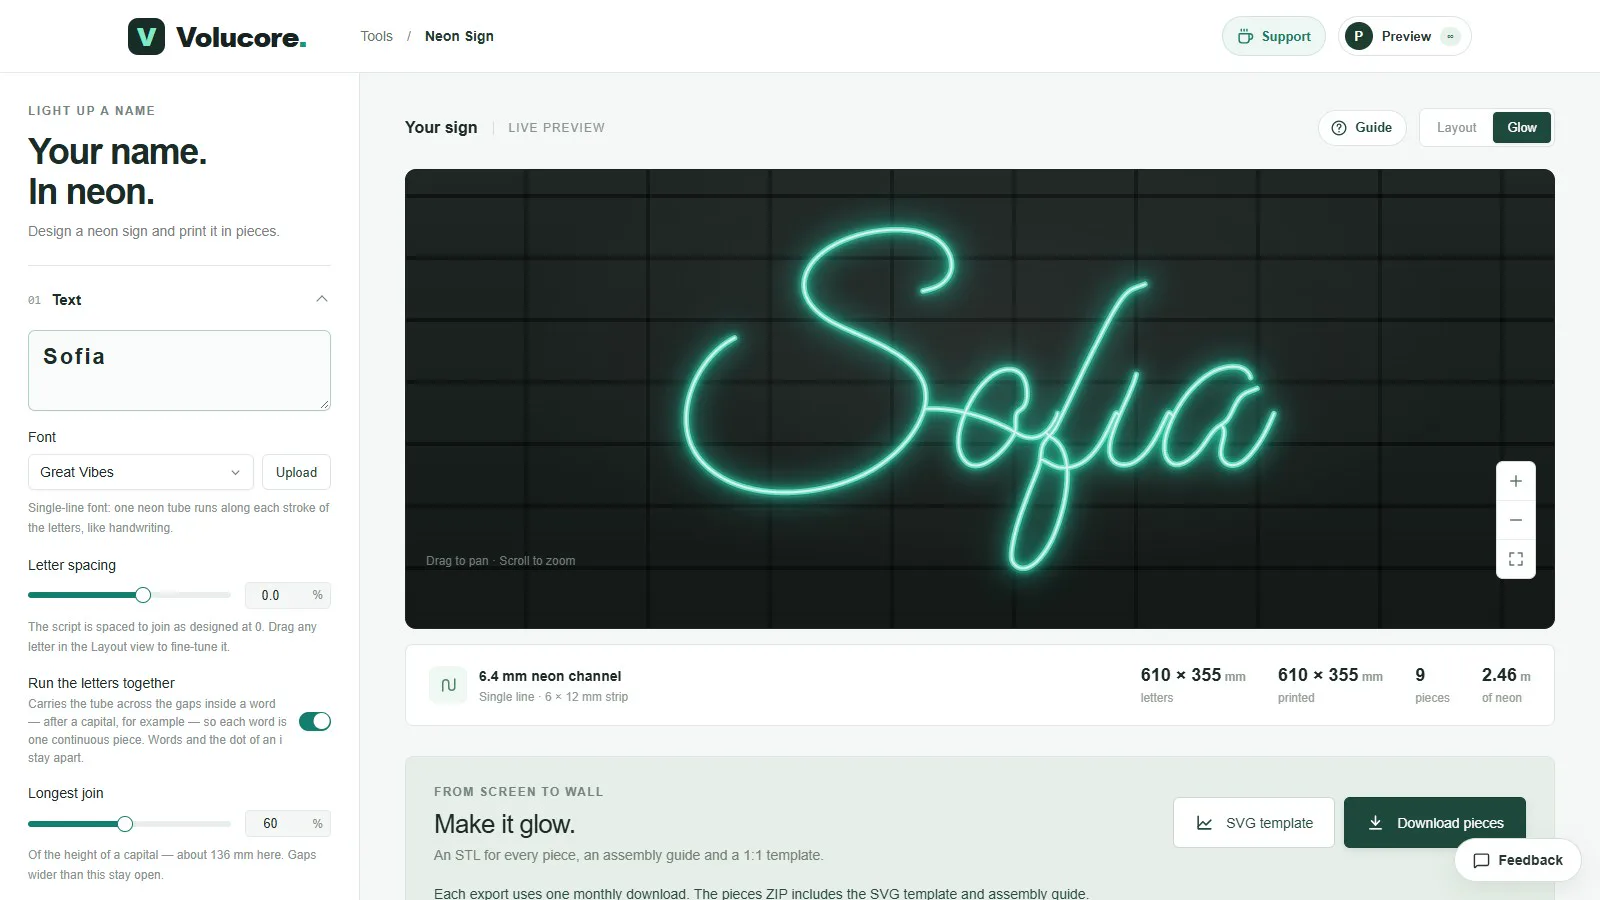
Mounting options
Clear acrylic backing
Stick the channel to a sheet of clear acrylic, usually cut to a rectangle around the sign or to its outline. It makes a channel-only sign look as if the light floats in front of the wall, and it keeps all the pieces flat and aligned. Clean the acrylic, peel the protective film and bond the channel with clear epoxy, a plastic-safe adhesive or double-sided tape. Then fix the acrylic to the wall with standoffs.
Standoffs
Standoffs are small metal barrels that hold a panel away from the wall. They are the usual way to mount an acrylic-backed sign and give a shadow on the wall behind it. Use wall anchors suited to your wall type and pre-drill through the acrylic with the right drill bit; acrylic cracks if it is drilled carelessly or screws are over-tightened.
Foam tape
A strong double-sided foam tape is fine for light signs on a smooth, clean, flat surface. Test a small piece first and press firmly. It is not a good idea for heavy signs, textured walls or surfaces that may be repainted.
Hanging
For a back-plate or solid-letter sign, hang it from two points with wire, chain or fishing line, so it cannot tilt. Fix the hanging points to the plate or to small loops printed on the sign, not to the strip. Hang from two points so the sign stays level.
Make the glow brighter: white inside
The colour of the channel affects the light. A white or very light interior reflects light that would otherwise be absorbed, so the strip looks brighter and more even. You can print the channel in white filament, or paint the inside of the channel with matte white paint before you fit the strip. For a dark frame look, print or paint the outside black and the inside white.
Sanding, filling and painting
- Remove blemishes. Cut away any stringing and sand the cut edges and joints lightly with fine paper.
- Fill the seams. Where pieces meet, a thin layer of filler or glue-and-dust paste fills any gap. Sand flush when it is dry.
- Prime. A plastic primer helps paint stick to PLA and PETG.
- Paint thin coats. Several thin coats look better than one thick coat. Keep paint out of the dovetails and off the floor of the channel where the strip sits.
- Seal. A clear matte coat protects the paint; test on an offcut first.
Hide the power lead
- Run the cable behind the acrylic or along the underside of the base, and out near the bottom of the sign.
- Fix it with small clips so it cannot pull on the strip.
- Leave some slack at the sign, so that moving the sign does not strain the joints.
- Keep the supply in reach, ventilated, and not covered by the sign.
Tools and materials
- A clear acrylic sheet (3 mm is a common thickness), cut to size.
- Standoffs and matching screws, and wall anchors suited to your wall.
- Clear epoxy, plastic-safe super glue or strong double-sided tape.
- A drill, bits for acrylic and for your wall, a level and a pencil.
- Isopropyl alcohol and a clean cloth to degrease the surfaces.
- Cable clips and a few cable ties.
Step by step: acrylic backing on standoffs
- Hold the finished sign on the acrylic and mark where it will sit; keep the cable exit clear of the edge.
- Clean the acrylic and the back of the channel with isopropyl alcohol and let them dry.
- Bond the channel to the acrylic in short sections, pressing each one flat, working from the centre outwards.
- Let the adhesive cure fully before you move the panel.
- Mark the hole positions on the wall with a level, drill and fit the wall anchors.
- Drill the acrylic corners slowly with a bit made for acrylic, with a piece of wood behind it.
- Fit the standoffs, hang the panel and tighten by hand, not hard.
Wall anchors by wall type
| Wall | Use |
|---|---|
| Plasterboard (drywall) | Expanding plasterboard anchors or toggle bolts, rated for the weight |
| Brick or concrete | Plastic wall plugs and screws, drilled with a masonry bit |
| Wood or stud | Wood screws straight into the stud |
| Tile | A tile bit, and drill into the grout line where possible |
Troubleshooting
| Problem | Fix |
|---|---|
| The sign is not level | Use a level when you mark the holes, and adjust with spacers behind a standoff. |
| The acrylic cracks when drilling | Drill slowly with an acrylic bit and support the back; do not overtighten the screws. |
| Pieces peel off the acrylic | Roughen both surfaces lightly, clean them and use epoxy instead of tape. |
| The shadow on the wall looks messy | Use standoffs of equal length and keep the cable behind the panel. |
Where not to put it
PLA softens at the temperatures a closed car or a window in direct sun can reach. If the sign will be in a hot spot, print it in PETG. Indoor signs are the intended use; if you want one outdoors, you need a waterproof-rated strip and supply and a properly sealed installation, which is beyond a basic printed channel.
Questions people ask
Do I need acrylic backing?
Not for a back-plate or solid-letter sign. A channel-only sign is happiest on acrylic or a flat wall, because the channel is thin.
Can I paint the strip?
No. Paint only the printed channel, and keep paint off the strip, which is made to glow through clean silicone.
How do I clean the sign?
Unplug it and wipe with a dry or slightly damp soft cloth. Avoid solvents on painted or printed parts.
Keep reading
 How to Make a 3D-Printed LED Neon Sign: The Complete GuideStep by step: choose an LED neon strip, design the sign, split it into printable pieces, print, assemble, wire and mount it. With real numbers from a 610 × 355 mm example.How to Wire and Power an LED Neon Sign (Power Supply, Cutting, Connections)Choose the right power supply for an LED neon strip, work out the wattage from the strip length, cut and seal the strip, connect it safely and test it before you finish the sign.
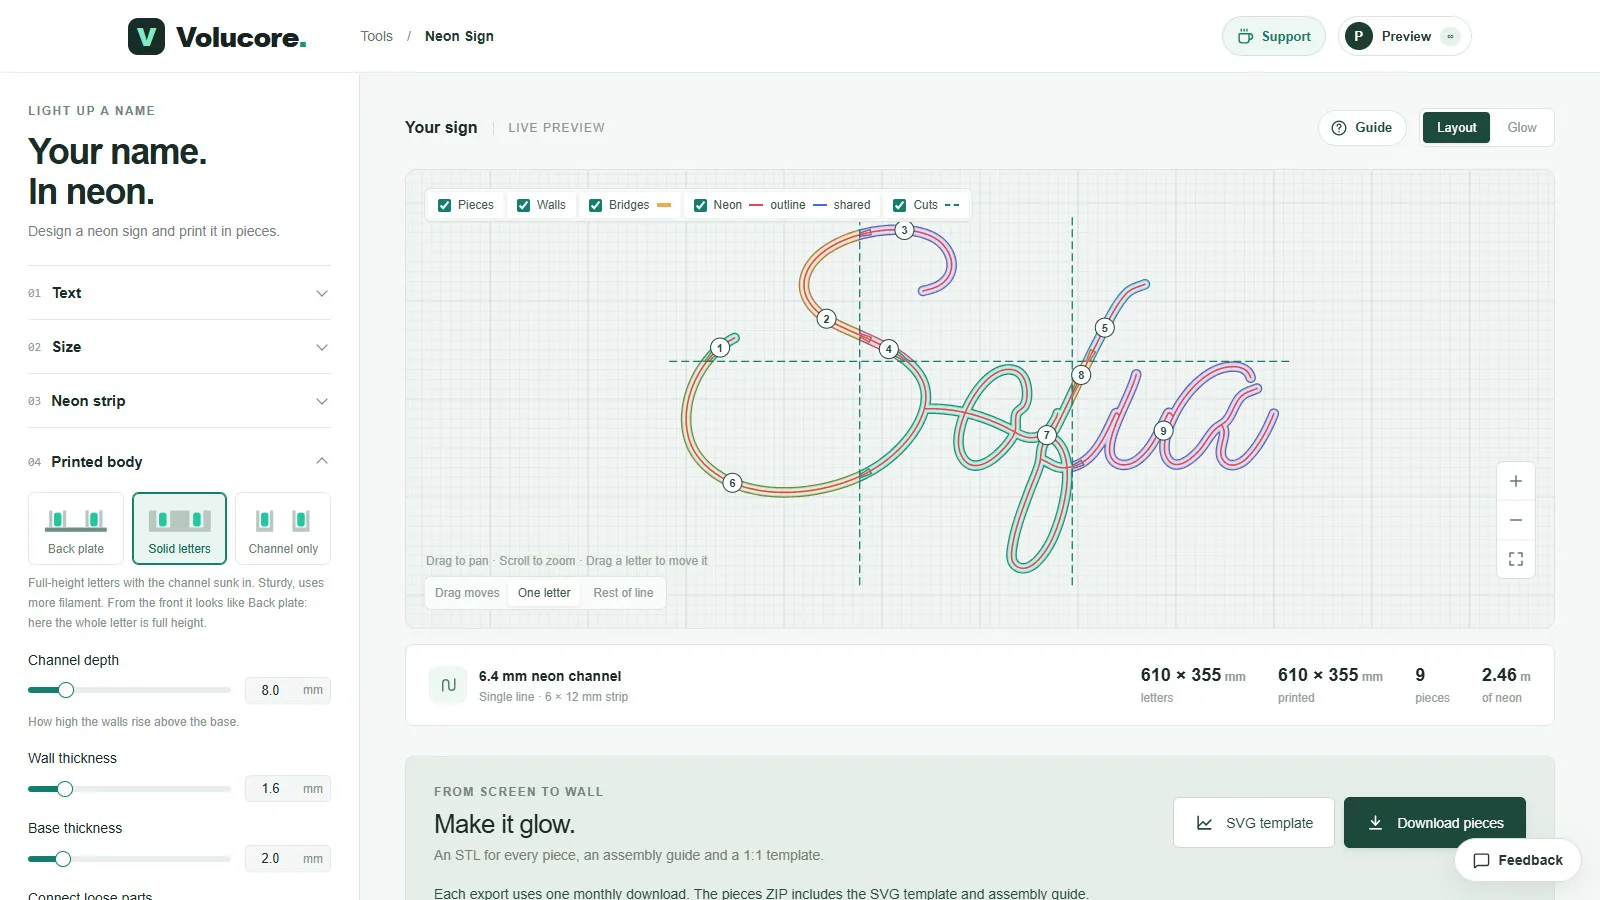 Back Plate, Solid Letters or Channel Only? Choosing the Body of a Neon SignCompare the three body styles of the Neon Sign tool, how they look when lit, how much filament they use, how to mount each one, and what channel depth, wall and bridges do.
Written and checked by the Volucore team against the behaviour of our tools. Spotted a mistake or something out of date? Tell us and we will fix it.