Bridging in 3D Printing: Why Bridges Sag and How to Fix Them
When a model has a gap with nothing under it, the printer has to stretch a line of plastic from one side to the other. This is called a bridge. Short bridges look fine. Long bridges sag in the middle, leave drooping strings, or fall into the gap. Here is how to see the problem in the slicer and how to fix it.
What a bridge looks like in the slicer
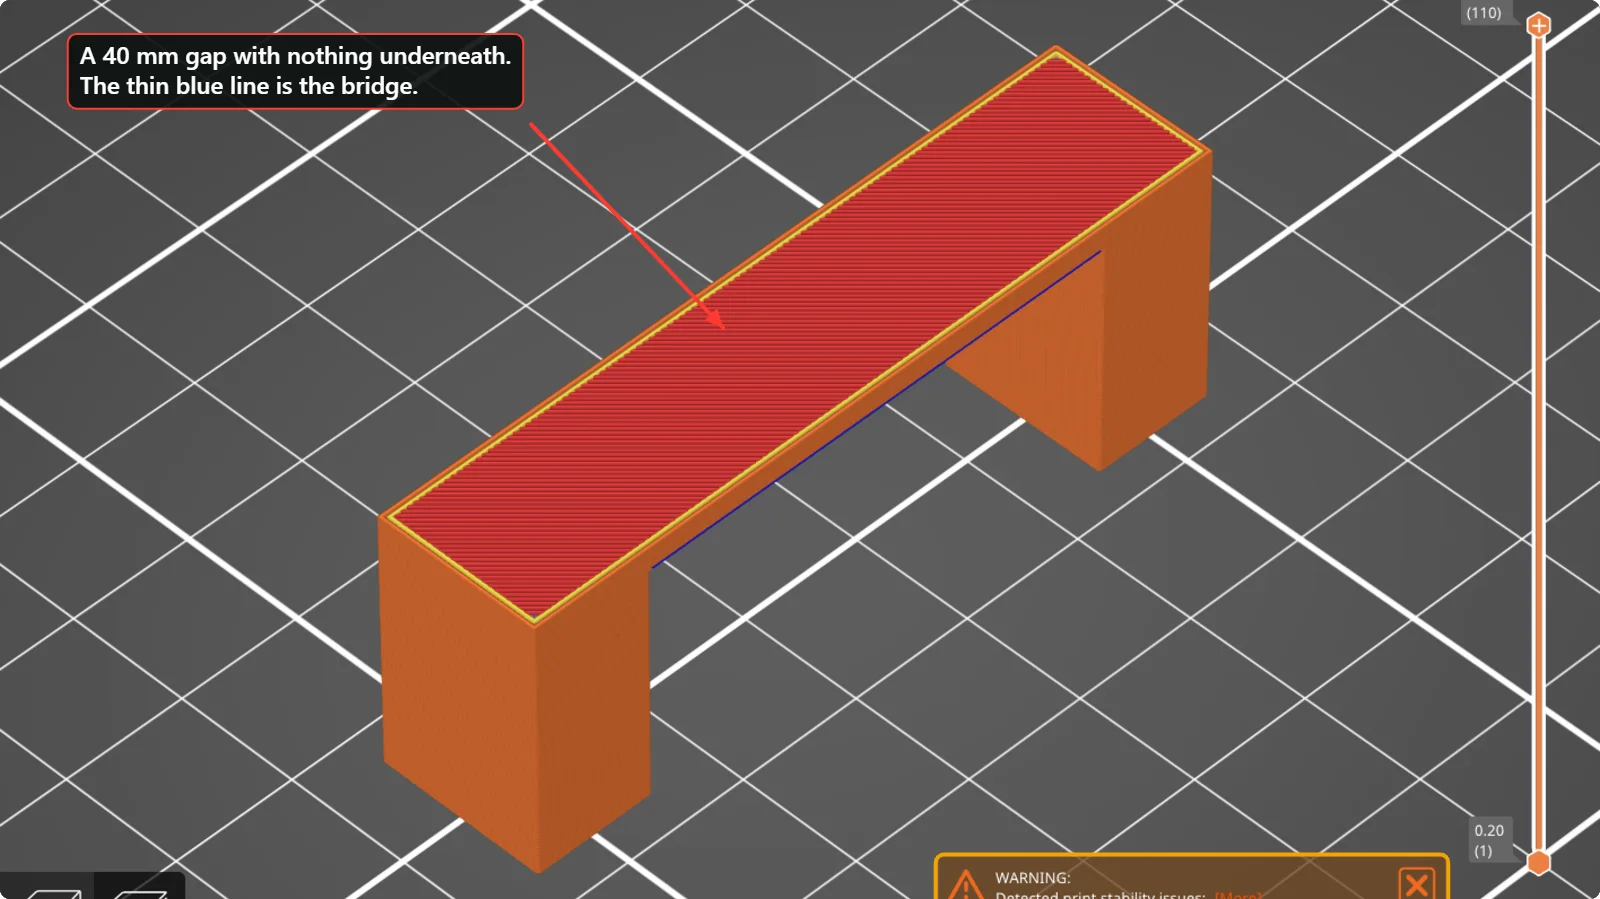
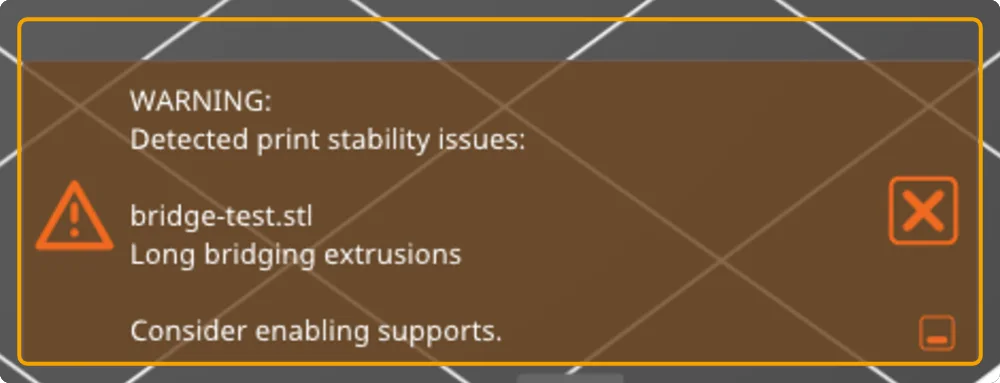
We modelled two pillars joined by a 40 mm span, the typical shape of a bridge. In PrusaSlicer’s preview the bridging lines are coloured blue, and the slicer shows a warning on the plate: “Long bridging extrusions. Consider enabling supports.”
Why bridges sag
A bridge line is hot and soft, and it has nothing to rest on. Gravity pulls it down while it cools. The longer the span, the more it droops. The settings that matter are how fast the line is laid down, how quickly it is cooled, and how much plastic is pushed out.
Fixes, in the order we would try them
1. Cool the bridge hard
The fan should run at full speed on bridges. PrusaSlicer’s MK4S profile sets “Bridges fan speed” to 100 %. Bambu Studio has “Force cooling for overhangs and bridges” turned on in its filament cooling settings, with the fan at 100 % for overhangs. If you ever lowered those values to reduce noise, put them back.
2. Check the bridge speed
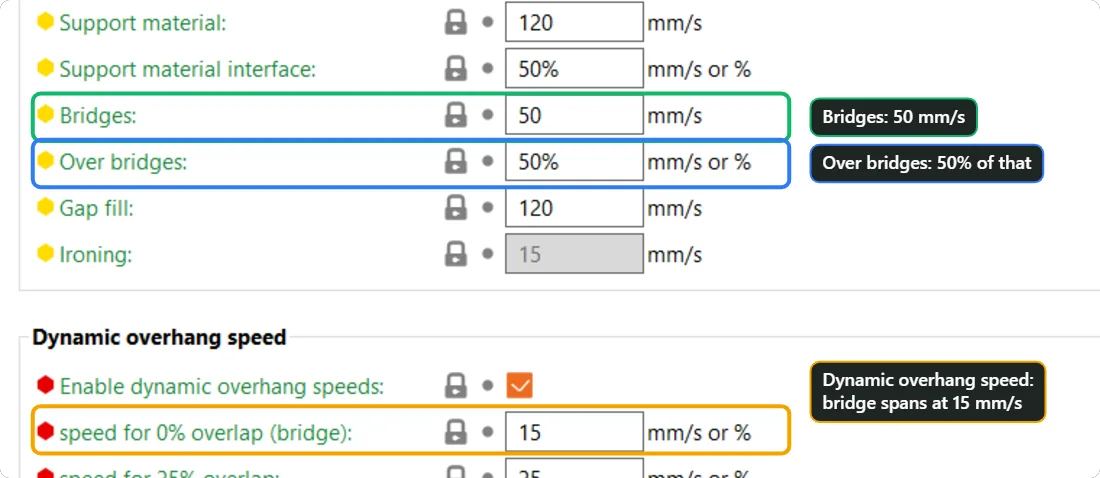
In the MK4S profile PrusaSlicer prints bridges at 50 mm/s, and over-bridges (the layer on top of a bridge) at half of that. The profile also has dynamic overhang speeds enabled, which slows the nozzle down to 15 mm/s on the parts of a line that have the least support below. If the bridge sags in the middle, try a lower bridge speed and compare.
3. Try less flow on the bridge
A thinner stream of plastic cools faster and sags less. PrusaSlicer has a “Bridge flow ratio” under Print Settings > Advanced > Flow; it is 1 in our profile. Many people try a value a little under 1 for stubborn sagging, changing it in small steps and checking the result each time.
4. Shorten the span
Short bridges almost never sag. If you design the model, add a small pillar or an arch in the middle of a long gap, or divide the gap into two shorter ones.
5. Use supports under the bridge
When a span is longer than your printer can bridge, supports are the answer. The warning suggests this for a reason. Make the supports start just under the bridge, so they do not fill the whole gap.
6. Rotate the part
The direction of the bridging lines follows the shorter way across the gap. Turning the model 90 degrees in the slicer can change the longest bridge in the print.
Bridge test
Print a test with bridges of 10, 20, 30 and 40 mm between two columns. The longest bridge that stays flat is the limit for your printer with this filament. Keep your designs below it.
Designing bridges into your own models
- Teardrops and chamfers. A horizontal round hole prints better as a teardrop with a pointed top, and a flat underside prints better with a 45 degree chamfer.
- Sacrificial layer. Over a hole that is closed on top, leave one extra thin layer in the model as a bridge, then drill or cut it out after the print.
- Short spans. Keep gaps between two supported points under the length your own bridge test showed.
- Round the top. An arch is held up by its own shape, so it prints well without supports even across wide gaps.
Questions people ask
How long a bridge can a printer make?
It depends on the printer, the filament and the cooling. Many printers can bridge 20 to 40 mm in PLA with good cooling. A test print tells you your own limit.
Why does the first bridge layer look messy but the next one is smooth?
The first layer droops a little. The layer on top (the over-bridge) covers it and makes the surface flat. Slowing it down helps.
Is a bridge the same as an overhang?
No. An overhang is supported on one side. A bridge is supported on two sides. Slicers handle them with different settings.
Keep reading
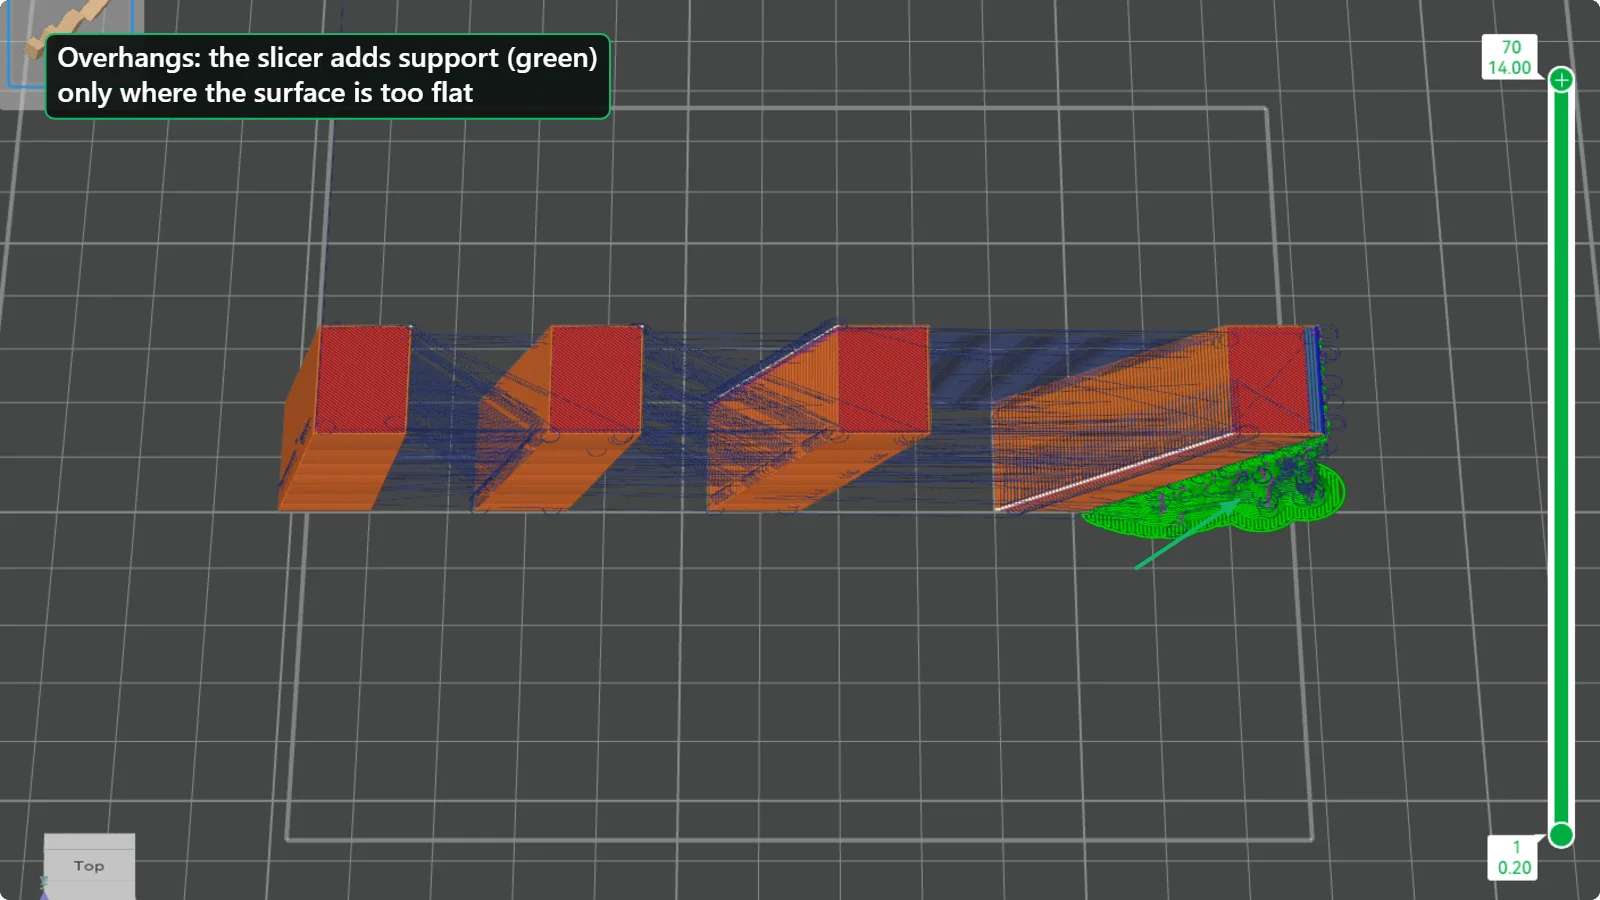 3D Printing Overhangs and Supports: When You Need ThemHow steep an overhang can be before it droops, what the support threshold angle really means, tree versus normal supports, and the settings in PrusaSlicer and Bambu Studio, tested on a four-angle model.
 3D Print Not Sticking to the Bed? 7 Fixes for First-Layer AdhesionWhy a 3D print lifts, slides or never sticks to the build plate, and the order in which to check it: clean plate, first-layer height, bed temperature, brim, fan, speed and part orientation, with real slicer screenshots.
 3D Printing Glossary: The Terms Used in Our GuidesPlain-language definitions of 3D printing terms: bed, perimeter, infill, layer height, slicer, bridging, supports, brim, clearance, STL, 3MF, dovetail, diffuser and more.
Written and checked by the Volucore team against the behaviour of our tools. Spotted a mistake or something out of date? Tell us and we will fix it.