LED Neon Strip Sizes and Fit for 3D-Printed Signs
Everything about a 3D-printed neon sign starts with the strip. The channel is printed to the strip’s width, so a strip that is half a millimetre wider than you assumed will not go in, and one that is half a millimetre narrower will rattle. This guide shows how to read a strip’s size, measure it properly and set the fit so it goes in on the first try.
What an LED neon strip is
LED neon strip, often called neon flex, is a flexible silicone tube with a row of LEDs inside and a diffuser that makes the light look continuous, like glass neon tubing. It runs on low-voltage DC, usually 12 V or 24 V, and has marked points where you can cut it. For signs you want the side-bend type, which bends sideways like a ribbon on its edge so it can follow the curves of lettering.
Reading the size
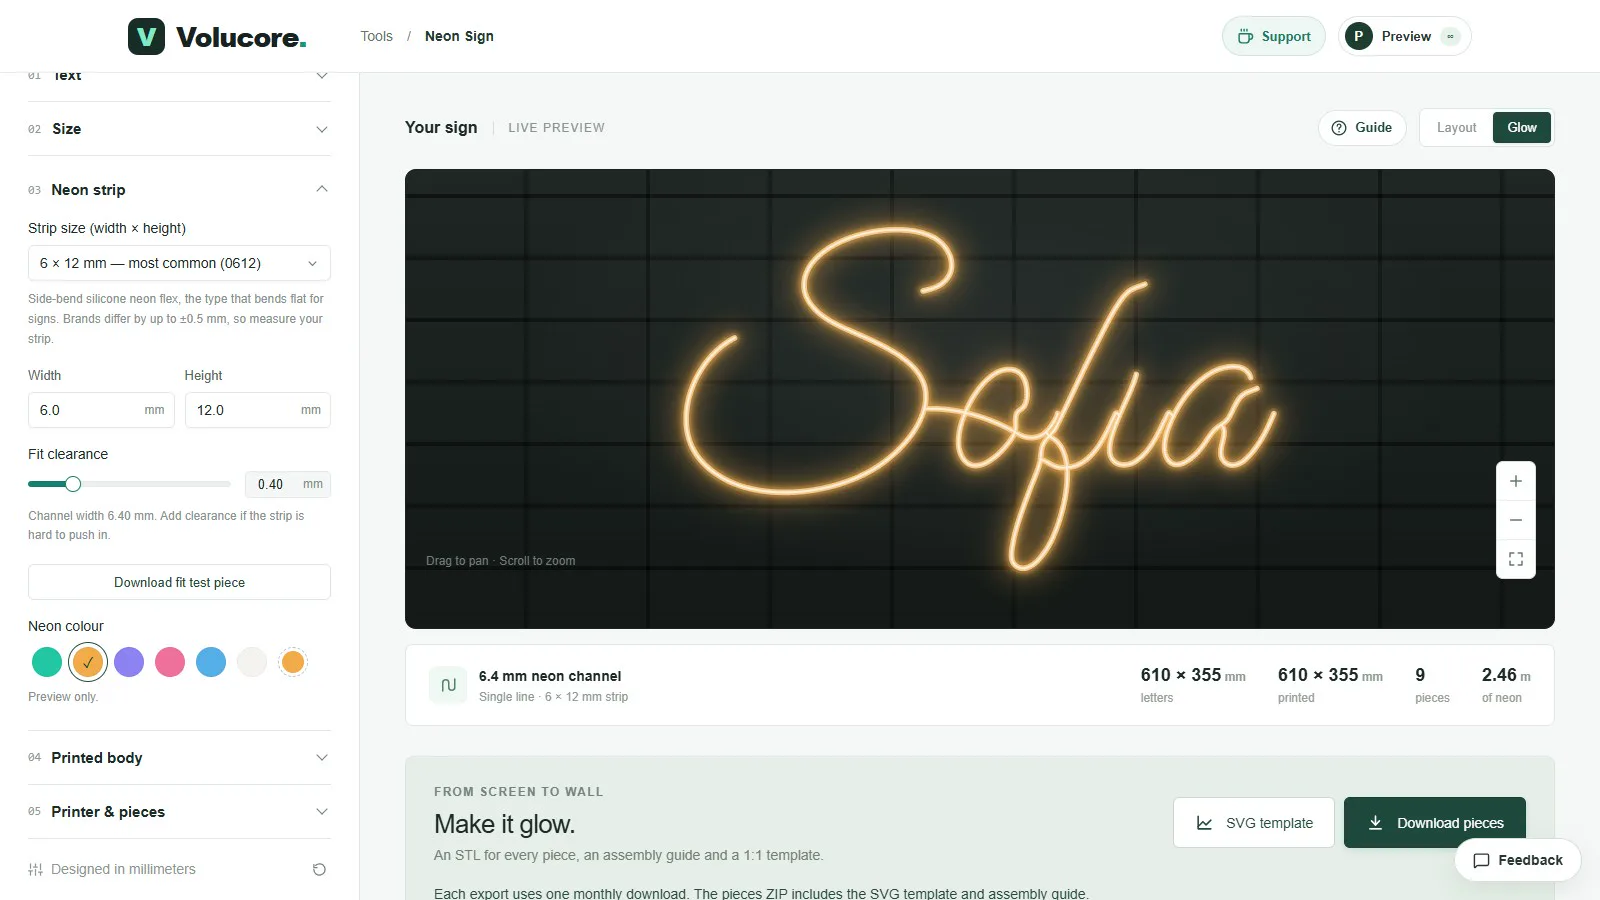
A strip is described by its cross-section, width × height, in millimetres. In the Neon Sign tool, the width is the dimension that goes across the channel and the height is how tall the strip stands. Common sizes you will see are:
| Cross-section (W × H) | Typical use | Notes |
|---|---|---|
| 6 × 12 mm | Most printed signs and name signs | The default in the tool, listed as “most common”. Good balance of brightness and flexibility. |
| 8 × 16 mm | Larger signs, brighter glow | Bigger bend radius, so tight script letters are harder. |
| Smaller than 6 mm wide | Fine script lettering | Tighter curves, usually a little dimmer. |
The tool has a list of presets and also lets you type any width and height, so a strip that is not on the list still works.
Measure the strip yourself
- Cut a short offcut, or use a spare end, and lay it on a flat surface.
- Measure the width and height with digital calipers at three points along the strip, and write down the largest values. Silicone can be slightly oval or ribbed.
- Measure without squeezing the calipers; silicone compresses and will read small.
- Enter those numbers in the Neon strip panel. If your numbers differ from a preset, the preset name changes to “custom”, which is fine.
How fit clearance works
The tool makes the channel a little wider than the strip so it can be pushed in. This is the fit clearance, from 0 to 2 mm, with a default of 0.40 mm. A 6 mm strip with 0.40 mm of clearance sits in a 6.40 mm channel; the panel shows the result as “Channel width 6.40 mm”.
| Symptom | Change |
|---|---|
| The strip needs force to push in, or will not fit at all | Increase clearance in steps of 0.1 mm (try 0.5, then 0.6 mm). |
| The strip rattles or falls out | Reduce clearance (try 0.3 mm), or add a thin line of clear silicone. |
| It fits on straight runs but not on curves | Increase clearance slightly; a bent strip is effectively wider. |
Your printer matters as much as the number. Some printers print walls slightly thick (the channel comes out narrower), others slightly thin. That is why the fit test is worth printing, and why the setting is a number you can change rather than a fixed rule.
The fit test piece
Under the strip settings there is a Download fit test piece button. It gives you a short channel built from your strip size, clearance and body settings. Print it, press a piece of your strip into it and bend it a little. If it behaves, you can print the whole sign with the same settings.
Channel depth and strip height
The strip stands up in the channel. By default the channel is about two thirds of the strip’s height, 8 mm for a 12 mm strip, so the walls hold the strip while its top third shows and glows. In the Printed body panel you can change the depth from 2 to 40 mm. A deeper channel hides more of the strip and makes the light more directional; a shallower one lets the strip show more but holds it less firmly.
Colour of the strip
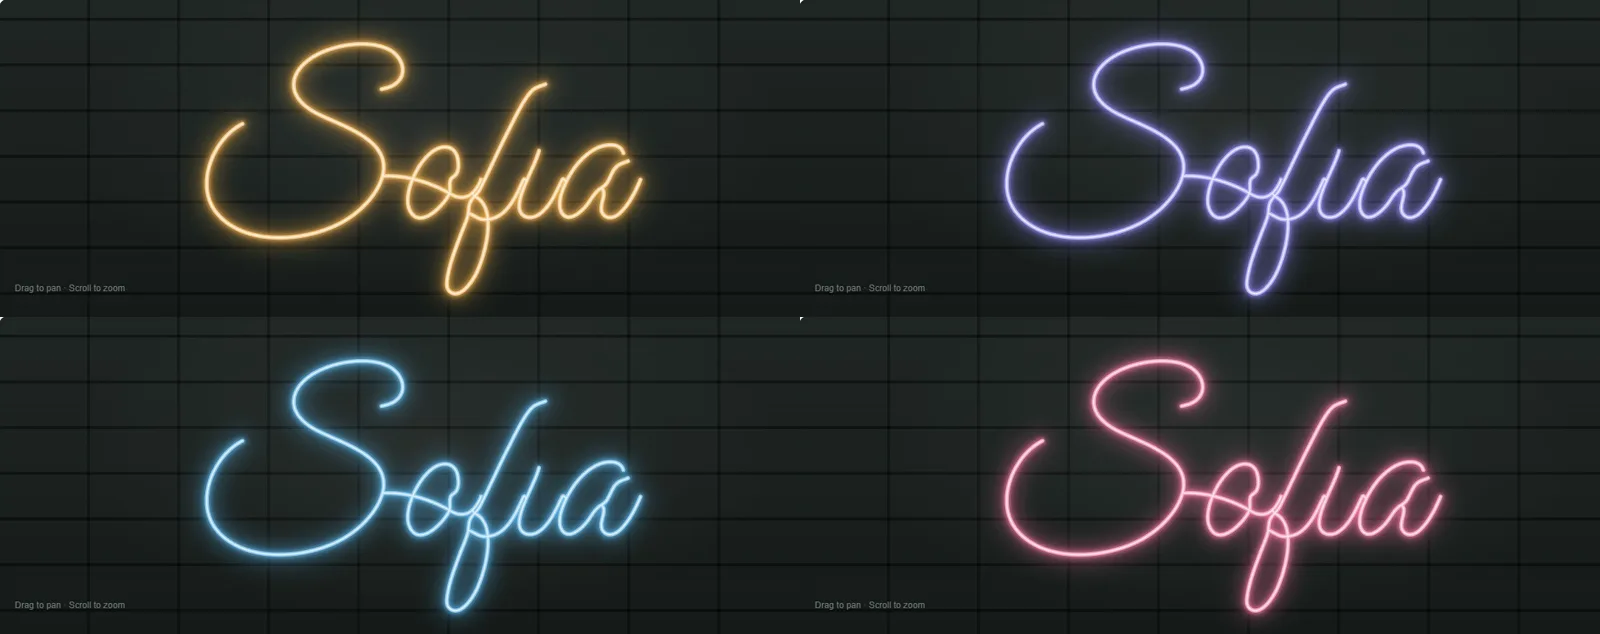
The tool’s neon colour swatches only change the preview. Your real colour is whatever strip you buy: warm white, cool white, red, pink, blue, green or colour-changing. Pick the colour you like in the Glow view first, then buy that strip.
Voltage and bend radius
Two other numbers on a strip’s datasheet matter. The voltage (12 V or 24 V) decides the power supply you need. The minimum bend radius tells you how tight a curve the strip can take before it kinks or the LEDs fail. Script fonts with small loops are a challenge for wide strips, which is one more reason to choose a narrower strip, or a single-line font with gentler curves.
Questions people ask
What is the most common neon strip size for signs?
6 × 12 mm side-bend is the most common size sold for signs, and it is the tool’s default. Check the actual width and height of the strip you buy.
Will a strip from any brand fit?
It will if you enter its real width and height and set a sensible clearance. Brands differ by a few tenths of a millimetre, so print the fit test piece.
Can I use a round neon rope?
The channel is rectangular and made for side-bend flat strips. A round tube will sit in it, but it is not what the geometry is designed for; use a strip with a rectangular cross-section.
Keep reading
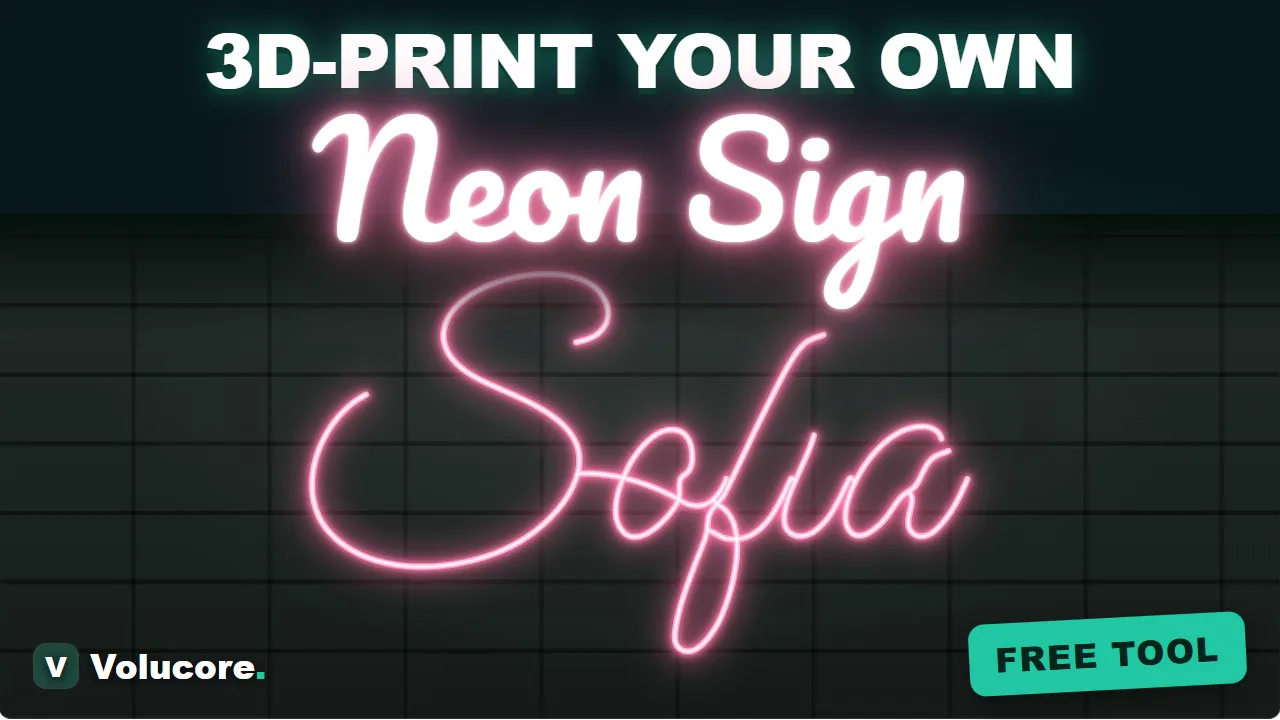 How to Make a 3D-Printed LED Neon Sign: The Complete GuideStep by step: choose an LED neon strip, design the sign, split it into printable pieces, print, assemble, wire and mount it. With real numbers from a 610 × 355 mm example.
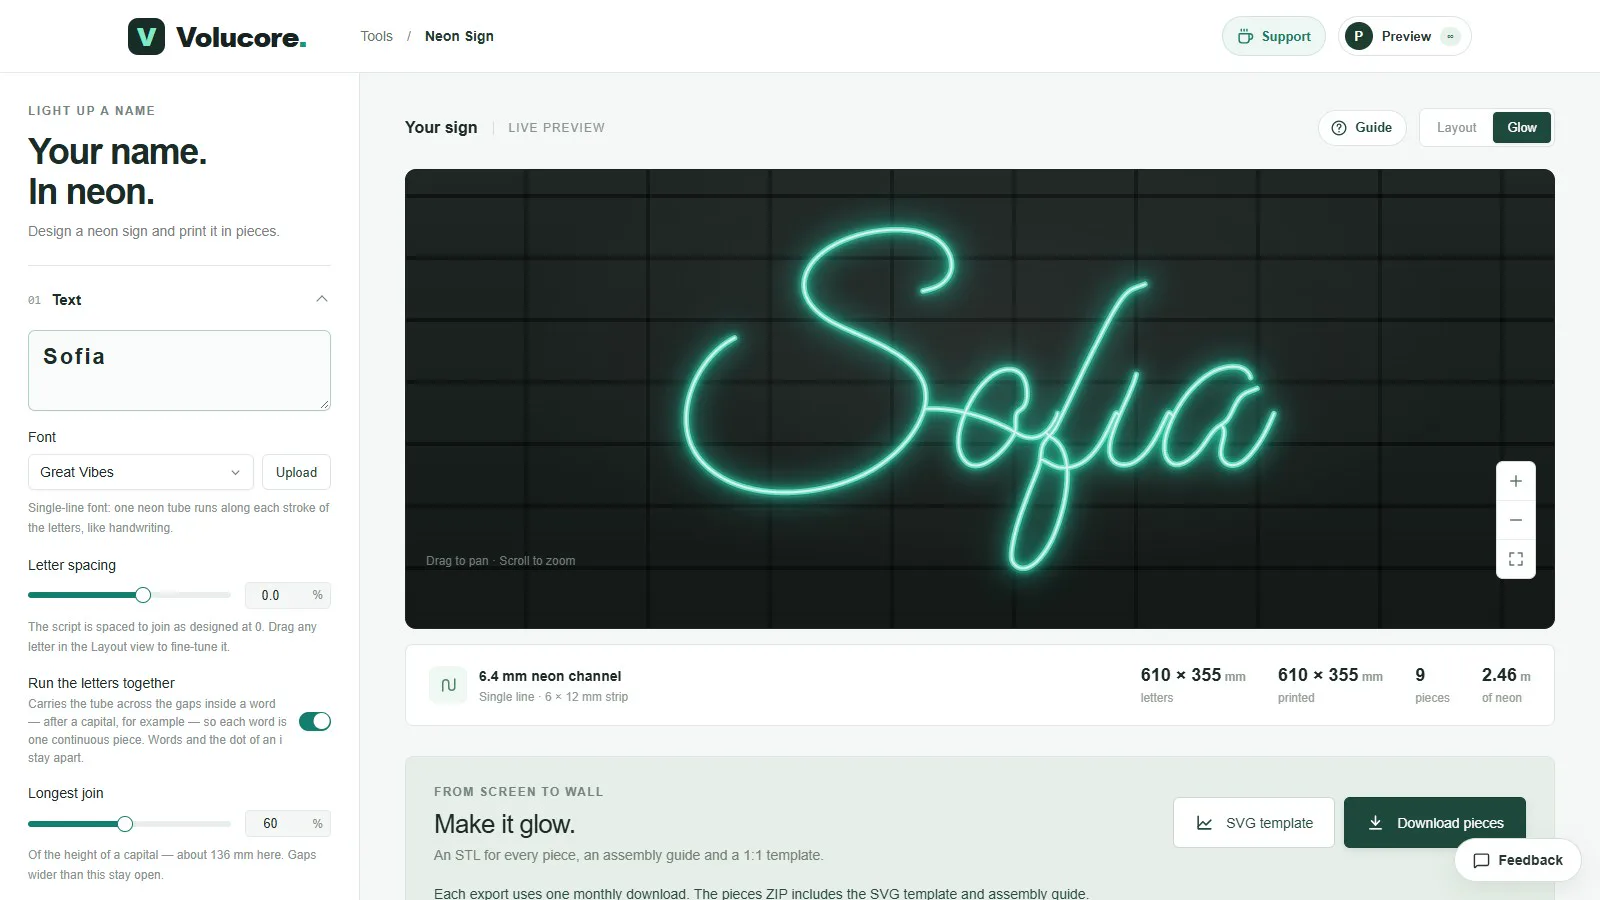 How to Wire and Power an LED Neon Sign (Power Supply, Cutting, Connections)Choose the right power supply for an LED neon strip, work out the wattage from the strip length, cut and seal the strip, connect it safely and test it before you finish the sign.
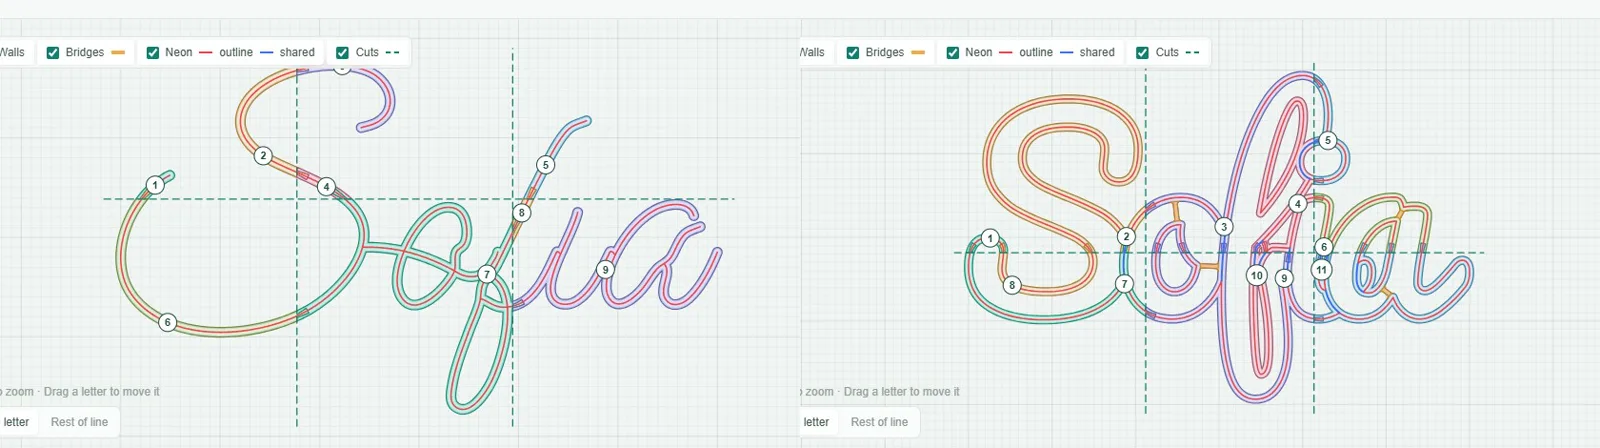 Single-Line vs Outline Fonts for Neon SignsHow a single-line script and an outline font are built differently for a 3D-printed LED neon sign, how much strip each uses, and which to choose for your name.
Written and checked by the Volucore team against the behaviour of our tools. Spotted a mistake or something out of date? Tell us and we will fix it.