3D Print Settings for Neon Sign Channels: Material, Walls and Fit
A neon sign channel is a long, thin, shallow print, which is easy for most printers but has a few details that matter: the wall must be the right thickness, the channel must come out the right width, and the pieces must stay flat. These are the settings we recommend starting from, and how to adjust them for your printer.
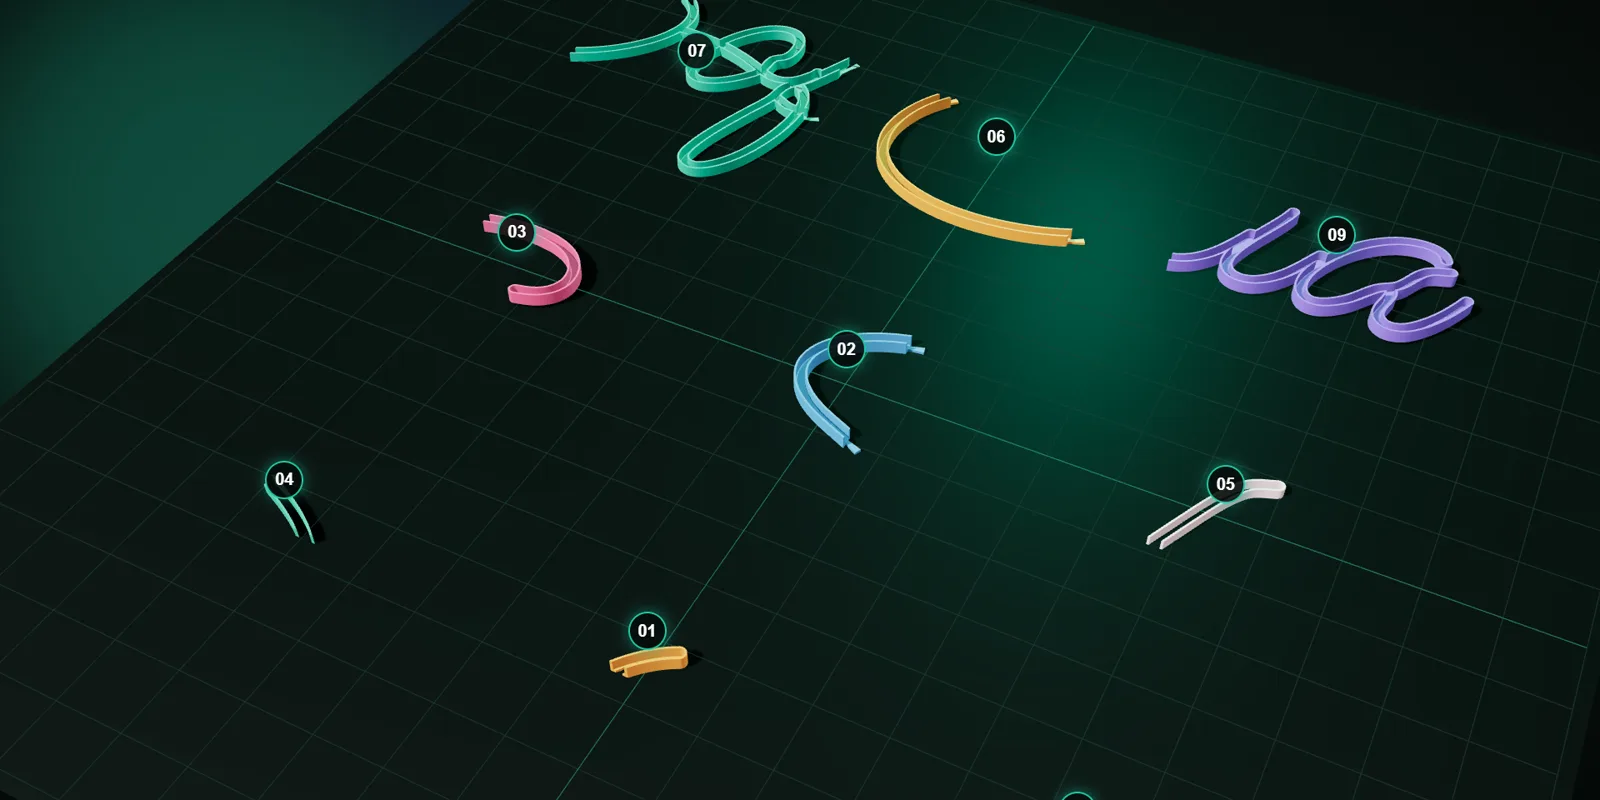
Starting settings
| Setting | Start with | Why |
|---|---|---|
| Nozzle | 0.4 mm | The tool’s wall thickness (1.6 mm) is four lines of 0.4 mm. |
| Layer height | 0.2 mm | A good balance. Use 0.16 mm for a smoother surface. |
| Wall count | 4 perimeters | Matches the 1.6 mm wall of the model with a 0.4 mm line width. |
| Top and bottom layers | 3 to 4 | The base is 2 mm thick, about 10 layers at 0.2 mm. |
| Infill | 10 to 20% | There is little to fill; the walls and base do the work. |
| Supports | None | Pieces are designed to print flat with the base down. |
| Brim | Optional | Helps long, thin pieces stay flat on a cool bed. |
Material
| Filament | Good for | Watch out for |
|---|---|---|
| PLA | Most indoor signs. Easy, accurate, stiff. | Softens in hot places; avoid a sunny window or a closed car. |
| PETG | Warmer rooms, tougher pieces. | Can string; slightly less crisp dovetails; tune retraction. |
| White or light colour | Bright glow: light reflects inside the channel. | Shows layer lines more. |
| Black or dark colour | A dark frame around the glow; hides the strip off. | The channel absorbs some light; paint it white if you want it brighter. |
Choose opaque filament. A translucent filament lets light leak through the walls, which can look interesting but makes the glow less defined and the sign harder to control.
Orientation and bed
Print every piece flat with the base on the bed. That gives the best strength along the channel and needs no supports. Make sure the bed is level and clean: a long, thin piece shows a poor first layer more than a block does. If a piece lifts at the ends, use a brim, a slightly warmer bed or a cleaner plate.
Get the channel width right
The channel is designed to be the strip width plus the fit clearance, 6.40 mm for a 6 mm strip at the default 0.40 mm. Whether it prints at exactly 6.40 mm depends on your printer. Common causes of a channel that is too narrow are over-extrusion and a first layer that is squashed too much (“elephant foot”), which narrows the bottom of the channel. A channel that is too wide usually means under-extrusion or a loose belt.
- Print the fit test piece from the tool with your intended settings.
- Press a piece of your strip into it. It should go in without force and not fall out.
- If it is too tight, raise the fit clearance in the tool by 0.1 mm; if too loose, lower it by 0.1 mm.
- When it fits, print the whole sign with the same slicer settings.
Dovetail connectors
The hidden connectors have their own clearance in the tool (0.15 mm per side by default). If two pieces will not push together, increase the clearance a little; if they wobble, reduce it. Print two neighbouring pieces and test them before printing the rest. Do not force a joint: if the keys are slightly tight, a light sanding of the key is better than hammering the pieces together.
Print order and time
- Start with the largest piece, so any problem shows early.
- Print pieces in one go if your plate allows it; otherwise print by number.
- Keep the numbers: write the piece number on the back with a marker, or use the engraved numbers from the tool.
Surface finish and layer lines
Layer lines show most on the outside of the walls and along the top edge of the channel. Finer layers, such as 0.16 mm, soften them; sanding and a coat of paint hide them. The inside of the channel is covered by the strip, so its surface matters less than the rim, which is the part you see from the front.
Speed and cooling
Long, thin walls can show ringing, a ripple behind sharp corners, when printed fast. Start with your printer’s standard quality profile and slow the outer walls and the first layer a little. Use normal part cooling for PLA; for PETG, use less cooling and a slightly slower speed for good layer bonding.
Dry filament
Damp filament strings and prints rough, which spoils the edges of the dovetails and the rim. If the plastic pops or you see tiny bubbles on the surface, dry the spool before you print the sign.
Common problems
| Problem | Fix |
|---|---|
| Strip does not fit | Increase fit clearance; check for elephant foot. |
| Warped ends | Brim, cleaner or warmer bed, slower first layer. |
| Stringing between letters | Lower the nozzle temperature a little, dry the filament, tune retraction. |
| Rough joints | Lightly sand the dovetails; do not force them. |
| Layer lines show through paint | Use 0.16 mm layers or sand and prime before painting. |
Questions people ask
Can I use a 0.6 mm nozzle?
The 1.6 mm wall is a multiple of 0.4 mm lines, so a 0.4 mm nozzle gives the cleanest result. With a larger nozzle you can still print the channel, but check that the wall width in your slicer is not thicker than 1.6 mm.
Do I need to print slowly?
No. Moderate speeds work. Slow down the first layer and the outer walls if your printer shows ringing on long straight runs.
Should I use a brim?
Only if pieces lift. A brim on narrow channels can be hard to remove, so try a clean bed and the right first-layer height first.
Keep reading
 How to Make a 3D-Printed LED Neon Sign: The Complete GuideStep by step: choose an LED neon strip, design the sign, split it into printable pieces, print, assemble, wire and mount it. With real numbers from a 610 × 355 mm example.
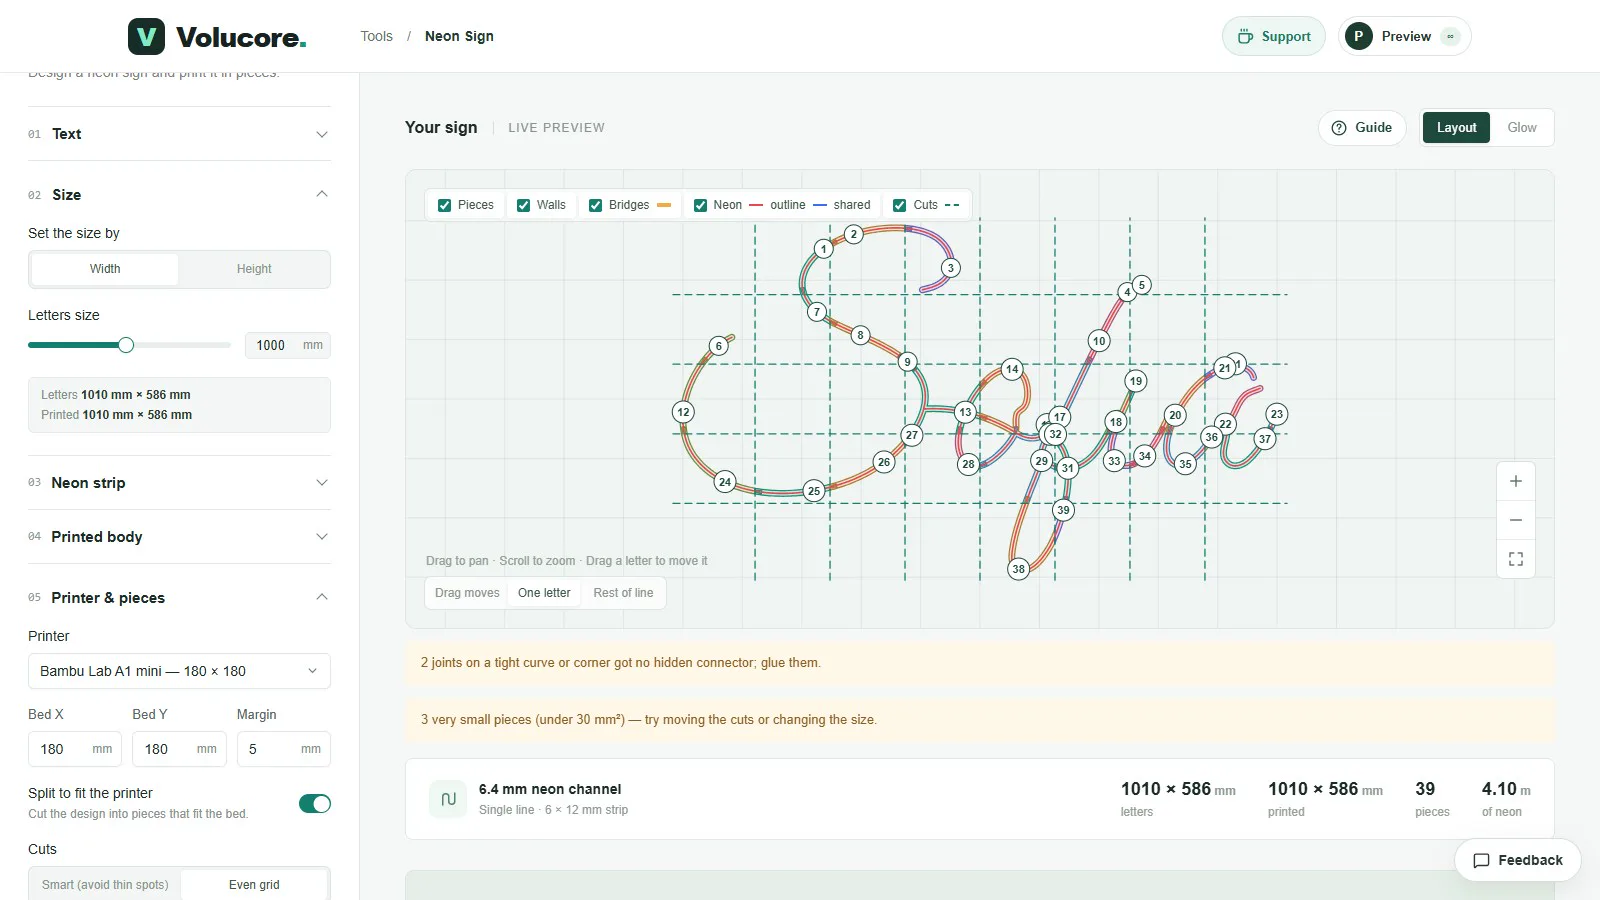 How to Split a Large Neon Sign into Printable PiecesHow the Neon Sign tool cuts a big sign into numbered pieces that fit your printer bed: bed size, margin, smart or even cuts, hidden dovetail connectors and what to do about warnings.
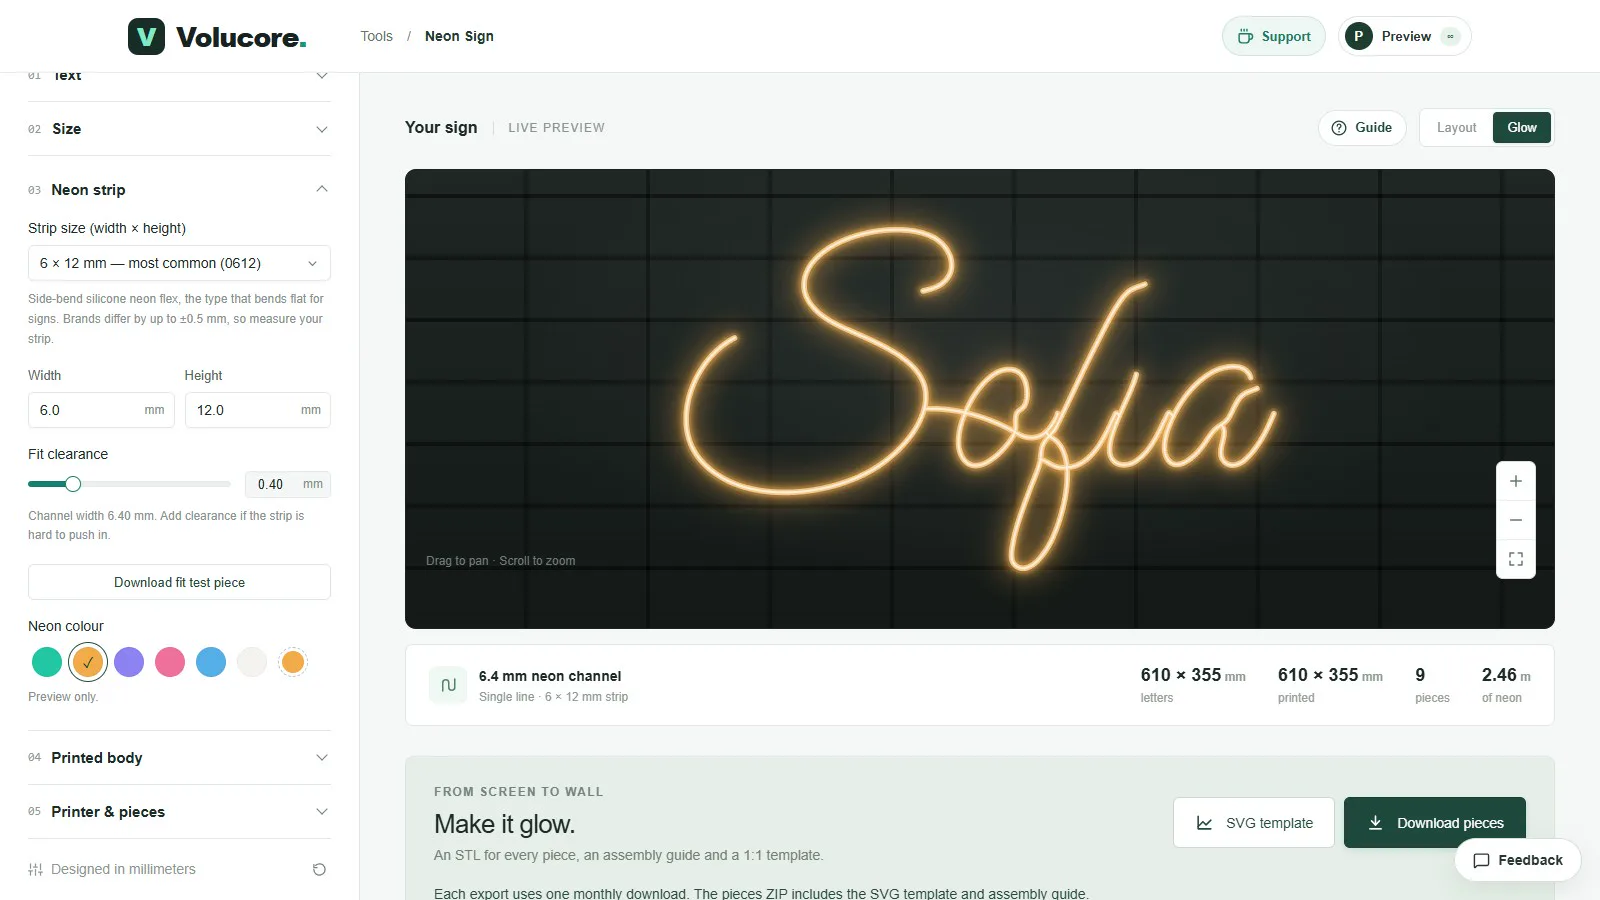 LED Neon Strip Sizes and Fit for 3D-Printed SignsHow to measure an LED neon strip, why 6 × 12 mm is the common size, how fit clearance works, and how to avoid a channel that is too tight or too loose.
Written and checked by the Volucore team against the behaviour of our tools. Spotted a mistake or something out of date? Tell us and we will fix it.