3D Print Not Sticking to the Bed? 7 Fixes for First-Layer Adhesion
Almost every failed print that “just came off the bed” has the same cause: the first layer did not grip. It is the most common problem for beginners, and the good news is that it is also the easiest to fix, because there is a short list of things that decide it. Work through them in the order below and stop as soon as the print sticks.
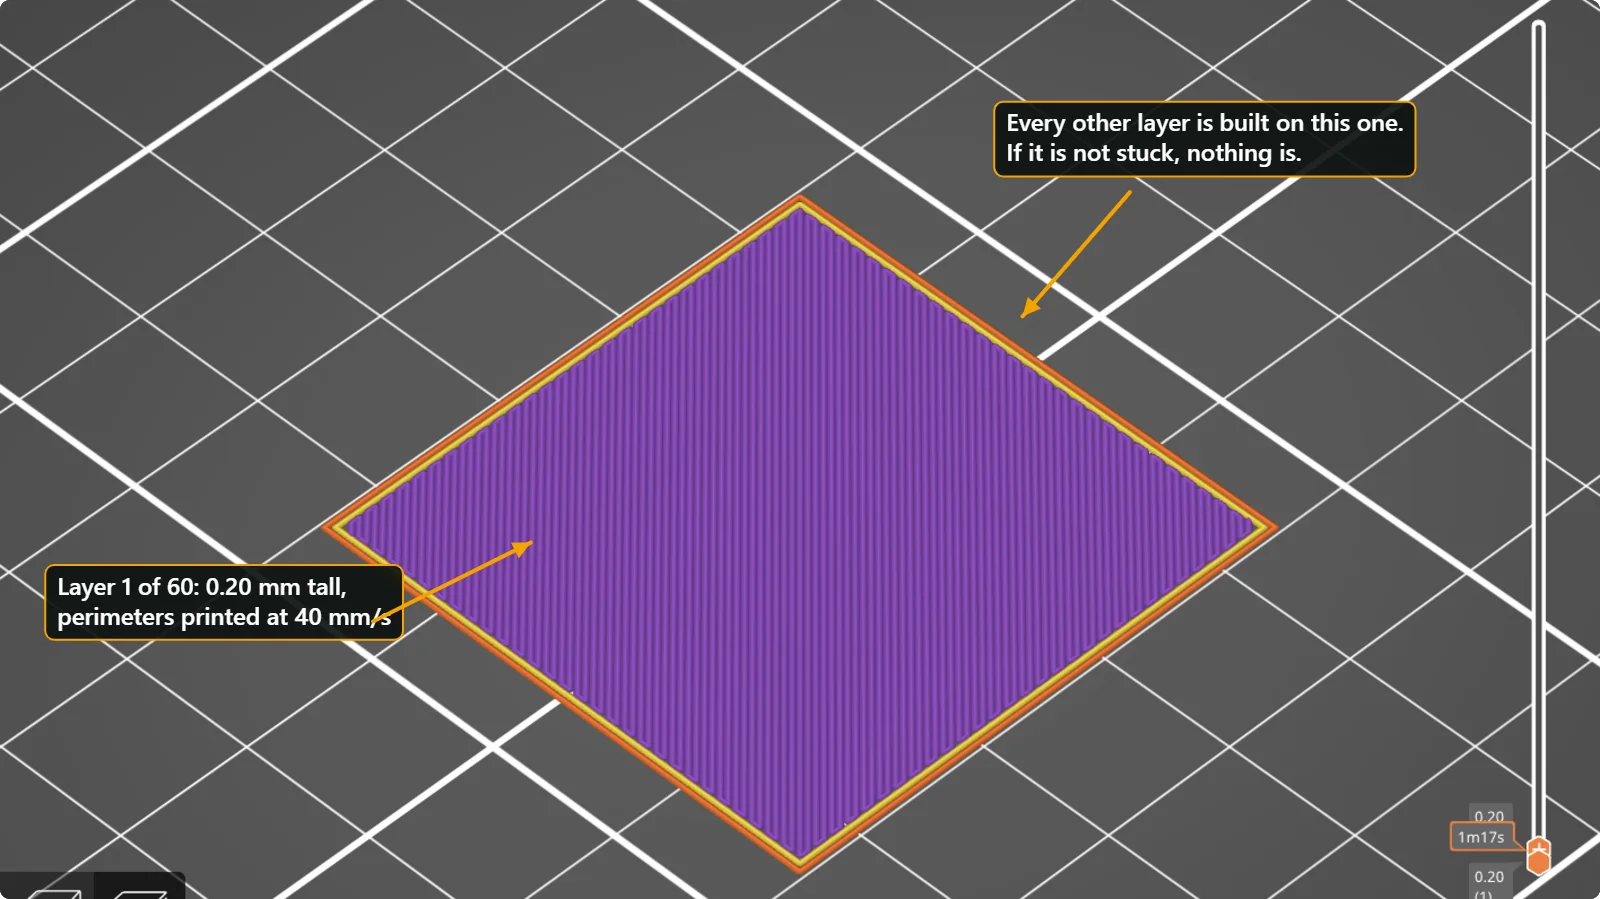
Why the first layer matters so much
Every layer is printed on top of the one below it, and the first one sits on the plate. If it is not stuck, the nozzle drags the part around, the corners curl up, or the whole model detaches half way through. In the slicer the first layer is a single flat layer, here 0.20 mm tall, that covers the footprint of the part.
The seven checks, in order
1. Clean the build plate
Fingerprints, hand cream and old glue leave a thin film that plastic cannot stick to. Wash a smooth or textured PEI sheet with warm water and dish soap, dry it with a clean cloth and then do not touch the printing area. Isopropyl alcohol is fine for a quick wipe on most sheets; check your plate maker’s advice, because some coatings should not be cleaned with alcohol.
2. Check the first-layer height (“squish”)
The nozzle must be close enough to press the first line into the plate. Too high and the line sits on top like a round noodle and peels off. Too low and the plastic is squashed so hard that it ripples or stops flowing. A good first layer looks flat, with neighbouring lines just touching. Most current printers have an automatic first-layer calibration or a live Z adjustment while the first layer prints. Use it, in small steps, until the lines join without ridges.
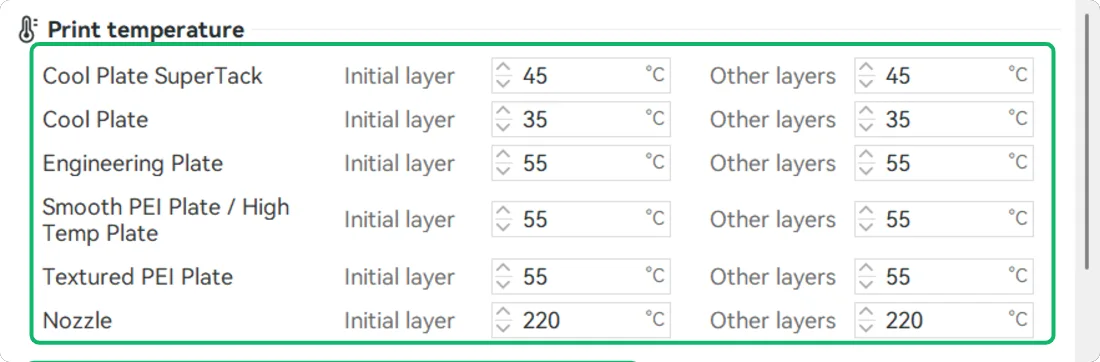
3. Use the right bed temperature for your plate and material
Bed temperature sets how hot the plate is under the first layer. The values are in the filament profile. In our screenshots the profile for Prusament PLA Blend uses 60 °C for the bed, and Bambu PLA Basic uses 55 °C on a textured PEI plate. Bambu Studio keeps one value per plate type, so pick the plate you really have in the printer settings, or the slicer will use the wrong row.
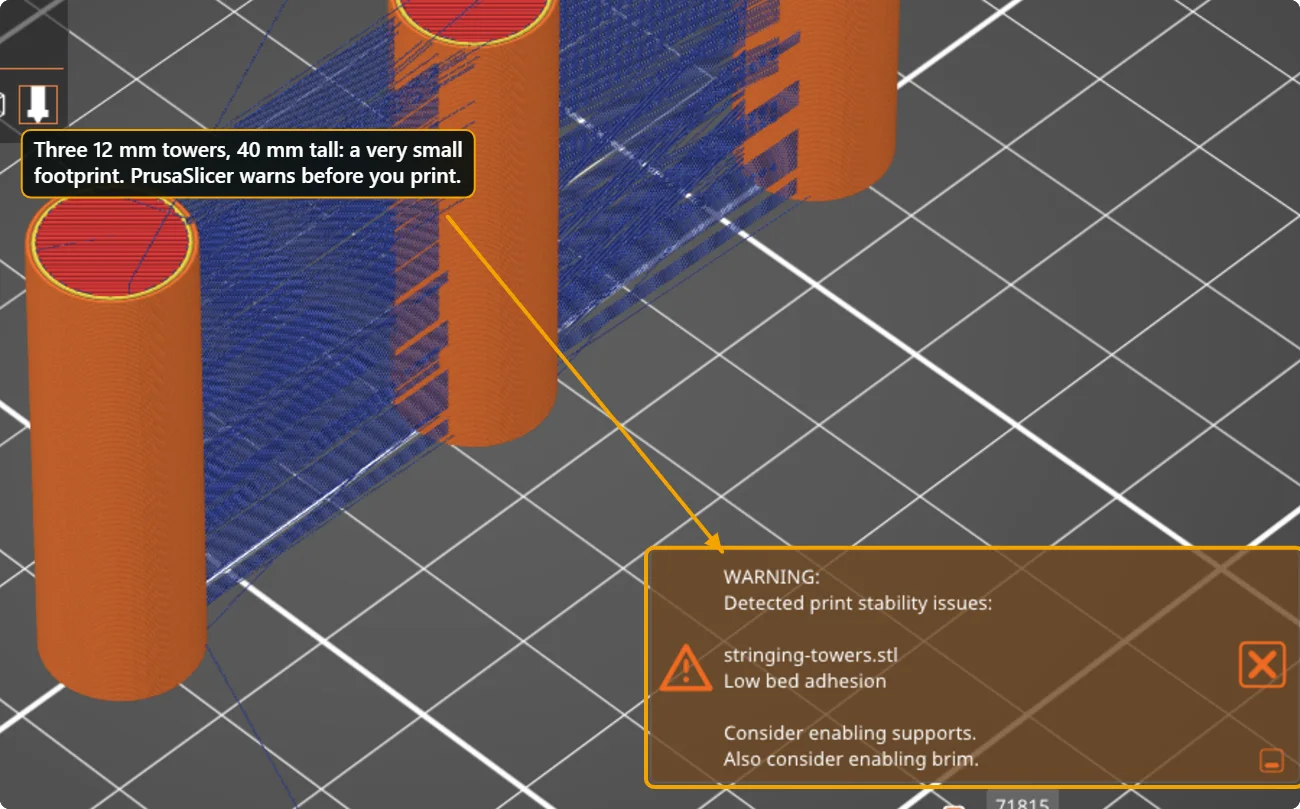
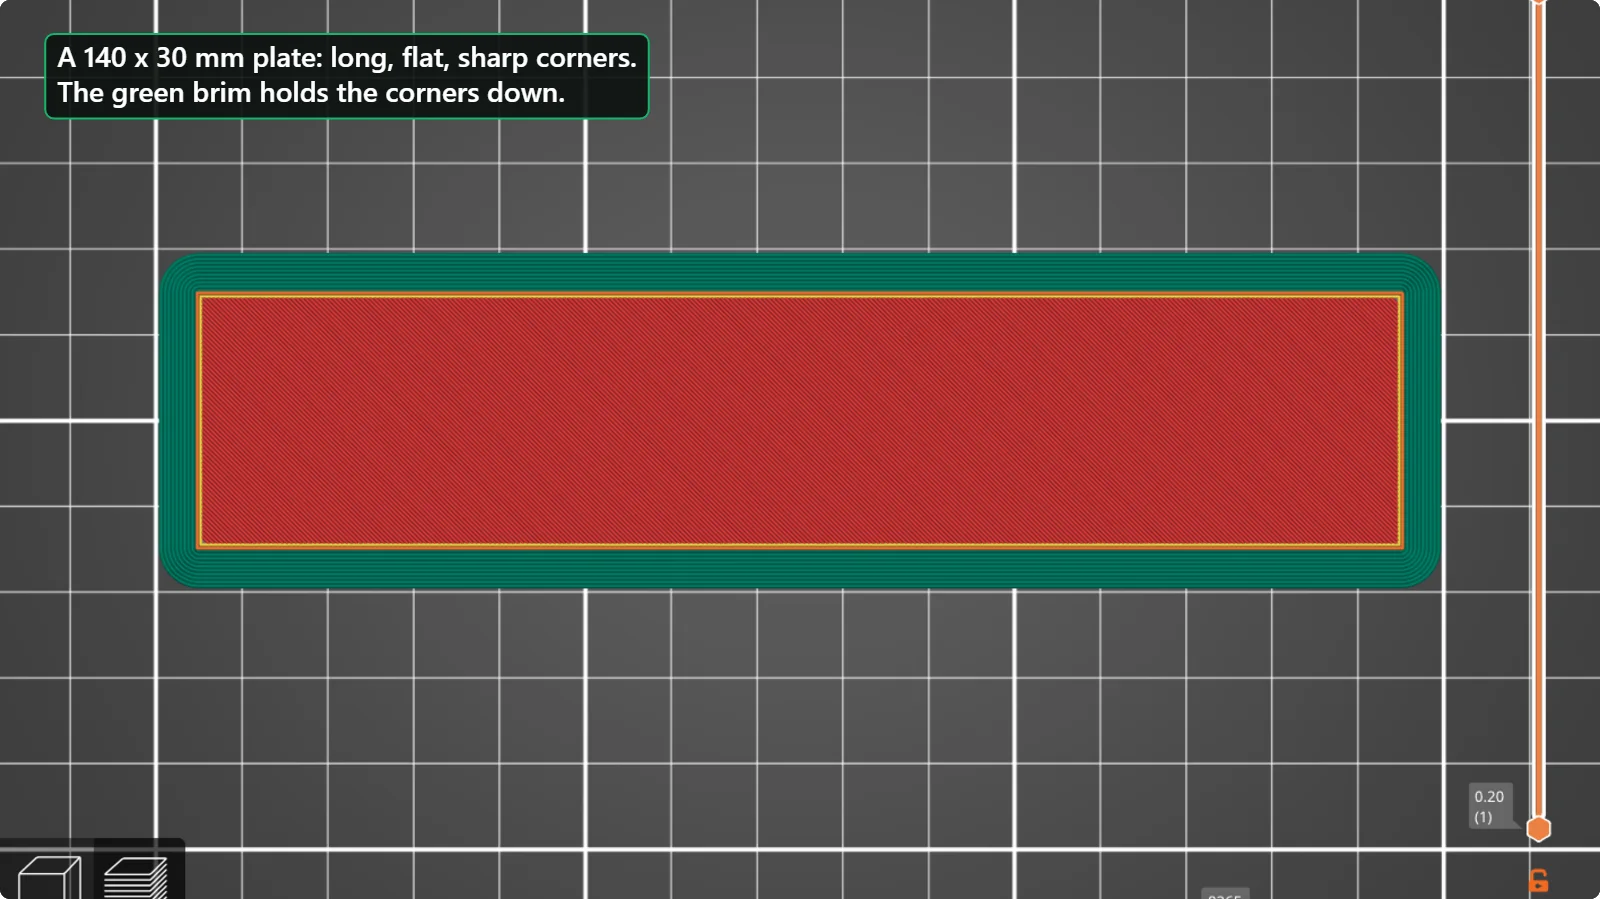
4. Add a brim when the part has a small footprint
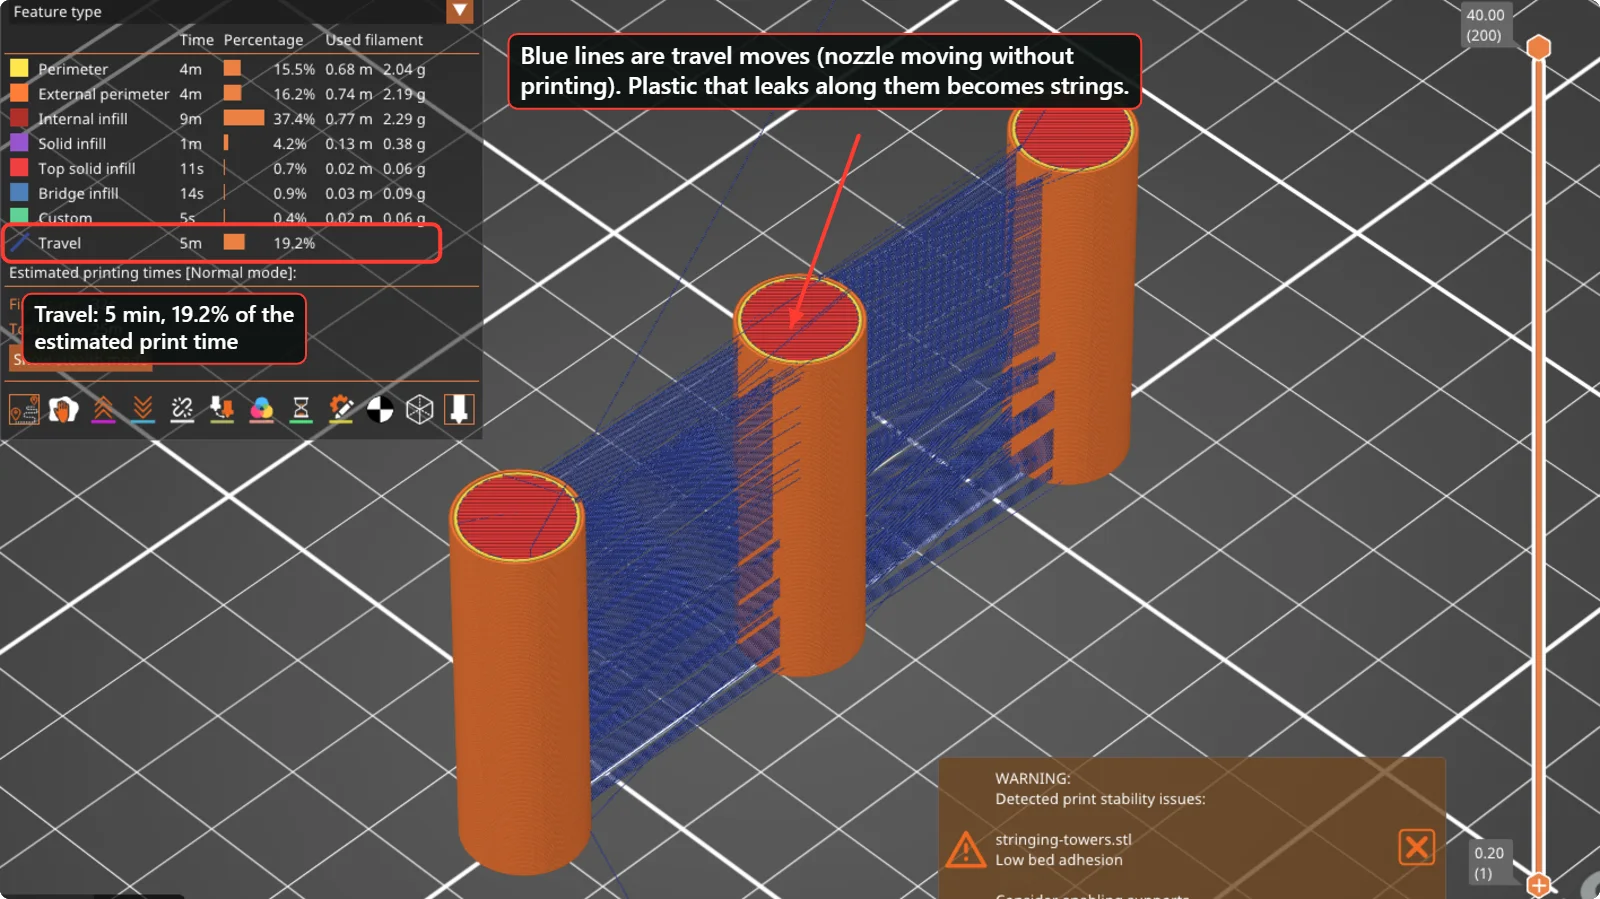
A brim is a ring of extra first-layer lines around the part. It gives the print a wider base so it is harder to knock over or peel. Tall, thin parts, and parts with sharp corners, benefit most. Slicers will often warn you. We sliced three 12 mm towers that are 40 mm tall, and PrusaSlicer showed a stability warning that says “Low bed adhesion” and suggests both supports and a brim.
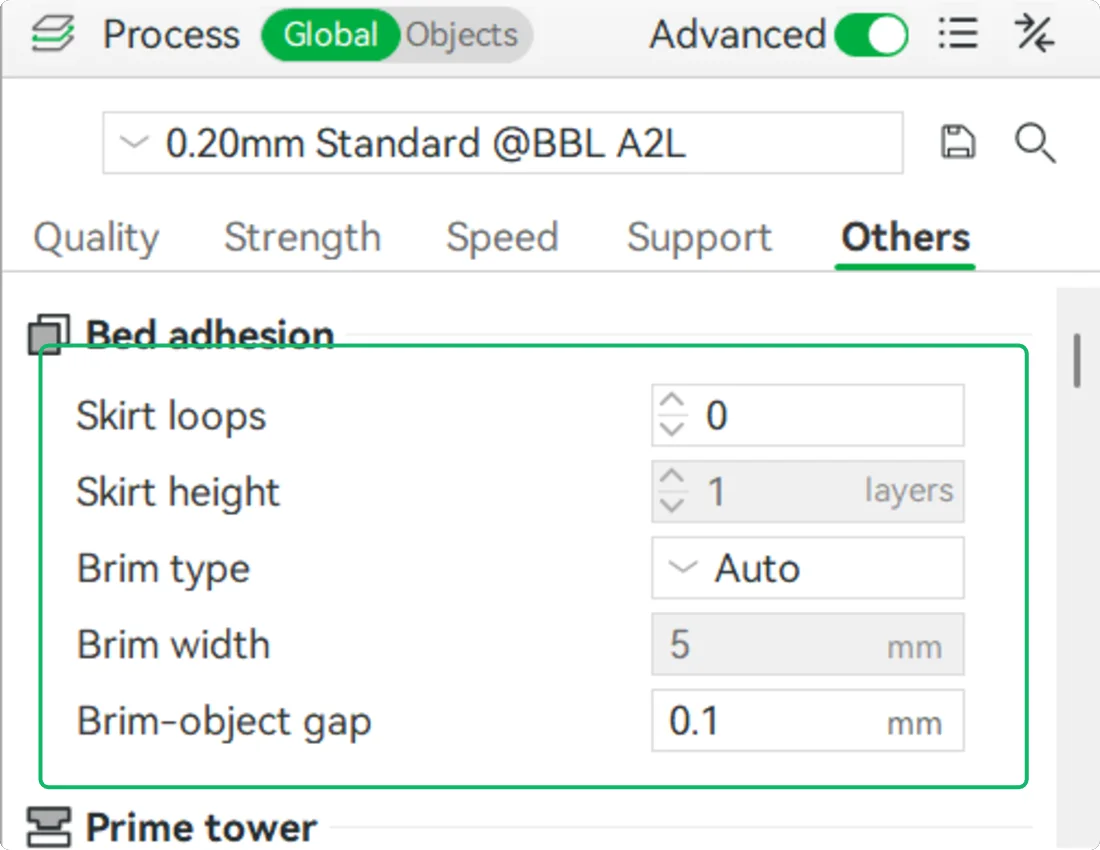
In PrusaSlicer, tick “Brim” in the right-hand panel, or set a width in Print Settings > Skirt and brim. Bambu Studio and OrcaSlicer have a “Brim type” list under the Others tab. In our Bambu profile it is set to Auto, which adds a brim only when the part needs one.
5. Turn the part-cooling fan off for the first layer
Cooling the first layer makes plastic shrink and let go. Both slicer profiles we looked at already do this: PrusaSlicer disables the fan for the first layer and reaches full fan from layer 3, and Bambu Studio sets the first-layer fan to 0 %. If you changed those numbers, put them back.
6. Print the first layer slowly
A slow first layer gives the plastic time to wet the plate. The MK4S profile prints the first-layer perimeters at 40 mm/s, much slower than the 170 mm/s used for the rest of the walls. Do not raise the first-layer speed to save a few minutes.
7. Put the biggest flat face on the plate
Orientation decides how much of the part touches the bed. Rotate the model so the widest flat face is down. If a design has only a small flat area, add a brim, or split the design so that each piece can lie flat.
Symptom guide
| What you see | Likely cause | Try this |
|---|---|---|
| Lines are round and not joined | Nozzle too high | Lower Z offset a little, run first-layer calibration |
| Lines are ridged, transparent or the nozzle clicks | Nozzle too low | Raise Z offset a little |
| Corners lift after a few layers | Cooling, small footprint | Brim, warmer bed, fan off first layer |
| Print slides when the nozzle touches it | Dirty plate or cold bed | Wash plate, check bed temperature |
| Sticks in the middle but not at the edges | Plate not level or bent | Re-run bed levelling, check the sheet is flat |
| Sticks too well and is hard to remove | Plate too hot or too much squish | Let the plate cool, then flex it; reduce squish |
Questions people ask
Why does my print stick for ten minutes and then come loose?
The first layer stuck, but the part is pulling upwards as it cools. Add a brim, make sure the fan is off for the first layer, and keep drafts away from the printer.
Should I use a raft?
A raft is a printed base under the part. It is a last resort for materials that do not stick or for a very uneven plate. Try a brim first; a raft makes the bottom surface rougher.
What bed temperature should PLA use?
Most PLA profiles use between 55 and 65 °C. Use the value in your filament profile for the plate you really have.
Does the first layer need to be slower than the rest?
Yes. A slow first layer gives the best grip. Profiles already do this; avoid raising the first-layer speed.
Keep reading
 How to Fix Stringing and Oozing in 3D PrintsThin hairs between parts are caused by plastic leaking while the nozzle travels. Check wet filament, temperature, retraction and travel moves in this order, with real PrusaSlicer and Bambu Studio settings.
 How to Stop Warping and Corner Lift in 3D PrintingWhy the corners of a flat or long print curl up from the bed, and what to change: brim, bed temperature, part-cooling fan, orientation, drafts and the shape of the model itself.
 3D Printing Glossary: The Terms Used in Our GuidesPlain-language definitions of 3D printing terms: bed, perimeter, infill, layer height, slicer, bridging, supports, brim, clearance, STL, 3MF, dovetail, diffuser and more.
Written and checked by the Volucore team against the behaviour of our tools. Spotted a mistake or something out of date? Tell us and we will fix it.