Model Too Big for Your 3D Printer Bed? Rotate, Scale or Cut It
You downloaded a model or finished a design, dropped it into the slicer, and it hangs off the edge of the bed. Slicers refuse to slice a part that does not fit. You have four options, and they are listed here from the cheapest to the most work: change the orientation, check the units, scale it, or cut it into pieces that do fit.
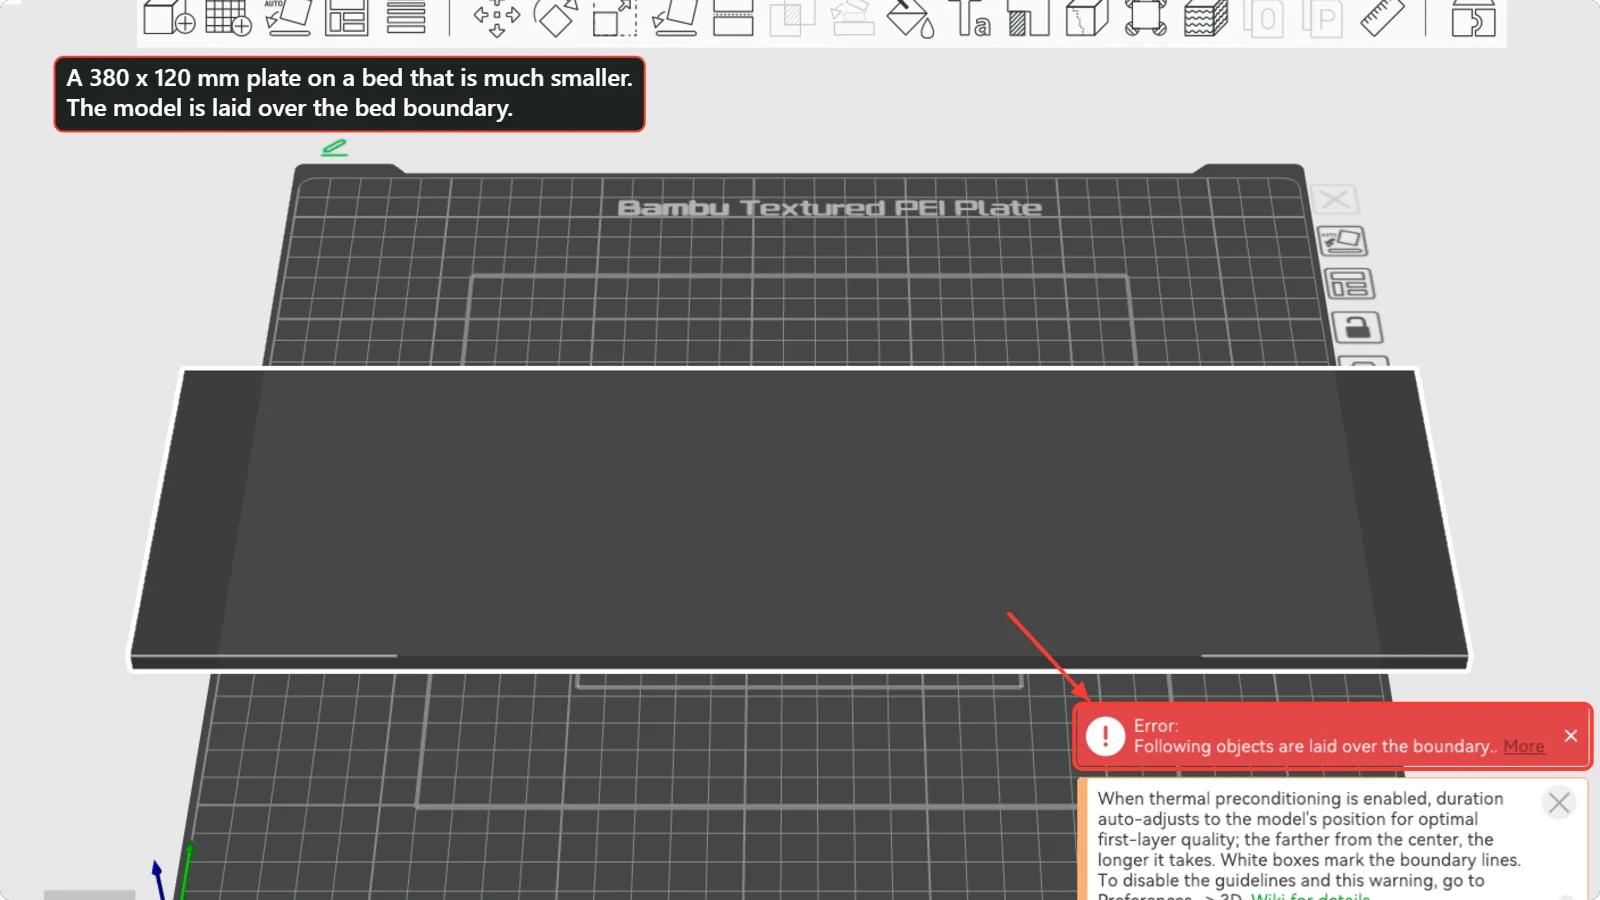
What the error looks like
We loaded a flat plate that is 380 mm long, 120 mm wide and 6 mm thick. Many popular desktop printers have a bed of between 220 and 256 mm on each side, so this plate does not fit. Bambu Studio draws the model across the edge of the plate and shows a red error: “Following objects are laid over the boundary.” The part does not slice until you fix it.
1. Rotate the part on the plate
The diagonal of a bed is longer than its sides. A part that is a little too long might fit if you turn it 45 degrees. Try that first. In both slicers you can type an exact rotation in the object panel.
2. Check the units
If a model looks 25 times too large, it was probably made in inches and read as millimetres, or the reverse. PrusaSlicer’s Object manipulation panel has an “Inches” checkbox next to the size fields for exactly this case. Look at the Size row: if a coffee mug is 4 mm tall, or 4000 mm, the units are wrong.
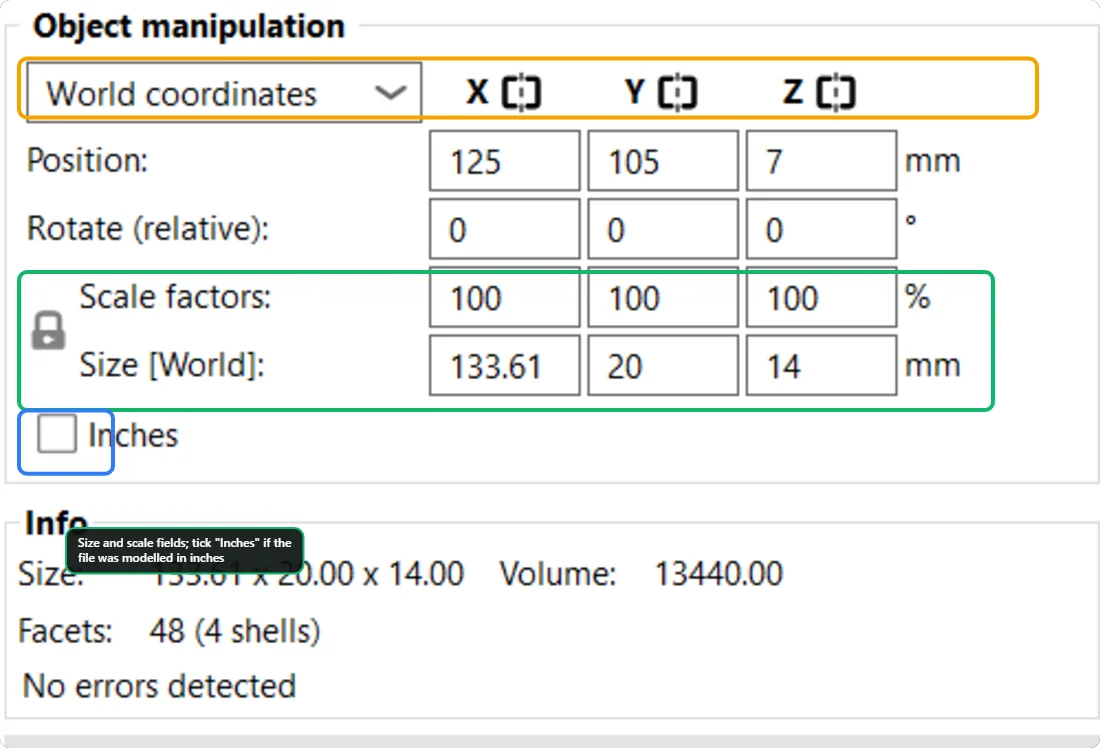
3. Scale it down, if the design allows
Type a smaller size, or a scale percentage, into the same panel. Keep the lock icon on so the three dimensions change together. This works for decorations. It does not work for a part that must keep its size, such as a case for a specific board, a hinge or a replacement part; for those you have to cut it.
4. Cut it into pieces
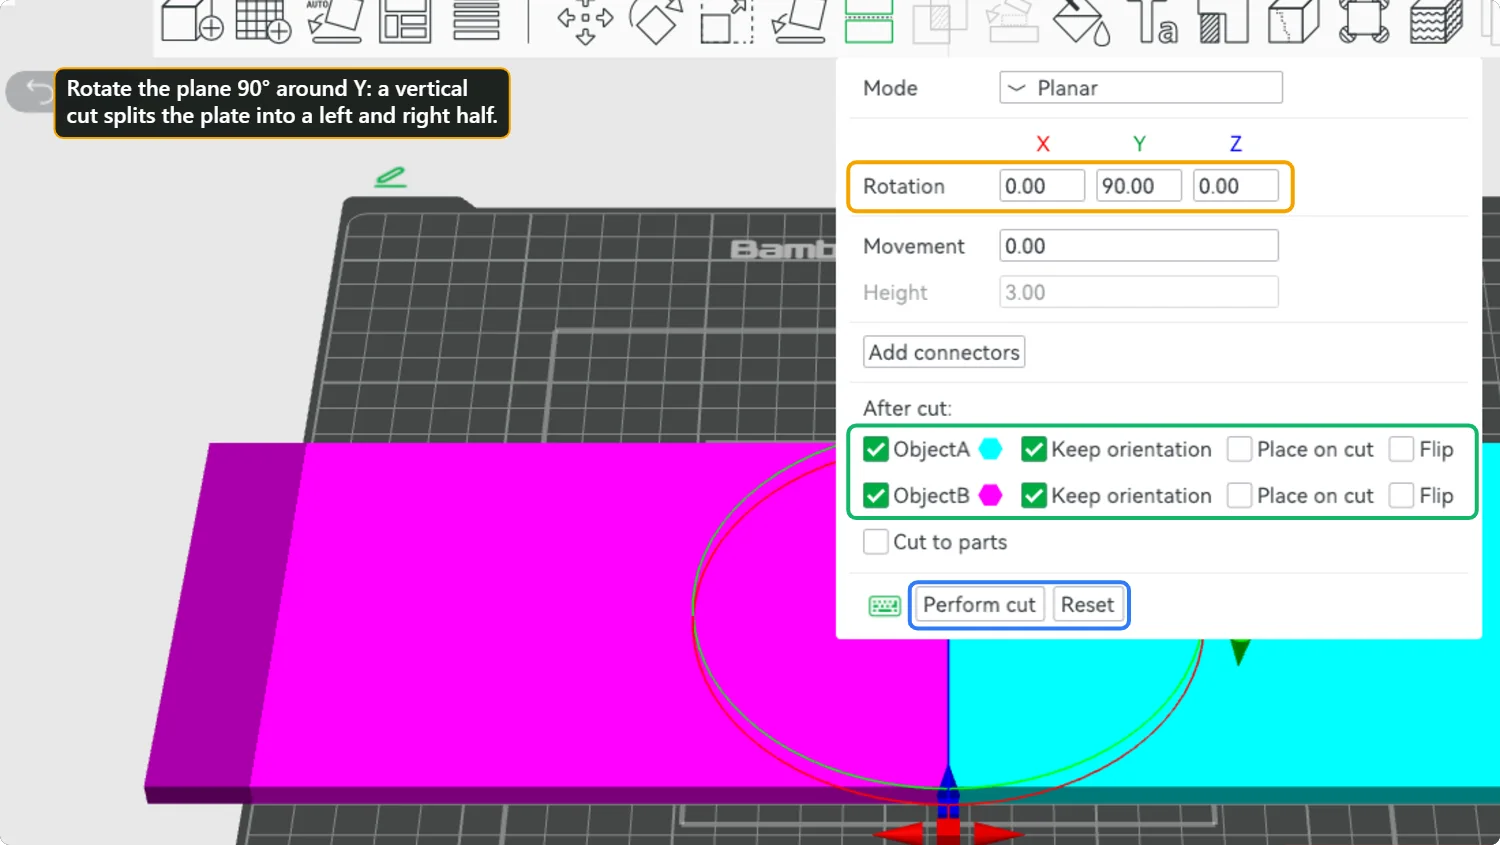
Big parts are normally printed in sections and joined afterwards. Bambu Studio and OrcaSlicer have a Cut tool. In Bambu Studio we selected the plate, opened the Cut tool, set the plane’s Y rotation to 90 degrees to make a vertical cut across the middle, ticked “Keep orientation” for both halves and clicked “Perform cut”.
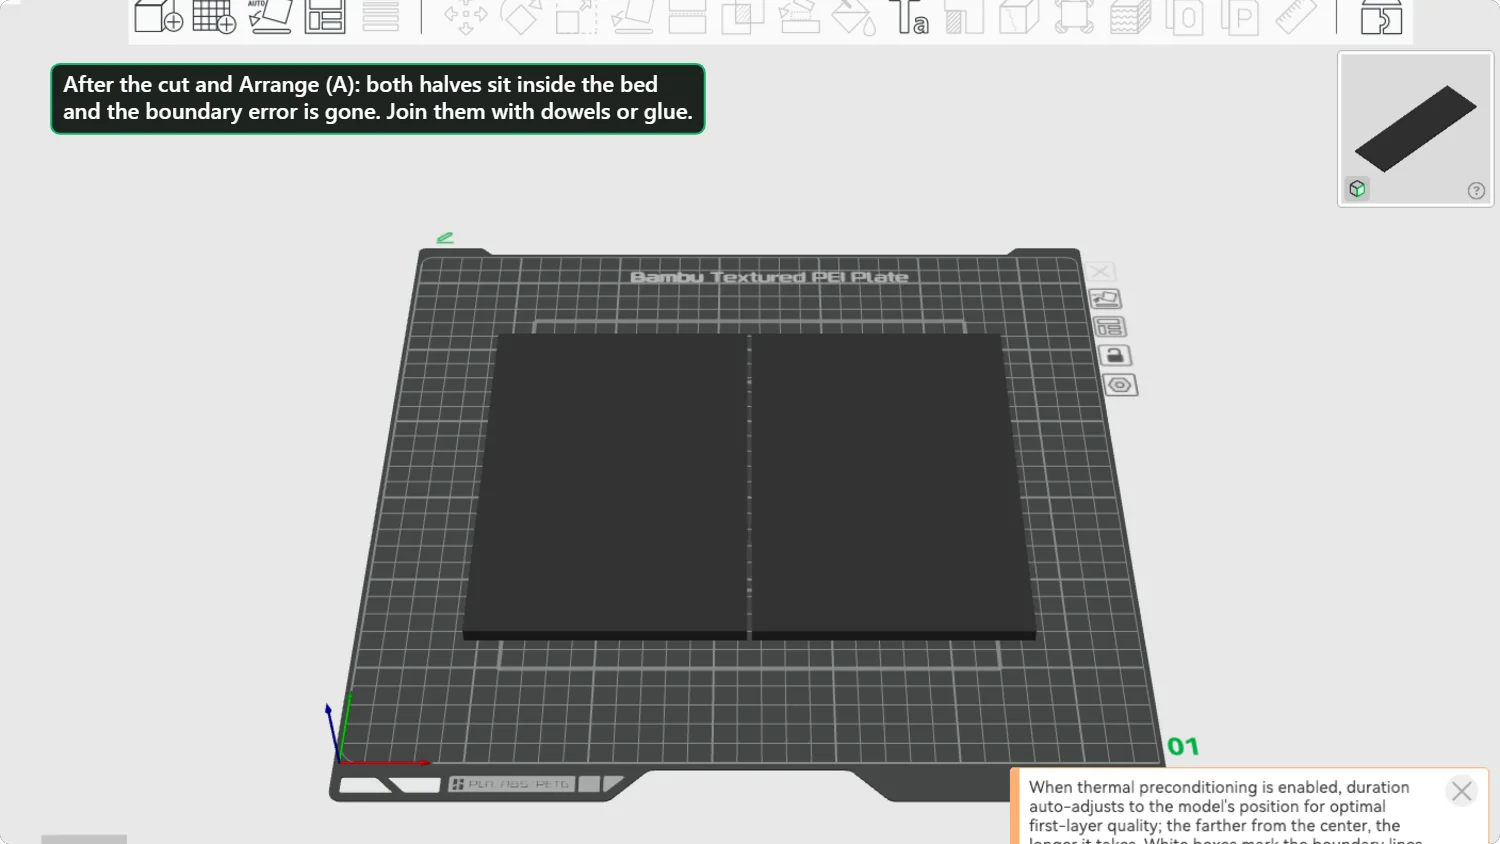
After the cut we pressed A (Arrange). Both halves sit inside the bed and the boundary error is gone.
Bambu Studio’s Cut tool also has an “Add connectors” button. It puts matching pegs and holes on the two faces, so the pieces align when you glue them. Without connectors, glue the halves with a thin line of cyanoacrylate (super glue) or a plastic-compatible adhesive, and add a small dowel for strength.
Let the design tool split it for you
If you are making a neon sign or large lettering with Volucore, you do not need to cut anything by hand. The Neon Sign Maker asks for the width you want and the printer you own, and splits the sign into numbered pieces with hidden connectors that fit your bed. See how to split a large sign into printable pieces.
Designing the joint between two halves
- Cut where the part is thick. A joint through a thin wall is weak and hard to hide.
- Use pegs and sockets with a small clearance. A clearance of about 0.2 mm on each side is a common starting point for a fit that goes together by hand, but test it on your own printer.
- Avoid cutting through text or fine details. Put the cut in a plain area.
- Cut so each half lies flat. Each piece should have a large flat face to print on, so you do not need supports.
- Print one joint first. Test the fit with a small sample before printing the whole part.
Questions people ask
Can I just print a part that is slightly bigger than the bed?
No. The nozzle cannot go outside the bed area, and the slicer will not slice it. Rotate it, scale it or cut it.
How do I join two printed halves?
Use connectors or dowels for alignment and a plastic-safe glue. Sand the joint a little first. For large parts, add a small plate behind the joint.
Does cutting weaken the part?
A glued joint is weaker than a solid part, so avoid cutting through areas that carry load. Cut where the part is thick, and add overlap or dowels.
Keep reading
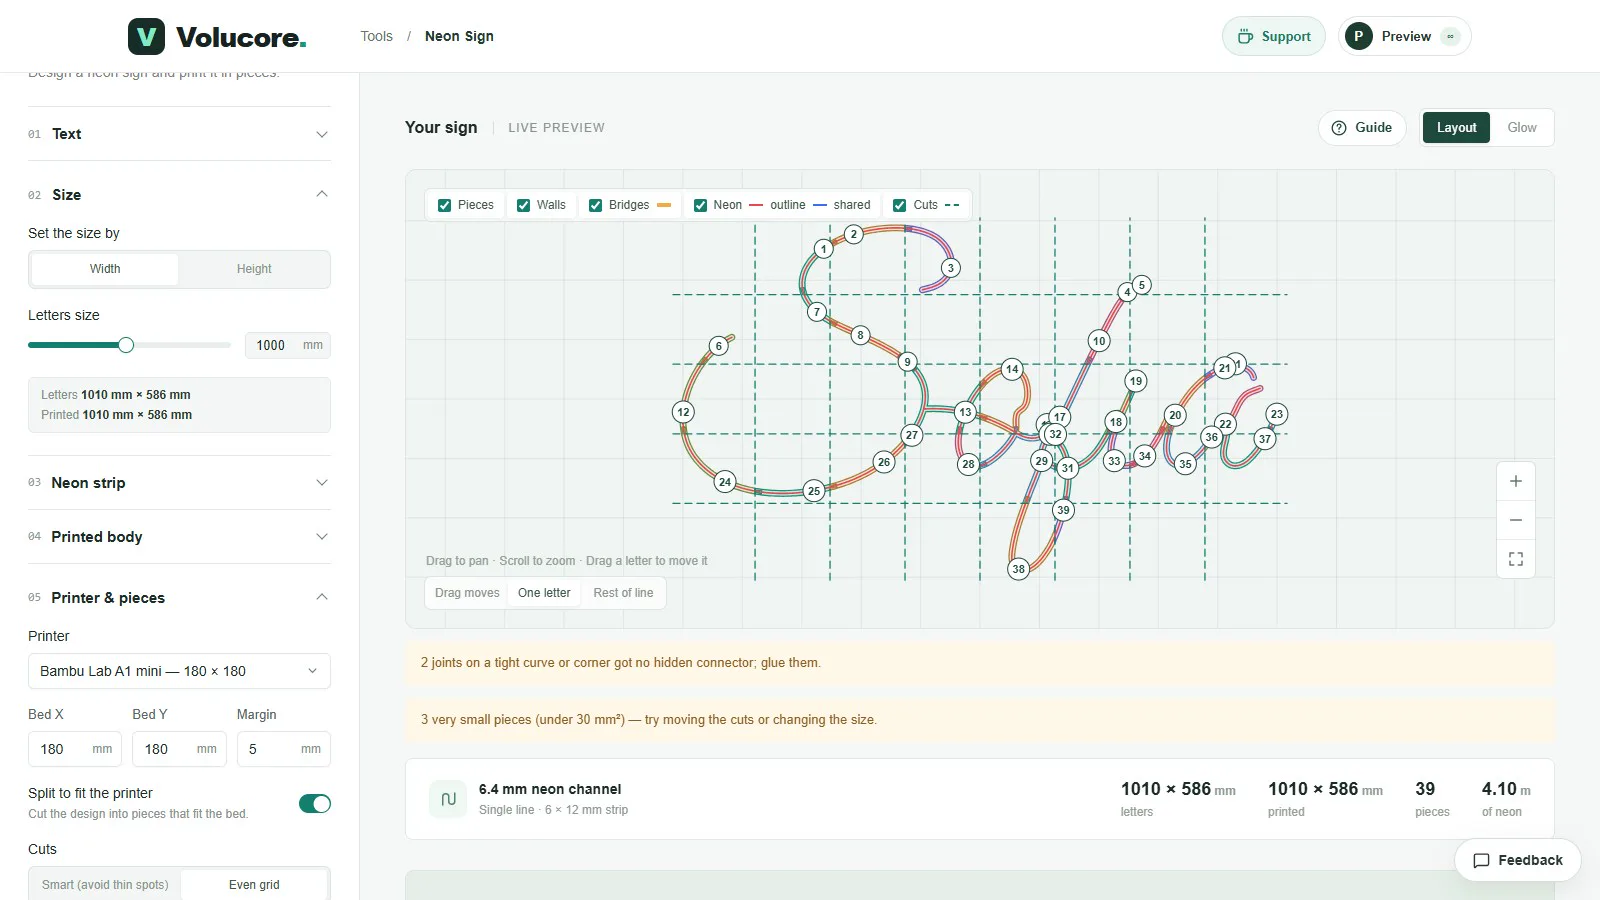 How to Split a Large Neon Sign into Printable PiecesHow the Neon Sign tool cuts a big sign into numbered pieces that fit your printer bed: bed size, margin, smart or even cuts, hidden dovetail connectors and what to do about warnings.
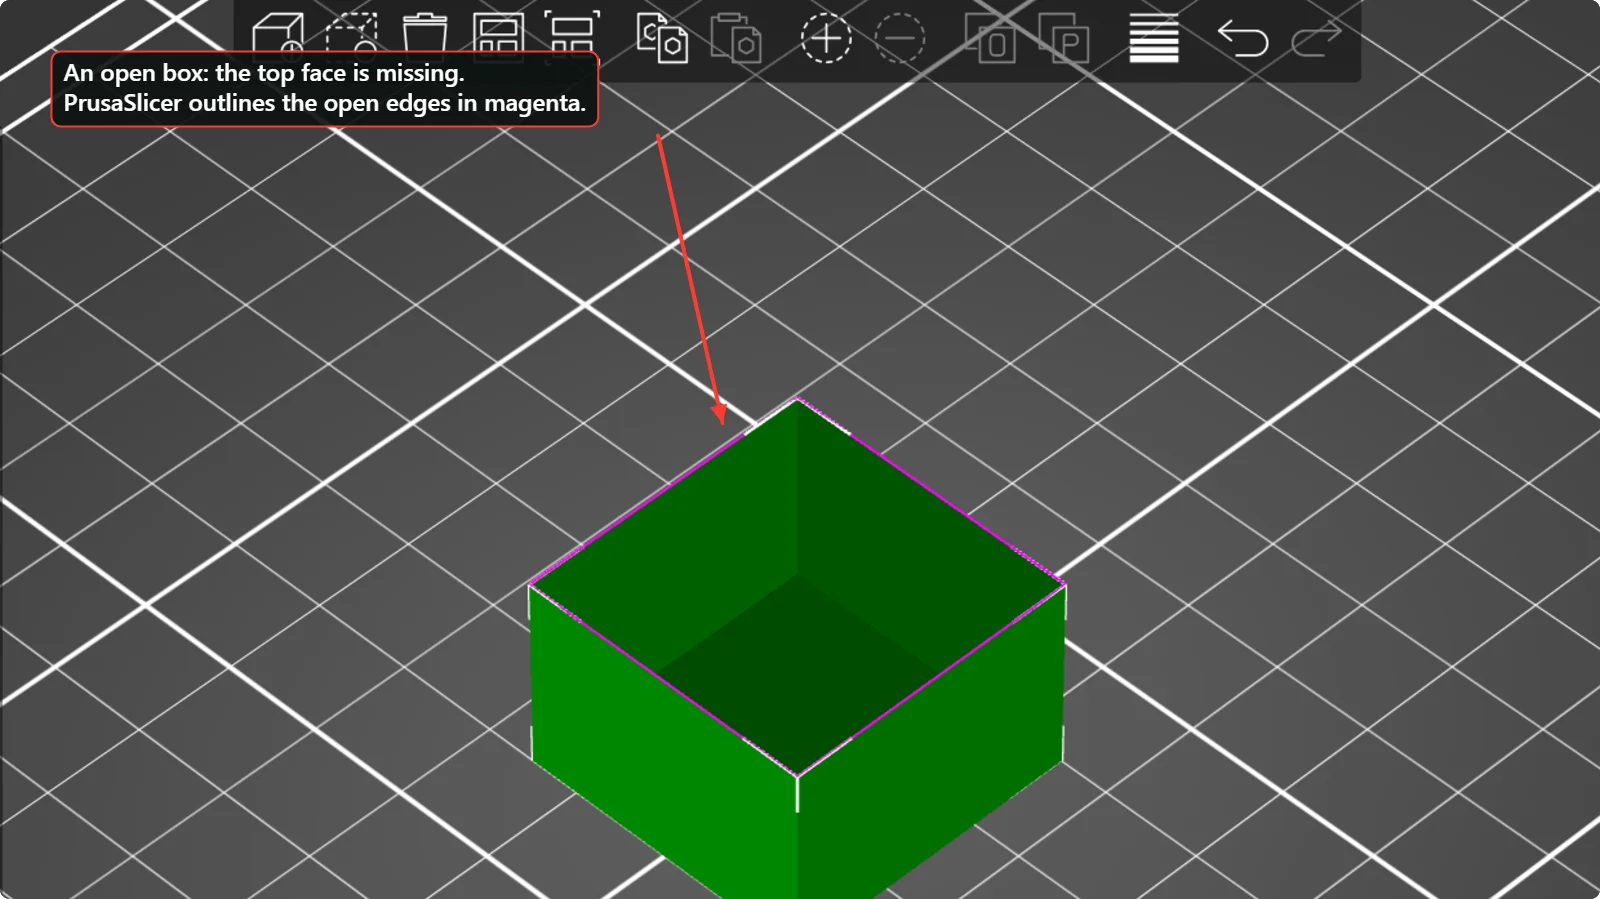 Open Edges and Broken Meshes: How to Fix 3D Model Errors Before SlicingWhat “open edges”, “non-manifold” and “errors detected” mean in a slicer, how to see them in PrusaSlicer and Bambu Studio, and how to repair a broken STL.
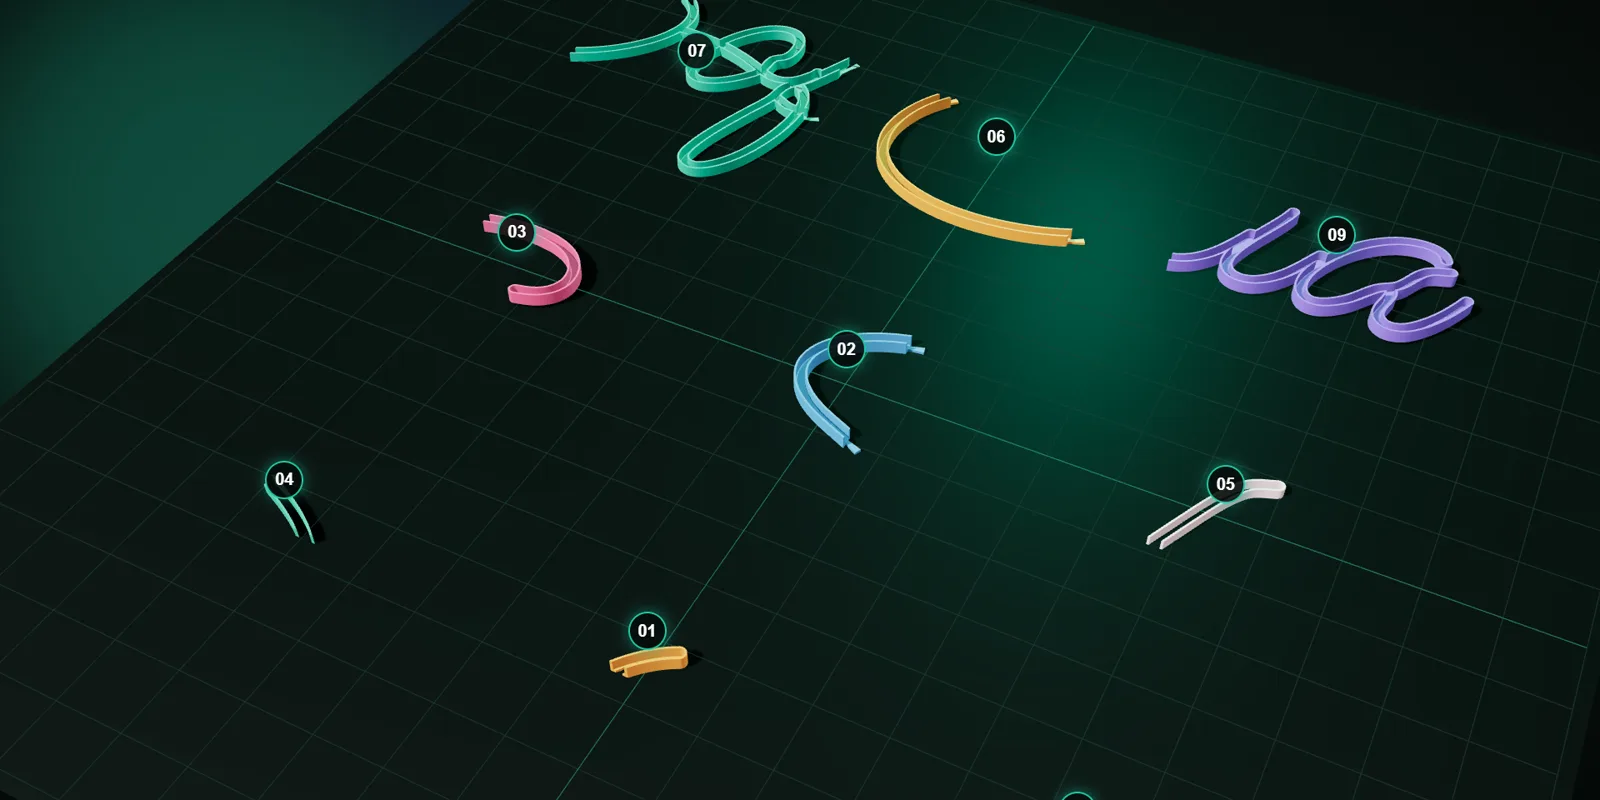 3D Printing Glossary: The Terms Used in Our GuidesPlain-language definitions of 3D printing terms: bed, perimeter, infill, layer height, slicer, bridging, supports, brim, clearance, STL, 3MF, dovetail, diffuser and more.
Written and checked by the Volucore team against the behaviour of our tools. Spotted a mistake or something out of date? Tell us and we will fix it.