Multicolor 3MF Files: How to Print Names in Colour in Bambu Studio, OrcaSlicer, Cura and PrusaSlicer
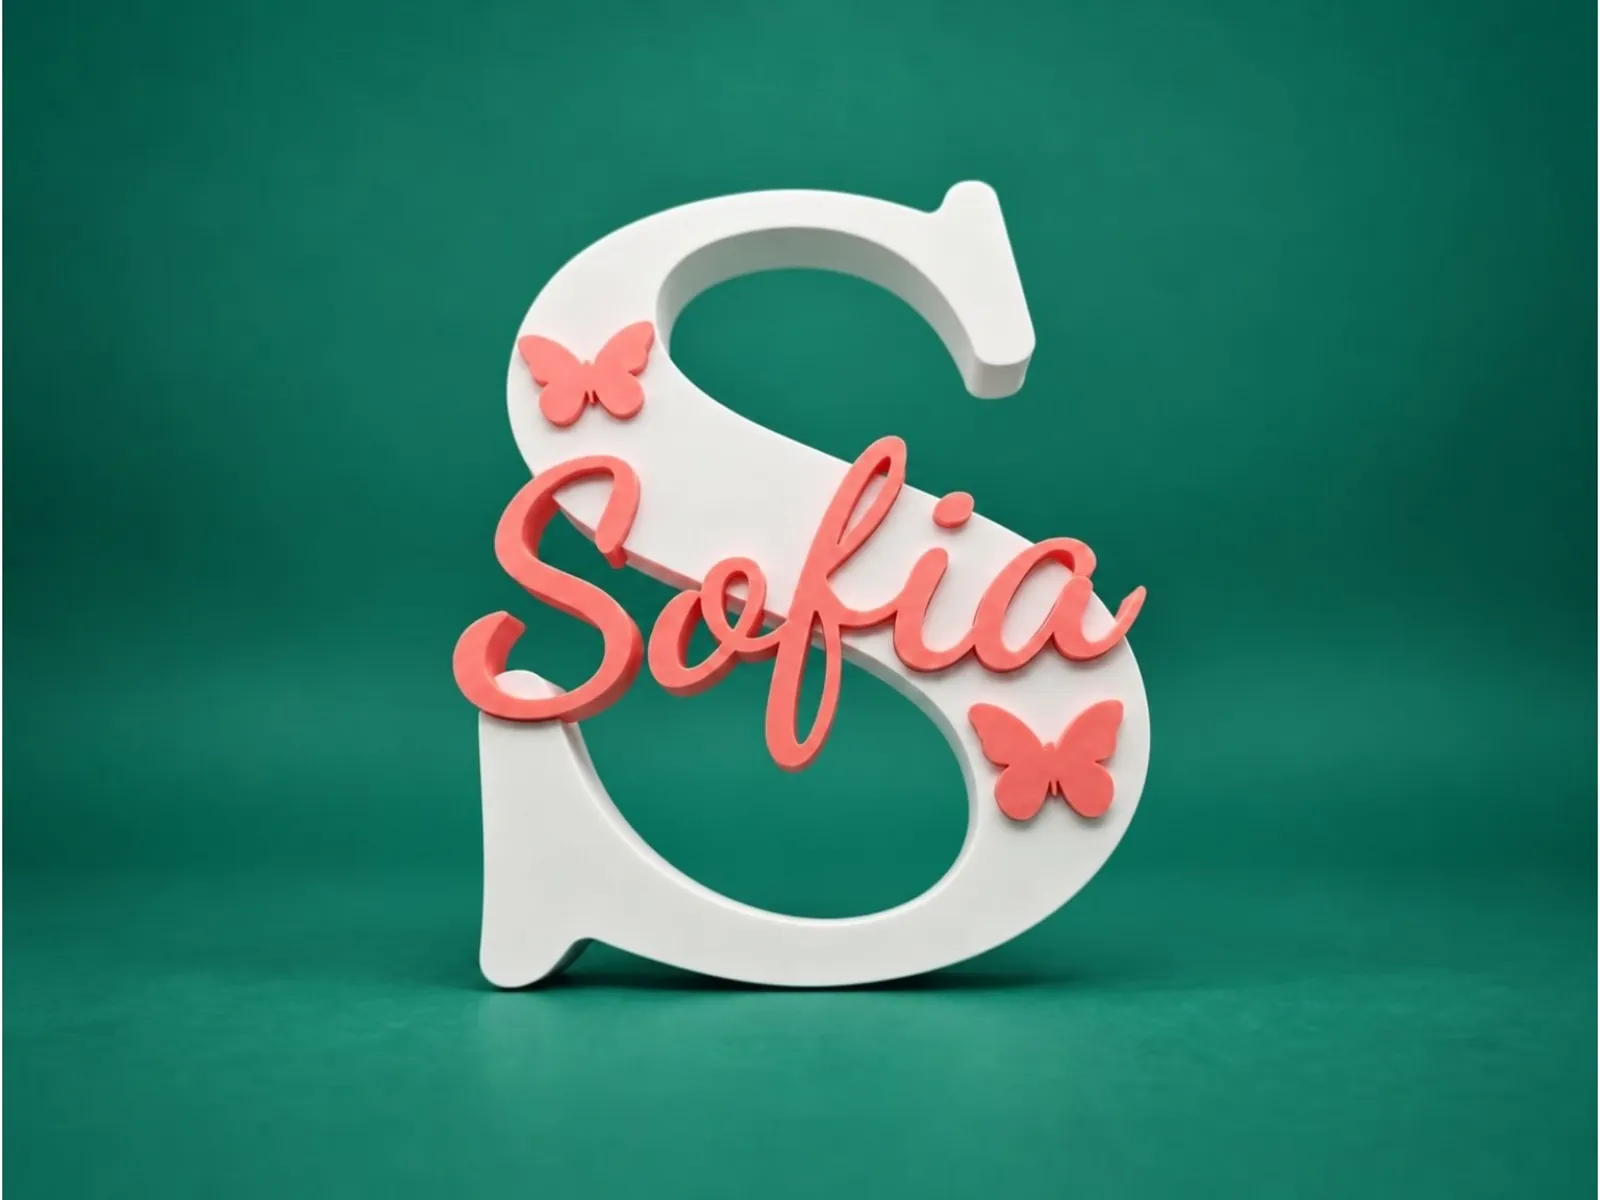
A name sign in one colour is nice; a name inlaid in coral on a white letter is a gift. To print in colour without painting, you need a file that tells your slicer which part is which colour. That file is a 3MF. This guide explains how it works, how each slicer reads it, how to plan your filaments and what to do if your printer has only one extruder.
Why 3MF and not STL
An STL stores only geometry: a mesh with no colour and no way to tell parts apart. A 3MF stores each part as its own object with its own colour, in millimetres. In the Name Sign tool, the base has a recess milled into its face, and every name and icon is its own inlay piece. The 3MF carries each piece as an object in its colour, so the slicer already knows what to print in which filament.
How each slicer reads it
| Slicer | What happens | What you do |
|---|---|---|
| Bambu Studio, OrcaSlicer | Colours are read from the 3MF; one filament per colour | Open the file, check the filament list and print. |
| Creality Print, Anycubic Slicer Next, ElegooSlicer, QIDI Studio | These are built on the same base and read the colours | Same as above. |
| Cura | Each piece goes on its own extruder | Assign filaments or colours to extruders. |
| PrusaSlicer, SuperSlicer | Use their own 3MF with every piece on its own extruder; they do not read colours from files | Download the PrusaSlicer version of the file and set the filament colours in the slicer. |
The STL and the parts ZIP work in any slicer. In the parts ZIP, each piece is its own file, so you can assign colours yourself.
Step by step in Bambu Studio and OrcaSlicer
- Download the colored 3MF from the tool.
- Open it in the slicer. When it asks how to open a multi-part file, choose to keep the parts as one multi-colour object.
- Look at the filament list on the left: each colour in your design is a filament slot already assigned to its parts.
- Match each slot to the real filament in your printer or changer. You can change a colour by clicking its swatch.
- Slice, check the preview layer by layer to see each colour appear, and print.
Step by step in Cura and PrusaSlicer
- Cura: open the 3MF, select a piece and choose which extruder prints it.
- PrusaSlicer or SuperSlicer: use the PrusaSlicer version of the file. Every piece is already on its own extruder; set the filament colour of each extruder in the filament settings so the preview looks right.
How many filaments will I need?
The designer lists how many filaments your design needs. Colours that match share a filament. A white letter with coral names uses two; a rainbow illustrated alphabet uses more. A machine with a four-colour changer, such as an AMS, can handle four colours at a time. Name Beads has a Fit to 4 filaments option that merges similar colours so a design fits a four-spool changer.
Keep the colour count low
- Every extra colour adds purge waste and print time, because the machine changes filament between colours.
- Use similar colours for decorative details, so they share one filament.
- Choose a strong contrast for the main name and the base, so the name is readable.
If your printer has only one extruder
- Print the parts separately and glue them together. The base has a recess and every inlay is its own piece, so they fit together.
- Use the slicer’s colour change at a layer so the top layer is a different colour, if the design allows.
- Use the Separated Mode that Name Sign offers for single-colour machines.
Print settings that suit inlay designs
- Layers of 0.16 to 0.20 mm.
- About 15% gyroid infill and 3 perimeters.
- PLA for indoor use, PETG where the piece has to last.
- Print face-down with no supports.
- Turn on ironing if your slicer has it, for a smooth top.
Troubleshooting colours
| Problem | Fix |
|---|---|
| Slicer shows one colour only | You opened the STL, or used the wrong 3MF. Open the 3MF made for your slicer. |
| Colours are wrong in PrusaSlicer | It does not read colours from files. Set the filament colours in the slicer. |
| Inlay does not fit the recess | Check the sizes and inlay depth you set in the tool, and calibrate your printer for tight fits (see the calibration guide). |
| Too many filaments | Merge similar colours in the tool, or print some parts separately. |
| A lot of waste at each colour change | Reduce the number of colours, or use a smaller design. |
Questions people ask
Which slicers open the 3MF with colours?
Bambu Studio, OrcaSlicer and slicers built on them read the colours. Cura puts each piece on its own extruder. PrusaSlicer and SuperSlicer use a separate 3MF with each piece on its own extruder; set the colours in the slicer.
Do I need an AMS to print in colour?
No. You can print the parts separately and glue them, or change filament by hand at a layer. A changer simply does it for you.
Can I use the STL instead?
Yes, but an STL has no colours. Use the parts ZIP if you want to print in several colours with a slicer that does not read 3MF colours.
Why is my 3MF very large?
A multi-part 3MF contains every piece with its colours. Illustrated fonts and many icons add parts, which makes the file larger. That is normal.
Keep reading
How to Make a Personalized 3D-Printed Name Sign (Letter, Heart or Any Shape)Put names and icons inside a big letter or a shape: choose fonts, set sizes and inlay depth, pick colours and print a multicolor name sign for a nursery, desk or gift.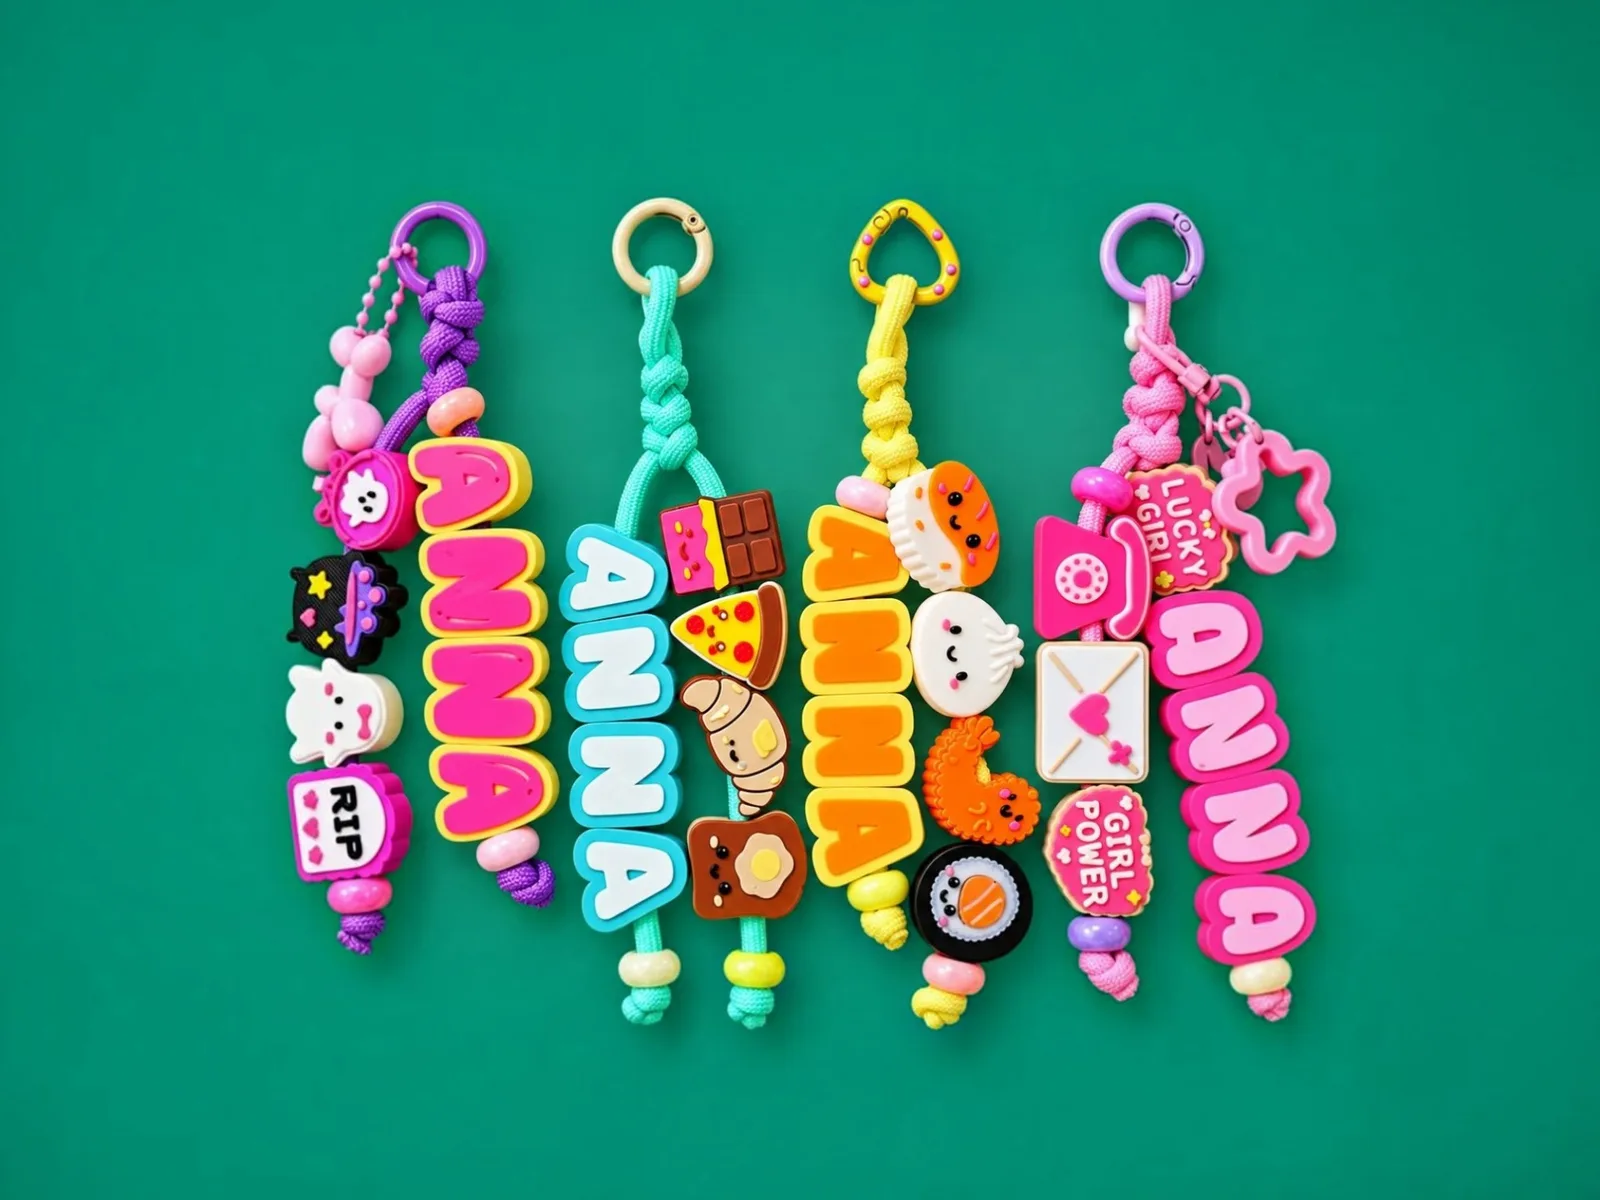 3D-Printed Name Beads and Charms: Cord Holes, Colours and PrintingMake letter beads and charms for bag charms, keychains and bracelets: choose the style, cord hole size, colours and charms, and print without supports.
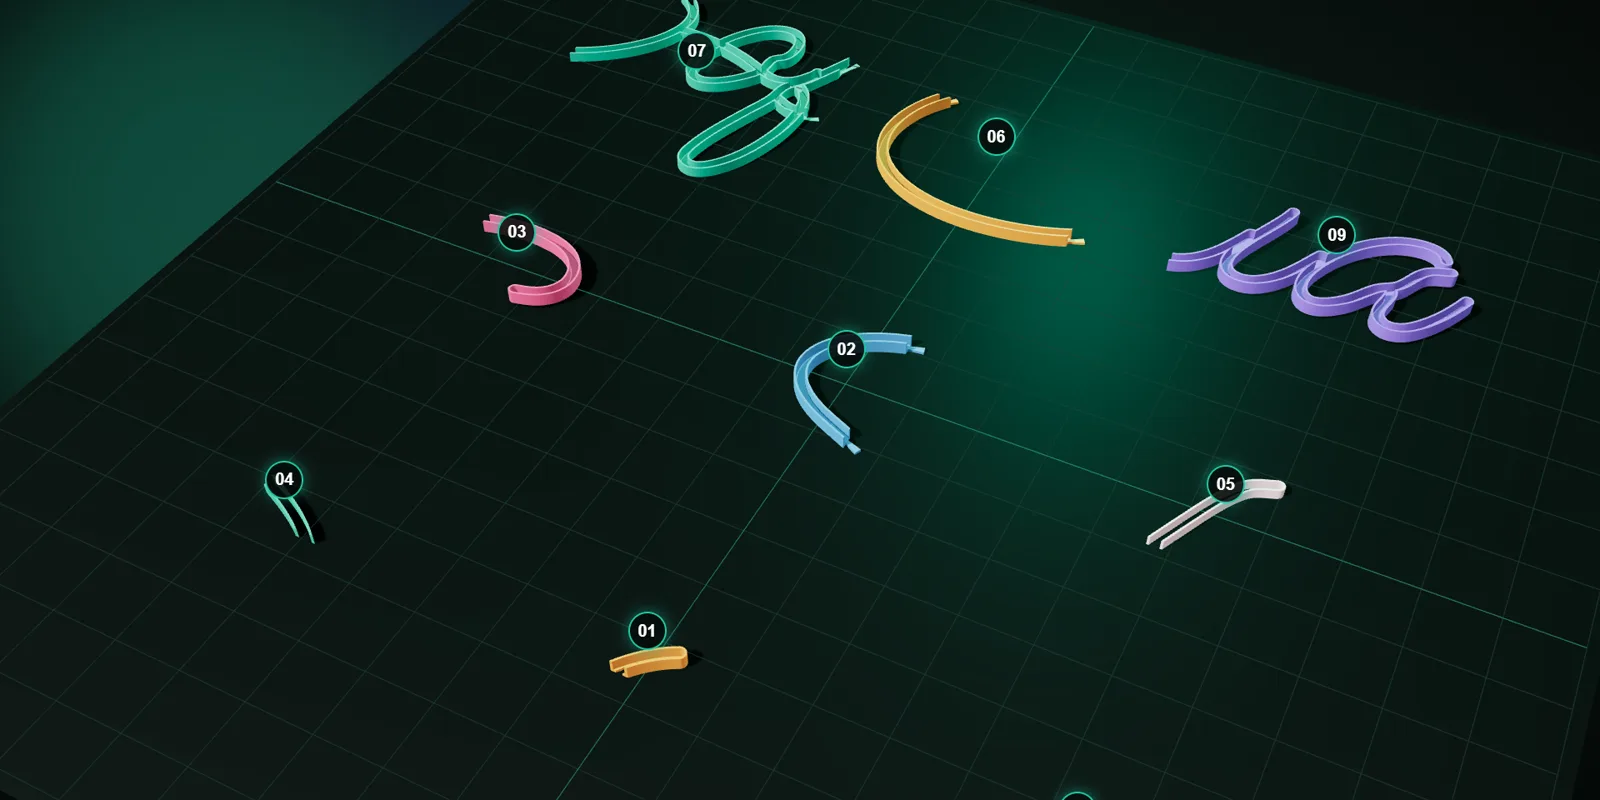 STL, 3MF, SVG, DXF: Which File Do You Need for 3D Printing?What each file format stores, what it is for, which of the Volucore tools export it, and how to choose between STL and 3MF for printing, and SVG and DXF for templates and laser cutting.
Written and checked by the Volucore team against the behaviour of our tools. Spotted a mistake or something out of date? Tell us and we will fix it.