3D Printing Glossary: The Terms Used in Our Guides
3D printing has a lot of jargon. This glossary explains, in plain language, the terms that appear in our guides and in the tools, so you can follow a setting or a message without searching for it. The terms are grouped by what they are about, so you can read a section through or look up a single word.
The machine
- Bed (build plate): the surface the part prints on. Its size limits the largest part, which is why big signs are split into pieces.
- Nozzle: the metal tip that melts and places the plastic. 0.4 mm is the usual size.
- Extruder: the part that pushes filament into the nozzle. A printer with more than one extruder, or a filament changer, can print in several colours.
- Hotend: the heated block and nozzle where the plastic melts.
- Filament: the plastic wire you feed the printer, such as PLA or PETG.
- AMS or multi-material unit: a filament changer that lets one nozzle print with several filaments.
- Enclosure: a box around the printer that keeps the air warm and steady, useful for materials like ABS.
Materials
- PLA: an easy, stiff plastic, good for most indoor projects. It softens at fairly low temperatures.
- PETG: tougher and a little more heat-resistant than PLA, with more stringing.
- ABS and ASA: strong, heat-resistant plastics that need an enclosure; ASA also resists sunlight.
- TPU: a flexible plastic for soft parts.
- Translucent filament: lets light through, used for glowing shades and lids.
Preparing a print
- Slicer: the program that turns a model into instructions for the printer, such as Bambu Studio, OrcaSlicer, Cura or PrusaSlicer.
- G-code: the instructions the slicer creates; the printer reads them line by line.
- STL / 3MF: model file formats. See which file do you need.
- Layer height: the thickness of each printed layer. Smaller is smoother and slower; 0.2 mm is typical.
- Perimeters (walls): the outlines printed around each layer. More perimeters make a stronger wall.
- Infill: the pattern inside a part. Percent sets how dense it is. Gyroid is a common, strong pattern.
- Top and bottom layers: the solid layers that close the part.
- Supports: temporary structures that hold up overhangs. Many of our designs print without them.
- Brim: a flat ring around the first layer that helps a part stick.
- Raft: a printed base under the part.
- Ironing: a slicer pass that smooths the top surface.
- Line width: how wide the extruded line is; usually close to the nozzle size.
While it prints
- First layer: the layer on the bed. A good first layer is the base for everything.
- Bridging: printing across a gap with nothing under it. Cord holes in beads are bridged.
- Overhang: a part that sticks out and has nothing under it.
- Warping: corners lifting off the bed as the plastic cools.
- Stringing: thin threads between parts, caused by plastic oozing while the nozzle moves.
- Retraction: the extruder pulls the filament back a little to reduce stringing.
- Elephant foot: the first layer squashed wider than the rest, which narrows slots near the bed.
- Flow ratio: a percentage that scales how much plastic is extruded; used to tune wall thickness.
- Under-extrusion and over-extrusion: too little or too much plastic, giving gaps or bulging walls.
- Z seam: the line where each layer starts and ends, sometimes visible on the surface.
Fit and tolerance
- Clearance: the gap you leave so that two parts fit. The Neon Sign tool uses a fit clearance for the strip and a clearance for the connectors.
- Tolerance: how much a printed size can differ from the model.
- Press fit: parts that go together with a little force.
- Print-in-place: parts that print already assembled, with gaps that let them move, like the joints of an articulated keychain.
- Captive joint: a ball or pin held in a socket so it cannot come out.
- Dovetail: a tab shaped like a dove’s tail that locks into a matching slot. Neon pieces use them as hidden connectors.
- Calibration cube: a small test print used to check that sizes come out right.
Lighting terms
- LED neon strip (neon flex): a flexible silicone LED strip that looks like glass neon.
- Side-bend: a strip that bends flat like a ribbon on its edge, used for lettering.
- Diffuser: a translucent layer that spreads the light so individual LEDs do not show.
- COB strip: chip-on-board strip, with so many LEDs close together that it looks like a continuous line.
- SMD strip: a strip with visible LED chips mounted on the surface.
- Constant-voltage supply: a power supply that holds a fixed voltage, such as 12 V or 24 V, which is what LED strips need.
- Voltage drop: the fall in voltage along a long strip, which can make the far end dimmer.
- Watts per metre: how much power a strip draws for each metre of length.
- Colour temperature: how warm or cool white light looks, in kelvin (K). Lower is warmer.
- Channel letters: hollow letters with LEDs inside and a translucent face.
- Hot spot: a bright dot where one LED shows through a diffuser.
- E14 and E27: the sizes of screw-cap lamp bases; E14 is small, E27 is standard.
Colour terms
- Multicolor print: a print that uses more than one filament colour.
- Inlay: a piece that sits in a recess of another so the two look flush.
- Filament colour assignment: telling the slicer which filament prints which part. A 3MF can include it.
- Purge waste: filament pushed out when the printer changes colour, so the new colour is clean.
Tool terms
- Fit test piece: a short sample from the Neon Sign tool to check your strip fits.
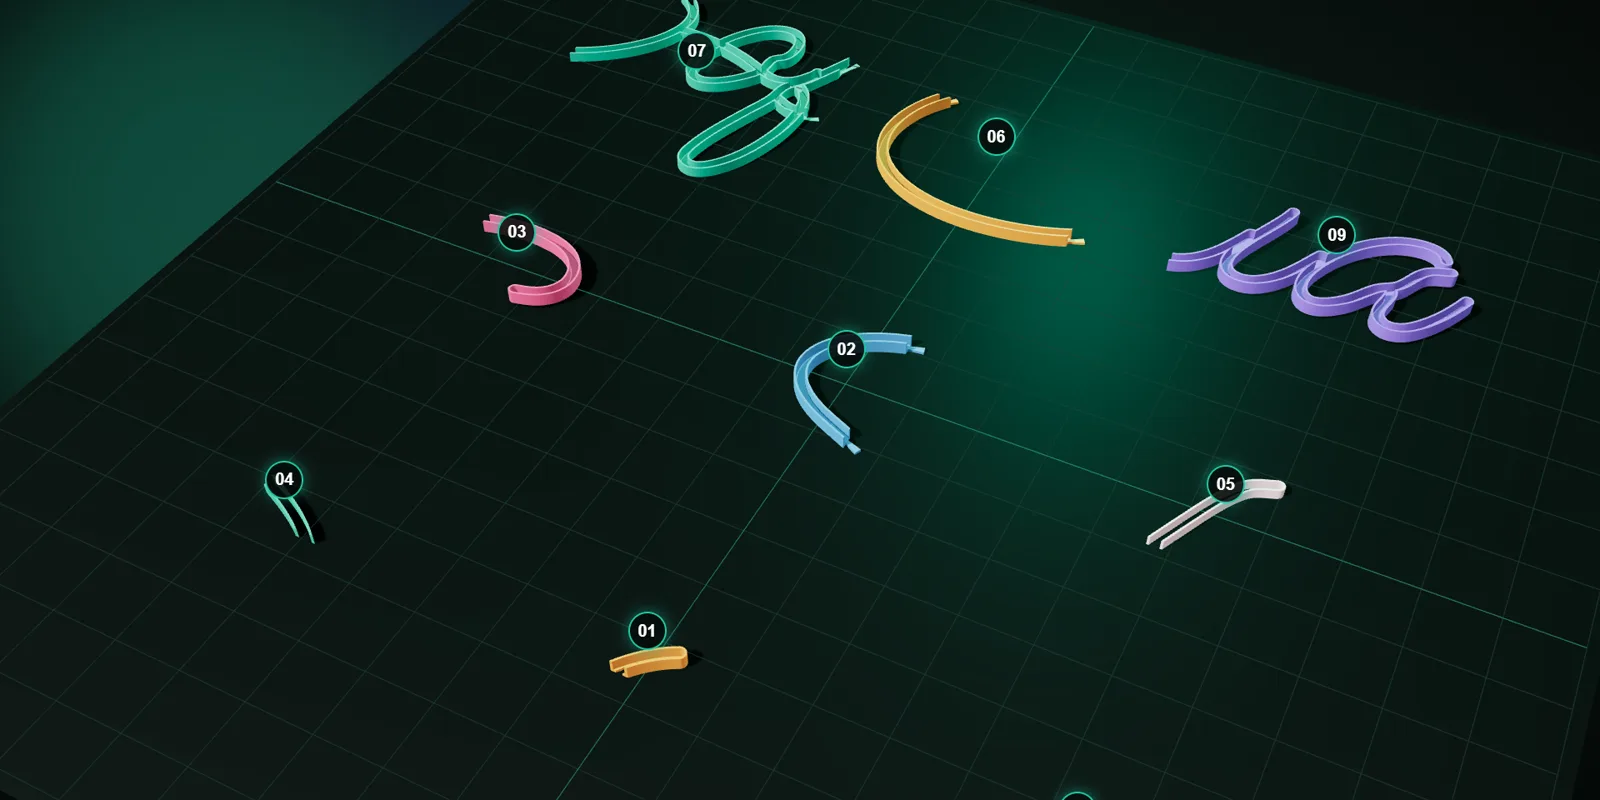
- Assembly guide: a picture in the Neon Sign download that shows where each numbered piece goes.
- Cuts (smart or even grid): how the Neon Sign tool splits a design into pieces for your bed.
- Diametral allowance: extra width added to a bore, like the lampholder opening in Lamp Studio.
- Bridges (in Neon Sign): slim bars that tie loose parts of the lettering to the body.
Questions people ask
What is a good first layer height?
0.2 mm layers with a first layer of about the same height are a good start for most printers.
What is the difference between a perimeter and infill?
Perimeters are the outlines of each layer, forming the walls; infill is the pattern inside.
What does “print-in-place” mean?
A model whose moving parts print already assembled, with small gaps so they can move once freed.
Keep reading
STL, 3MF, SVG, DXF: Which File Do You Need for 3D Printing?What each file format stores, what it is for, which of the Volucore tools export it, and how to choose between STL and 3MF for printing, and SVG and DXF for templates and laser cutting.Calibrate Your Printer for Tight Fits: Strips, Joints and LampholdersHow to measure and fix dimensional accuracy so printed slots, dovetails, joints and lampholder bores fit: calibration prints, flow, first layer, horizontal expansion and clearance. How to Make a 3D-Printed LED Neon Sign: The Complete GuideStep by step: choose an LED neon strip, design the sign, split it into printable pieces, print, assemble, wire and mount it. With real numbers from a 610 × 355 mm example.
Written and checked by the Volucore team against the behaviour of our tools. Spotted a mistake or something out of date? Tell us and we will fix it.